Sale
Sold out

Tender annual culinary herb
Lamiaceae
Organic culinary herb seeds
Organic Holy Basil (Tulsi)
Ocimum tenuiflorum
Product code : BIOVO-0004
Organic holy basil, or tulsi, is Ocimum tenuiflorum, a tender aromatic herb grown as an annual in your region. Foliage has a warm, spicy, herbal aroma distinct from sweet basil. Edible leaves and flowers are traditionally used in infusions and may also flavour broth, rice, vegetables, or herb blends. Start seed indoors approximately six weeks before planting and wait for thoroughly warm soil before moving plants outside. Full sun, fertile well-drained soil, even moisture, and frequent pinching support branching growth. Several flower spikes left open attract bees and other pollinators. Always protect this tropical plant from chilly nights and frost. Its warm, spicy fragrance makes it easy to distinguish from sweet basil in the kitchen.
- Exposure
- Sun
- Life cycle
- Tropical perennial grown as an annual in cold climates
Discover the plant
Common nameHoly basil, tulsi
FamilyLamiaceae
GenusOcimum
Speciestenuiflorum
TypeTender annual culinary herb
Botanical nameOcimum tenuiflorum
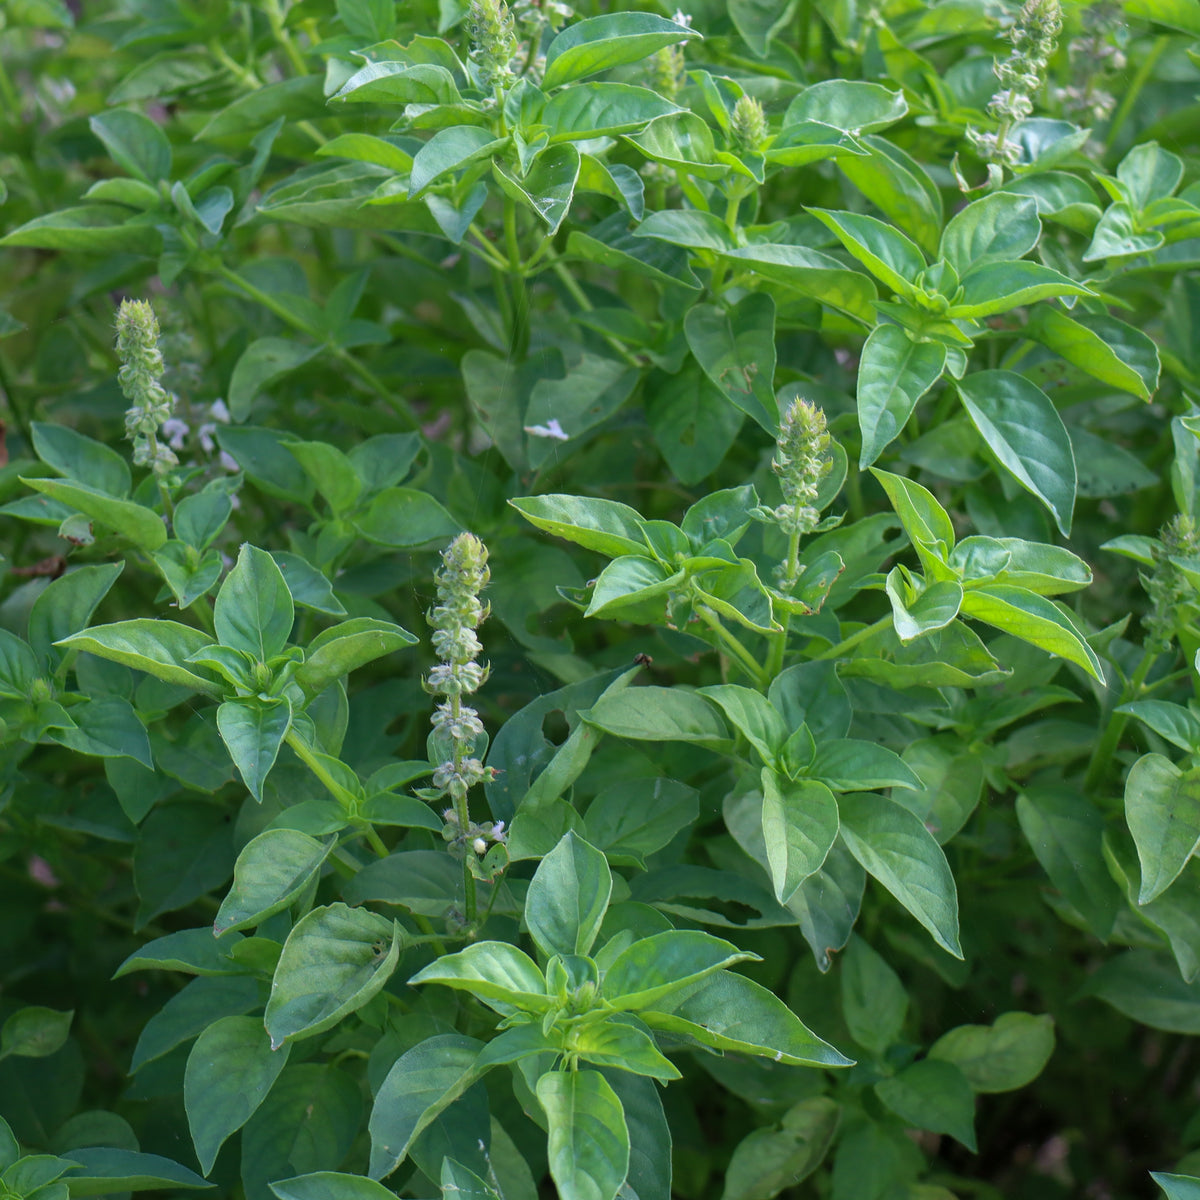
Organic Holy Basil (Tulsi) (Ocimum tenuiflorum), also called tulsi, is a tender annual herb in your region's climate. Aromatic foliage carries spicy, herbal notes distinct from sweet basil. Leaves and flowers are edible; they are traditionally used in infusions and may flavour broth, rice, vegetables, or herb blends. Plants branch when shoot tips are pinched, then carry spikes of small pale to purple flowers visited by bees and other pollinators. These organic holy basil seeds suit herb gardens, edible borders, and sunny containers. These tulsi seeds produce a branching herb for repeated warm-season harvests. Successive cuts encourage branching while the central framework remains vigorous and leafy. Morning harvest supplies aromatic leaves throughout the warmest part of the season.
Start seed indoors approximately six weeks before transplanting, or sow outdoors only after all frost risk when soil is warm. Place seed approximately 6 mm (1/4 in) deep in a light mix, maintain steady warmth, and keep the surface moist without saturation. Emergence often takes one to two weeks. Give seedlings intense light, acclimate them gradually, then place them in full sun in fertile, well-drained soil. Leave enough spacing for airflow. Water at soil level when the surface begins drying and pinch above a pair of leaves to encourage branching. Do not rush plants outdoors because cool soil and nights interrupt growth.
Harvest tender tips with clean scissors throughout warm weather without removing too much foliage at once. Pinch flower buds when leaf production is the priority, or allow several spikes to open for pollinators and seed harvest. Holy basil responds poorly to cold: move a container inside before chilly nights or finish harvesting before frost. Use fresh leaves promptly, freeze them in small portions, or dry them in a thin layer in shade with good ventilation. Prepare infusions as a traditional food use without attributing therapeutic effects. Wash leaves immediately before preparation and discard any tissue that is slimy, mouldy, or heavily damaged.

Sowing guide
It all startswith a seed.
Sowing depth
Approximately 6 mm (1/4 in)
Spacing / density
Space approximately 25 to 30 cm (10 to 12 in) apart
Germination temperature
Approximately 20 to 25 °C (68 to 77 °F)
Germination time
Approximately 7 to 14 days
Sowing period
Indoors approximately six weeks before last frost; outdoors only after frost in warm soil
Propagation
Seed; stem cuttings possible from a healthy plant
Growing method
Growing holy basil from seed. Sow indoors approximately six weeks before last frost in a clean light mix. Provide strong light promptly after emergence so Holy basil develops sturdy, compact growth. Holy Basil (Tulsi) produces the expected harvest form: branched stems carrying aromatic leaves and flower spikes. Protect the developing crop from soil splash and rough handling. Feed moderately after establishment; excessive nitrogen produces soft growth with less resilience. Holy basil has a habit described as bushy and branched when pinched; use this to guide positioning or selective thinning without forcing a cramped plant. Use fertile, freely drained soil and leave enough access for repeated clean harvests. Choose a position for Holy basil with sun without sacrificing airflow or watering access. Inspect leaf undersides and shoot tips before treating, especially when plants have been under cover. Space Holy basil approximately 25 to 30 cm (10 to 12 in) apart to preserve access for watering, inspection, and harvest. Thin crowded starts early instead of allowing weak indoor seedlings to compete in one cell. Cut above a healthy leaf pair before flowering dominates when continued leafy harvest is the goal. Harvest holy Basil (Tulsi) with clean scissors once leaves are dry, taking only enough growth for the plant to recover. Shade the cut stems promptly, and protect the remaining plant before frost only when useful light and warmth can be maintained.
Soil and care
The right care,at the right time.
Soil pH
Slightly acidic to neutral
Minimum temperature
Approximately 10°C (50°F); growth slows below this temperature and frost kills the plant
Care level
Easy
Watering
Keep the sowing mix evenly moist during germination without soaking it. After transplanting, water deeply at soil level when the upper layer begins to dry. Consistent moisture supports tender leaves and active branching, but standing water promotes root problems. Water in the morning and reduce frequency during cool weather. Containers dry faster, so check them daily in hot, windy periods and always empty the saucer. Avoid strong overhead spray that can bruise foliage and bend flower spikes.
Soil type
Holy basil prefers moderately rich, loose soil with mature compost and reliable drainage. Test the soil before making corrective mineral additions. In the Holy basil planting, an airy loam should retain useful moisture for the branched stems carrying aromatic leaves and flower spikes without remaining waterlogged. Avoid fresh manure, compact clay, concentrated fertilizer pockets, and saucers holding water. Choose fresh herb mix and several clear drainage holes for potted Holy basil. Mulch only after conditions suit the crop, keeping the crown uncovered.
Fertilization
Incorporate mature compost before planting. In normally fertile soil, a light balanced feeding every four to six weeks is sufficient during active growth. In containers, use diluted herb fertilizer after roots are established. Avoid high nitrogen rates, which produce soft growth and may dilute aroma. Stop feeding when temperatures fall or plants slow down. Before adding more fertilizer, check watering, light, drainage, and available root space because pale leaves do not always indicate a nutrient shortage.
Moisture
Evenly moist soil with good airflow
Seasonal care
Seasonal care for basil. For the first sowing of Holy Basil (Tulsi), use this crop-specific timing as a guide and adjust it to the garden: indoors approximately six weeks before last frost; outdoors only after frost in warm soil. Sow approximately 6 mm deep. Expect germination in 7 to 14 days at approximately 20 to 25 °C (68 to 77 °F); keep the medium evenly moist but aerated throughout that interval. After emergence, give seedlings bright light and gentle airflow, thinning crowded growth before stems stretch or crowns remain damp. Use the stated exposure and freely drained soil, adding mature compost modestly rather than forcing soft growth. Water from actual root-zone moisture: young plants need consistency, while established roots should not remain saturated. For container-grown Holy Basil (Tulsi), use the supplied guidance—20 to 30 cm (8 to 12 in)—and check drainage before growth hides the surface. Begin light tip harvests only after vigorous growth is established, always leaving enough clean foliage for recovery. Follow this harvest guidance: leaves and tender tips throughout warm weather, before frost. Gather stems in the cool part of the day with clean scissors. Pinch or cut flower stems according to the desired harvest: delay bloom for leaves, or retain selected usable flowers. Before frost or winter dormancy, take the final sound harvest, then remove damaged material and reduce watering as growth slows. For the next season, start a fresh succession rather than relying on tired annual stems.
Container growing
A garden,within reach.
Recommended pot size
20 to 30 cm (8 to 12 in)
Growing basil in containers. Choose a stable container at least 20 to 30 cm (8 to 12 in) wide and deep with several holes. Fill it with fertile, well-drained potting mix amended with modest mature compost. Place one vigorous plant in a small pot or space several plants 25 cm (10 in) apart in a large planter. Position the container in sun and rotate it weekly for balanced light. Water slowly when the surface begins drying, then empty the saucer. Pinch tips above a pair of leaves and harvest small amounts instead of stripping the plant. Feed lightly only when foliage pales. Monitor aphids and mould beneath leaves. As nights cool, move the pot into a bright warm location without promising easy winter production. Supplemental lighting may improve indoor conditions. Clean scissors between plants, avoid keeping foliage constantly wet, and reduce irrigation as growth slows. Replace the plant when root problems persist, and never reuse visibly diseased mix for another basil crop. Label the pot with species and sowing date, then inspect drainage holes after heavy rain. Harvest in the morning, place leaves in shade immediately, and keep the container away from scorching surfaces that overheat roots. When moving indoors, quarantine it briefly and inspect for insects before placing it near other herbs.

Bloom and dimensions
Its place,in your garden.
Mature height
Approximately 30 to 60 cm (12 to 24 in), depending on growing conditions
Width / spread
Approximately 30 cm (12 in)
Flower color
Pale to purple
Foliage color
Green, sometimes tinged purple
Foliage type
Deciduous
Growth rate
Fast
Growth habit
Bushy and branched when pinched
Fragrance
Warm, spicy, herbal, and lightly camphorous
Bloom period
Small pale-to-purple flower spikes generally appear from July through September in your region, depending on sowing date and warmth. Pinch early buds to extend leaf production, or allow several stems to bloom for pollinators and seed. Leaf flavour often becomes stronger during flowering. To collect seed, wait until spikes partially brown, cut them in dry weather, and finish drying them in a ventilated paper bag. Harvest before every seed drops, and label stored seed with the year and plant name.
Fruiting
After flowering and pollination, Organic holy basil 'Holy' gradually directs energy toward fruit or seed formation. This stage is not always wanted when leaves, roots, or stems are the primary harvest. For culinary quality, harvest at the recommended stage; allow only several healthy plants to complete the cycle when observing maturation or collecting permitted seed. During maturation, inspect Organic holy basil 'Holy' regularly and adjust care to its actual stage of growth.
Days to maturity
75 days according to the supplier packet
Harvest
Leaves and tender tips throughout warm weather, before frost
Garden associations
In goodcompany.
Companion plants
Low flowers can edge Holy basil and offer insect resources without smothering the herb. Companion planting around Holy Basil (Tulsi) does not replace weed control, correct pest identification, or sensible rotation. Harvest neighbours before they lean into the bushy and branched when pinched. Around Holy basil, leave a clean approach to the branched stems carrying aromatic leaves and flower spikes so stems can be cut without crushing nearby plants. Use companion planting to organize succession and diversity, not as a substitute for sound crop care. When arranging neighbours for Holy Basil (Tulsi), a companion does not guarantee control of insects or disease, so inspect every crop separately. Reassess the arrangement around Holy basil as both crops approach mature size.
Recipe idea
From the gardento your plate.
Edible parts
Leaves and flowers
Basil in the kitchen. Gentle tulsi culinary infusion — Rinse 10 to 12 young holy basil leaves and dry them carefully. Bruise them lightly, then place them in a clean teapot with 500 mL (2 cups) water just below boiling. Cover and steep for 5 to 7 minutes. Strain, taste, then add a small lemon slice or spoonful of honey if desired. Serve warm or cool promptly for an iced drink. This preparation describes a traditional food use and does not replace medical advice. Use only a plant correctly identified as Ocimum tenuiflorum and grown without treatments unauthorized for edible plants. Wash hands and utensils before preparation. Do not leave the infusion at room temperature for several hours; refrigerate leftovers within two hours and use them promptly. For broth, add several leaves near the end of cooking to retain aroma, then remove thick stems before serving. Adjust strength with water rather than assuming a medicinal dose.
Frequently asked questions
Your questions,answered.
When should holy basil be sown in your region?
Start seed indoors approximately six weeks before the expected last frost. Sow 6 mm (1/4 in) deep in light mix held around 20 to 25°C (68 to 77°F), then keep the surface moist without saturation. Emergence often occurs in 7 to 14 days. Provide abundant light immediately to avoid weak seedlings. Transplant only after all frost risk when soil is warm and nights remain mild. Acclimate plants for approximately one week by gradually increasing exposure to sun and wind. Holy basil is tropical and gains nothing from being placed too early in cold soil. If seedlings become crowded, pot them up gently before roots tangle rather than delaying outdoors under unsuitable temperatures.
How should holy basil be pinched and harvested?
Wait until a stem carries several leaf pairs, then cut its tip just above one healthy pair with clean scissors. Two new shoots may develop below the cut and make the plant more branched. Repeat on different stems instead of removing the whole top on one day. For cooking, harvest tender tips in the morning after dew dries and remove no more than one-third of the foliage. Cool the harvest promptly. Pinch buds when leaves are the priority, but allow several spikes to open when pollinators or seed are desired. Stop heavy cutting before cool weather. Clean scissors after diseased tissue and never harvest leaves showing mould or severe insect damage.
Can holy basil be grown in a container?
Yes. Use a stable pot at least 20 to 30 cm (8 to 12 in) wide and deep with several drainage holes. Place one plant in a small pot or space plants 25 cm (10 in) apart in a large planter. Position the container in full sun, rotate it regularly, and water as the surface begins drying. Always empty the saucer. Pinch frequently to maintain branching growth. As nights cool, move the pot into a very bright warm location while reducing water if growth slows. Supplemental light may be necessary to extend indoor production. Inspect leaf undersides before bringing the container inside.
Do holy basil flowers attract pollinators?
Yes. Holy basil's flower spikes can attract visiting pollinators and other flower-feeding insects. Allow some stems to bloom if wildlife value is a goal, while continuing to harvest leaves from other branches. The warm, spicy, herbal flowers are also listed as edible, but only use clean, correctly identified material. A plant that is repeatedly pinched remains bushier and delays flowering; a plant allowed to bloom shifts more energy into flower and seed production. Place flowering pots or beds where insects can reach them and avoid spraying open blooms. Holy basil is a tropical perennial grown as an annual in cold climates, so flowering occurs during the warm season and ends with frost. Observe actual visitors rather than promising a particular bee or butterfly species, since activity depends on location, weather, and nearby habitat.
How should leaves be preserved and seed harvested?
Use fresh leaves promptly or freeze them in clean small portions. For drying, spread leaves in a thin layer in shade in a dry, well-ventilated location; avoid thick bundles that retain moisture. Store them only when crisp and completely dry. For seed, allow several spikes to mature until brown, then cut them over a paper bag before scattering. Finish drying, rub spikes gently, and remove debris. Label with species and date. Check the container after several days; any condensation requires additional drying. Discard every batch showing mould, unusual odour, or persistent moisture. Keep seed away from heat and bright light, and retain only material collected from healthy, correctly identified plants.
Wildlife and pets
Life,around your plants.
Supporting wildlife
Spikes of small pale-to-purple flowers provide nectar for bees, hoverflies, and other visiting insects during warm weather. Allow several stems to bloom without ending the entire leaf harvest. A succession of pinched plants and flowering plants preserves tender foliage while maintaining a steady resource for pollinators until cool nights arrive. Avoid spraying open flowers and place containers where insects can forage without frequent disturbance.
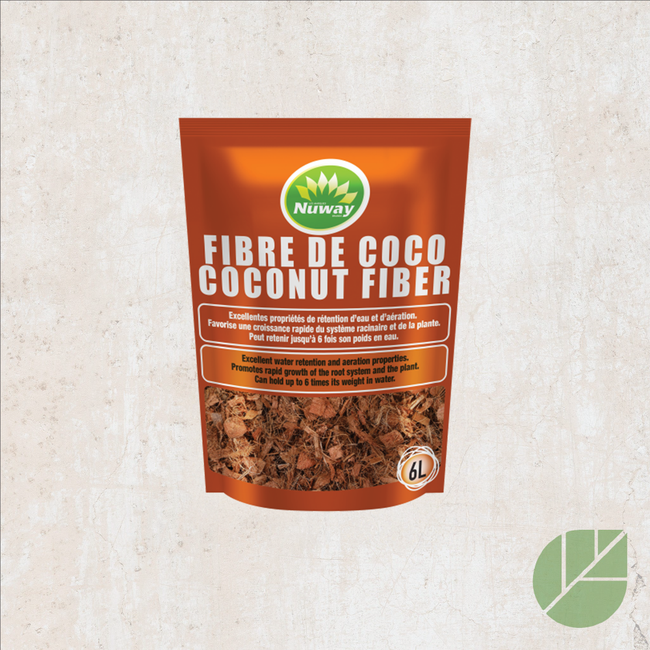
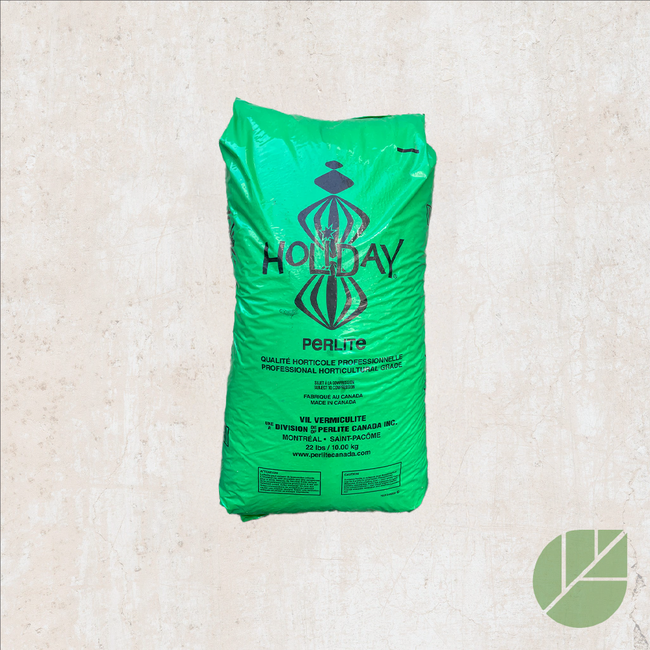
For a great start to your seeds
The right extras.Right here.
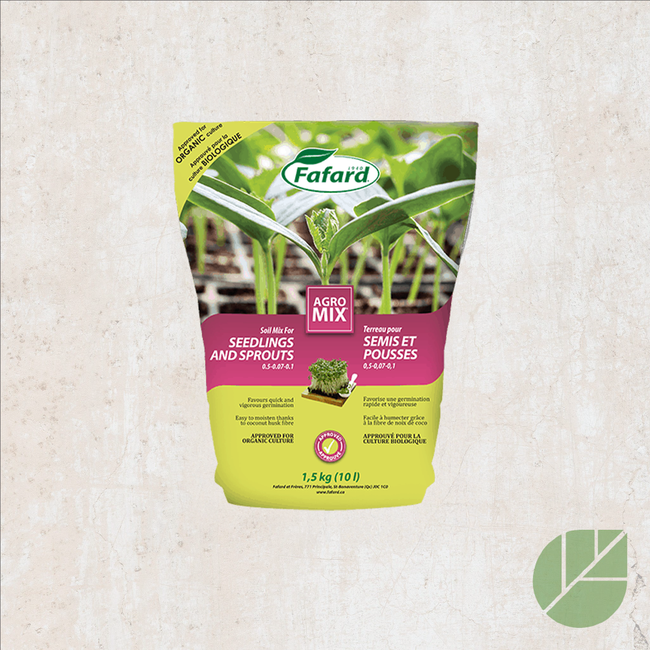
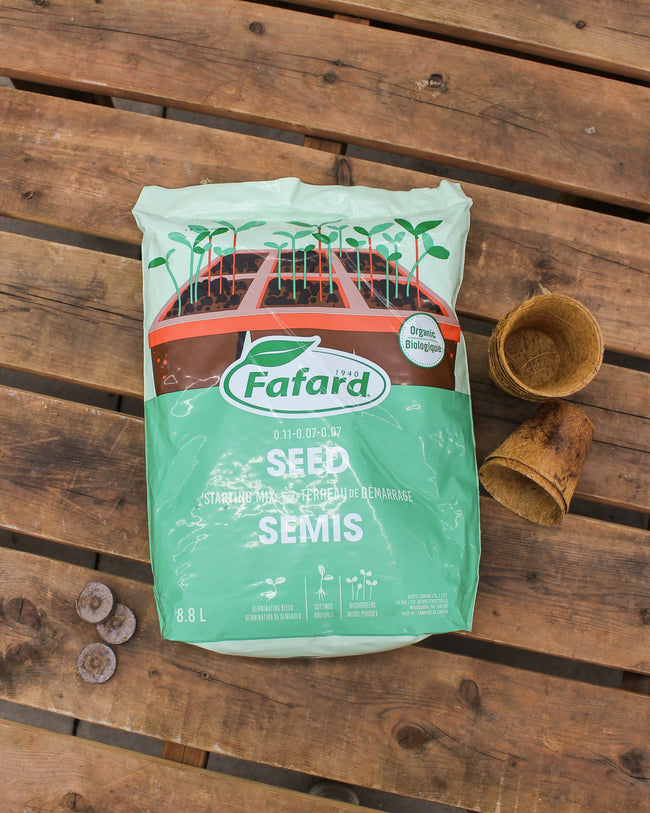
Seed Starting Soil
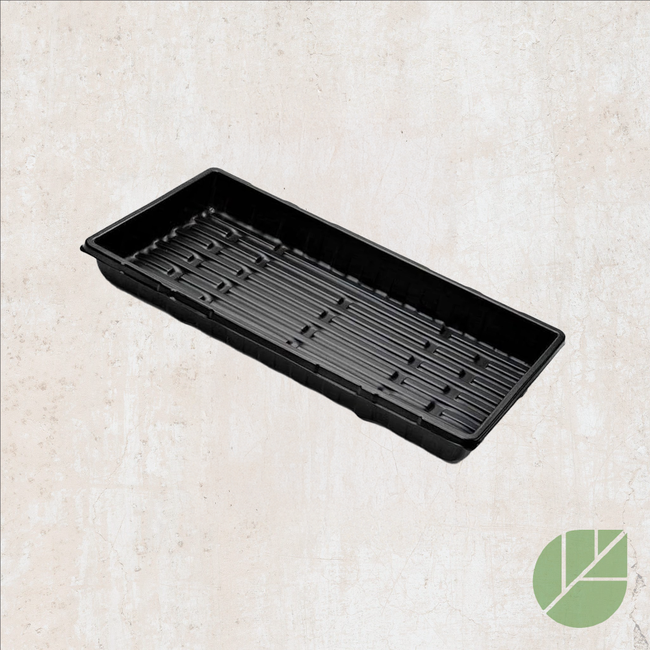
Shop the collectionSeed starting supplies
Shop the collection