Sale
Sold out

Tender annual culinary herb
Lamiaceae
Organic culinary herb seeds
Organic Italian basil
Ocimum basilicum
Product code : BIOVO-0003
Organic Italian basil is a large-leaved sweet basil, Ocimum basilicum, in the Lamiaceae family. This product contains approximately 400 organic seeds, with a stated 77-day cycle and a reference germination rate of 90%. Sow five seeds per hole, then retain the strongest plants. Allow 30.5 cm between plants and 45.7 cm between rows. Grow in sun and fertile, well-drained soil, water regularly, and pinch growing stems just above a healthy leaf pair. Harvest before cold weather for pesto, sauces, pasta, salads, pizza, and fresh garnishes. The commercial name does not confirm a more specific cultivar. Harvest regularly to encourage continuing tender growth.
- Quantity
- Approximately 400 organic seeds
- Exposure
- Sun
- Life cycle
- Frost-tender annual
Discover the plant
Common nameItalian basil, sweet basil
FamilyLamiaceae
GenusOcimum
Speciesbasilicum
TypeTender annual culinary herb
Botanical nameOcimum basilicum
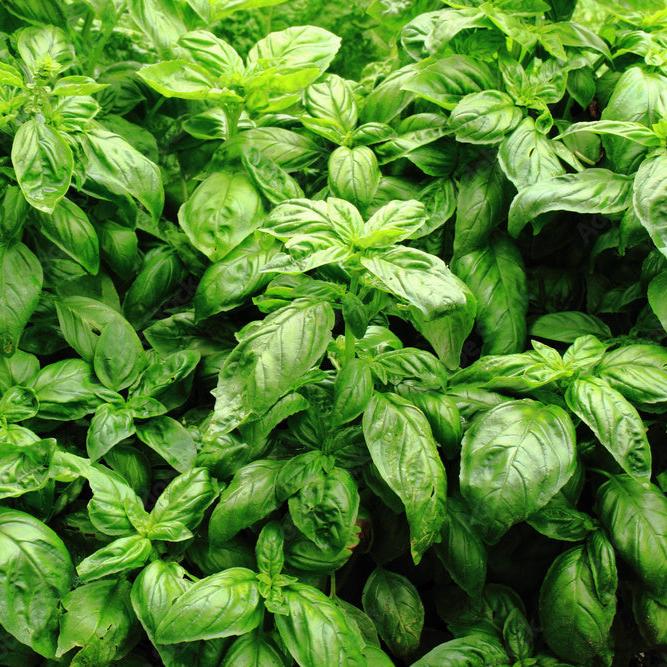
Organic Italian basil (Ocimum basilicum) is a large-leaved sweet basil grown as a frost-tender annual culinary herb in your region. Green aromatic leaves support repeated harvests throughout warm weather. This product contains approximately 400 organic seeds. The stated cycle is 77 days and the reference germination rate is 90%, although warmth, moisture, and seed freshness can change results. The name “Italian basil” describes a large-leaved type here without confirming a more specific cultivar. The plant belongs to the Lamiaceae family and suits both food gardens and large containers near the kitchen. Regular pinching encourages branching and provides convenient small harvests rather than one large cutting.
Start seed indoors four to six weeks before transplanting, or sow outdoors only after frost risk when soil is warm. Barely cover seeds and keep the mix evenly moist until emergence. You can sow five seeds per hole, then retain the strongest plants. Allow approximately 30.5 cm between plants and 45.7 cm between rows. Provide sun, fertile well-drained soil, and regular watering at soil level. Pinch stems immediately above a leaf pair to encourage branching and delay flowering. Avoid transplanting into cold soil, which strongly slows this tender species. Check containers frequently during hot weather because their growing mix can dry faster than garden soil.
Harvest tender tips regularly, ideally after dew has dried. Leaves suit pesto, tomato sauces, pasta, salads, pizza, and garnishes added near the end of cooking. Remove flower buds when leaf production is the priority, or allow several stems to bloom and provide nectar for visiting insects. Ground cherry, pepper, and tomato can share a diversified food garden with basil, but proximity does not replace direct pest monitoring. Do not expect a consistent effect against mosquitoes or aphids. Finish harvesting or move containers indoors before cold nights. Use clean scissors, harvest manageable portions, and cool leaves promptly. Discard any foliage that is mouldy, slimy, or extensively damaged.

Sowing guide
It all startswith a seed.
Sowing depth
Barely cover, approximately 3 mm (1/8 in)
Spacing / density
5 seeds per hole; 30.5 cm between plants; 45.7 cm between rows
Germination temperature
Approximately 18 to 24 °C (65 to 75 °F)
Germination time
Approximately 5 to 10 days
Sowing period
Indoors 4 to 6 weeks before last frost; outdoors after frost in warm soil
Propagation
Seed; stem cuttings possible from a healthy plant
Growing method
Growing Italian basil from seed. Sow indoors approximately four to six weeks before last frost in a clean light mix. Place seed 3 mm (1/8 in) deep, keep the mix warm at approximately 18 to 24°C (65 to 75°F), and maintain surface moisture without saturation. After emergence, provide intense light and good airflow. Pot up young seedlings carefully before roots become tangled. Once frost risk has passed and nights warm, acclimate plants for one week, then place them in full sun 25 or 30 cm (10 to 12 in) apart. Incorporate mature compost, water at soil level, and mulch lightly after soil warms. Pinch above a pair of leaves when each stem carries several nodes. Harvest regularly without removing more than one-third of the foliage. Remove flowers to extend leaf production or retain several spikes for insects and seed. Before cool nights, move containers inside or finish harvest. Clean tools, remove diseased plants, and dry seed only when fully mature. Label every batch with its date and botanical name. Record emergence and first-cut dates. Inspect leaf undersides weekly, isolate any seriously affected plant, and never save seed from a plant showing persistent disease. Keep harvested leaves shaded and cool, and clean scissors between plants. If indoor seedlings stretch, improve light rather than applying fertilizer.
Soil and care
The right care,at the right time.
Soil pH
Approximately 6.0 to 7.0
Care level
Easy
Watering
Italian basil produces tender leafy growth when moisture remains steady, but its crown should never sit in cold saturated soil. Water Italian basil at soil level in the morning and schedule the next irrigation from actual soil moisture, not the calendar. Italian basil's recommended container must drain freely; inspect it more often in wind and empty the saucer after watering. Around Italian basil, pull compacted mulch away from the crown and avoid prolonged leaf wetness before cool nights.
Soil type
Italian basil prefers light, fertile, well-drained soil amended with mature compost in moderation. Loose loam retains enough moisture to support foliage while releasing excess water promptly. Aim for slightly acidic to neutral soil, around pH 6.0 to 7.0. Avoid compact clay, fresh manure, and containers standing in water. For pots, choose an airy herb mix and several drainage holes. Warm soil is essential, so wait until both the bed and nighttime temperatures have warmed.
Fertilization
Italian basil produces better leafy growth with restrained fertility. Let a soil test guide any corrective amendment. For this bushy and branching when herb grown for large-leaved sweet basil, harvest quality can decline under excessive feeding. Never place fertilizer directly against young roots. Feed Italian basil lightly after harvest only when growth slows. Use new growth to judge whether nutrition is adequate. For this bushy and branching when herb grown for large-leaved sweet basil, its leafy growth should stay aromatic, firm, and compact. Apply every fertilizer at its labelled rate. Italian basil can lose flavour intensity and firm growth under rich nitrogen.
Moisture
Evenly moist soil with good airflow
Seasonal care
Seasonal care for basil. In late winter, prepare a warm bright area to start seed approximately four to six weeks before last frost. Keep the mix moist, watch for damping-off, and increase light immediately after emergence. In spring, pot up seedlings before they crowd, then acclimate them gradually as nights warm. Wait until frost risk has genuinely passed before planting. In early summer, add mature compost, water at soil level, and begin pinching above pairs of leaves. During hot periods, check container moisture daily, harvest regularly, and inspect for aphids. Remove most buds when leaves are the priority and retain several spikes for insects. In late summer, select healthy stems for seed and reduce cutting on them. Move containers inside before cool nights or finish harvest. Dry leaves and seed separately, label them, and verify dryness before storage. After frost, remove plants, clean pots and tools, then record dates, problems, and aromatic quality from each harvest. Inspect stored material after several days and discard any batch showing condensation, mould, or an unusual odour. In containers, empty saucers after rain and rotate pots for balanced light. Isolate any plant showing serious disease and do not save its seed. Compare branch number and leaf quality between pinched and flowering plants. Keep these observations with the garden plan to adjust sowing date, spacing, and the number of stems reserved for pollinators. Before reusing potting areas, remove old roots and verify that drainage remains open. Do not bring visibly infested plants indoors.
Container growing
A garden,within reach.
Recommended pot size
20 to 30 cm (8 to 12 in)
Growing basil in containers. Grow Italian basil in a stable container 20 to 30 cm wide and deep, with several unobstructed drainage holes. Fill it with fertile, airy potting mix enriched with a modest amount of mature compost. Sow or set one strong plant without burying the crown, then place the pot in full sun and rotate it occasionally so the bushy canopy develops evenly. Water slowly when the surface begins to dry, allowing excess water to leave before emptying the saucer. Pinch each growing tip just above a pair of leaves to encourage branching, and harvest a few stems at a time rather than stripping the plant. Feed lightly, at the product's labelled rate, only when leaf colour or growth shows a need. Check beneath the large leaves for aphids and inspect crowded growth for mould; remove affected material with clean scissors and avoid leaving foliage wet overnight. As nights cool, move the container to a bright, warm, sheltered position if a short harvest extension is worthwhile. Before bringing it near indoor herbs, isolate it briefly and inspect for insects. Reduce watering as growth slows, keep the pot away from cold glass and scorching surfaces, and do not promise continuous winter production without suitable supplemental light. Replace persistently unhealthy plants and discard visibly diseased potting mix instead of reusing it for basil.

Bloom and dimensions
Its place,in your garden.
Flower color
White
Foliage color
Medium to dark green
Foliage type
Deciduous
Growth rate
Fast
Growth habit
Bushy and branching when pinched
Fragrance
Sweet, peppery, lightly anise-like, and clove-like
Bloom period
Small spikes of white flowers appear in summer when stems are no longer pinched. Remove early buds to extend leaf production, or allow several stems to bloom and provide nectar for visiting insects. Flowering may slow production of young tender leaves. Cut with a clean tool immediately above a leaf pair to retain a branching structure. Harvest leaves before cold nights because basil remains highly frost sensitive. Inspect flower spikes before bringing cut stems indoors and avoid spraying open flowers.
Fruiting
After flowering and pollination, Italian basil forms small dark seeds inside dried calyces. This stage commonly reduces production of new tender leaves. For culinary use, pinch most spikes before they open. To observe or collect seed, allow only several healthy stems to mature until brown. Cut them over a paper bag, finish drying in a ventilated location, then remove debris. Store only completely dry seed in a container labelled with the species and date. Check the container after several days and dry the seed again if condensation appears.
Days to maturity
Listed growing period of 77 days
Harvest
Leaves and tender tips throughout warm weather, before frost
Garden associations
In goodcompany.
Companion plants
Ground cherry, pepper, and tomato can accompany Italian basil in a diversified food garden. This proximity does not provide assured growth improvement or consistent pest protection. Maintain the spacing, airflow, and rotation needed by every crop. Basil does not replace integrated pest management: inspect plants, remove severely affected tissue, water correctly, and choose an appropriate intervention after identifying the problem. Combining crops should not reduce their light, airflow, or root space. Record observations before attributing a result to companion planting.
Recipe idea
From the gardento your plate.
Edible parts
Leaves, tender stems, and flowers
Basil in the kitchen. Italian basil pesto — Gently rinse 50 g of healthy leaves, then dry them completely. Place them in a small food processor with 30 g toasted pine nuts or sunflower seeds, one small garlic clove, and 40 g grated Parmesan. Pulse while gradually adding 80 mL olive oil until the preferred texture is reached. Season lightly, taste, and add several drops of lemon juice only if that flavour is desired. Use clean utensils and do not leave pesto at room temperature for several hours. Refrigerate it within two hours and use promptly, or freeze it in small labelled portions. To retain bright colour, work without heat and avoid processing longer than necessary. Anyone with nut or dairy allergies should choose suitable substitutions and verify every ingredient before serving. Discard any batch showing mould, bubbling, leakage, or an unusual odour. Serve with pasta, grilled vegetables, or fresh bread, then return the container to refrigeration immediately after portioning.
Frequently asked questions
Your questions,answered.
When should Italian basil be sown in your region?
Start seed indoors approximately four to six weeks before the expected last frost. Sow 3 mm (1/8 in) deep in light mix held around 18 to 24°C (65 to 75°F), then keep the surface moist without saturation. Emergence often occurs in 5 to 10 days. Provide abundant light immediately to avoid weak seedlings. Transplant only after all frost risk when soil is warm and nights remain mild. Acclimate plants for approximately one week by gradually increasing exposure to sun and wind. Italian basil is frost tender and gains nothing from being placed too early in cold soil. If seedlings become crowded, pot them up gently before roots tangle rather than delaying outdoors under unsuitable temperatures.
How should Italian basil be pinched and harvested?
Begin pinching Italian basil only after each seedling has several established leaf pairs. With clean scissors, cut the tender tip just above a healthy node; buds in the two leaf axils below can then develop into side branches. Move from stem to stem over successive harvests instead of shearing the entire plant flat. For the best kitchen quality, collect young tips after morning dew has dried and avoid removing more than about one-third of the foliage at once. Pinch flower buds when leaf production is the priority, but leave selected spikes if you want blooms or seed. Keep some mature leaves on every branch to power regrowth, water the root zone after a substantial harvest if needed, and stop heavy cutting as cool weather slows growth. Reject mouldy, badly damaged, or heavily infested leaves.
Can Italian basil be grown in a container?
Italian basil performs well in a pot 20–30 cm wide and deep, provided drainage is free and warmth is reliable. One plant suits a smaller container; in a broad planter, respect the listed spacing rather than crowding several stems together. Use fresh potting mix, place the container in full sun, and water when the upper surface begins to dry. Empty the saucer after every thorough irrigation because wet roots and cool nights are a poor combination. Pinch above leaf pairs to develop a bushy plant, and turn the pot if light comes mainly from one direction. As autumn approaches, move it to a very bright, warm indoor position before frost, inspecting both sides of the leaves first. Growth will slow under weak winter light, so reduce watering and add supplemental light if continued harvest is expected.
Do Italian basil flowers attract pollinators?
Yes. Small flower spikes provide nectar to bees and other visitors during warm weather. To retain this value, allow several stems to bloom fully and avoid nonselective insecticides. Place flowering plants in a well-lit area away from traffic so stems are not broken and insects are not disturbed. The choice involves a trade-off: a stem devoted to flowers generally produces fewer new tender leaves. Divide roles among several stems or plants. Observe visitors without capturing them and remove only clearly diseased flowers. Bloom does not ensure the presence of one particular insect species. Keep irrigation at soil level so flowers remain dry and accessible during the day.
How should leaves be preserved and seed harvested?
Preserve Italian basil leaves separately from the seed crop. For cooking, use fresh leaves quickly, freeze chopped portions, or dry unblemished leaves in a single layer in shade with strong airflow. Jar them only when they are crisp and no cool or damp spots remain. For seed, stop pinching a few healthy flower spikes and let them turn brown on the plant as weather allows. Cut the dry spikes into a labelled paper bag, finish drying indoors, then rub them gently and screen out the chaff. Store clean seed in a cool, dark, dry place with the species and year recorded. Recheck both dried leaves and seed containers for condensation during the first week. Any mould, persistent moisture, or unusual odour means the material needs further drying or disposal, not sealed storage.
Wildlife and pets
Life,around your plants.
Supporting wildlife
Small spikes of white flowers provide nectar for bees, hoverflies, and other visiting insects during warm weather. Allow several stems to bloom without ending the entire leaf harvest. A succession of pinched and flowering plants preserves tender foliage while providing a resource for pollinators. Avoid spraying open flowers and place containers where insects can forage without frequent disturbance. Flower visitors vary with location, weather, and the surrounding garden.
For a great start to your seeds
The right extras.Right here.
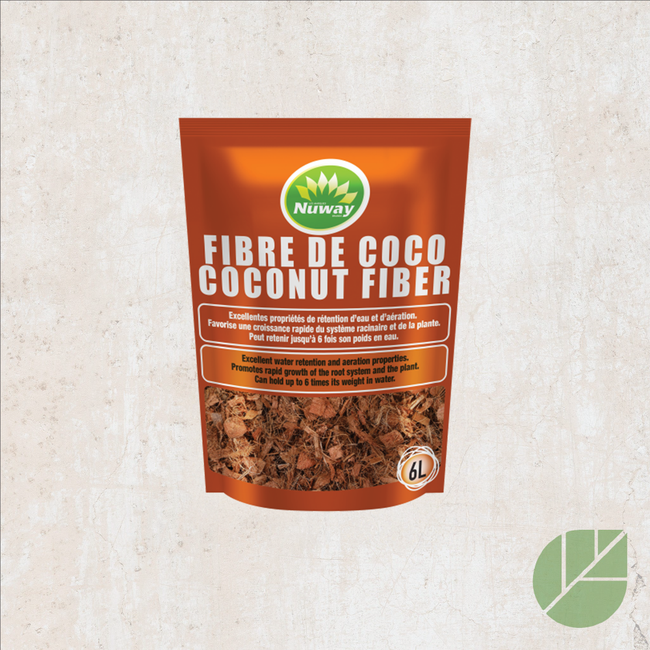
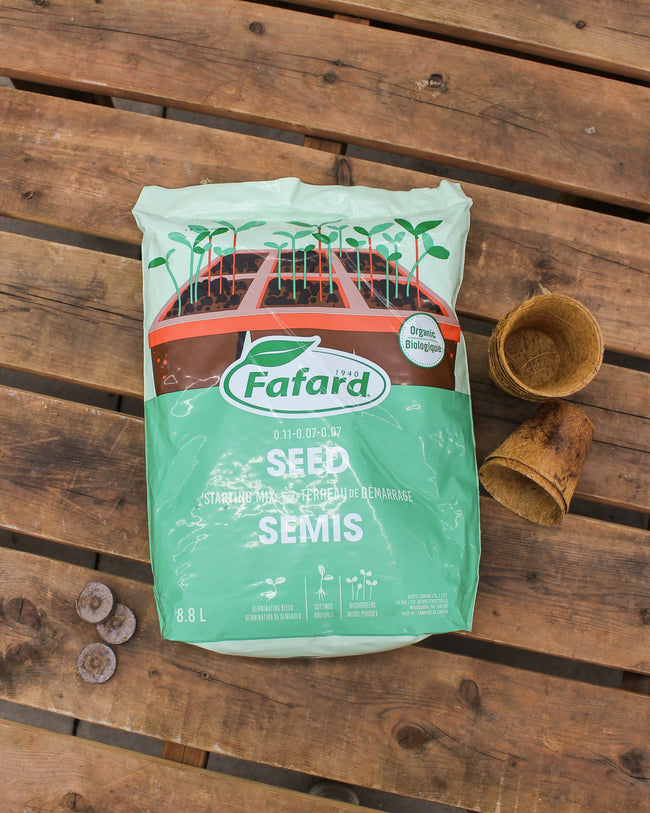
Seed Starting Soil
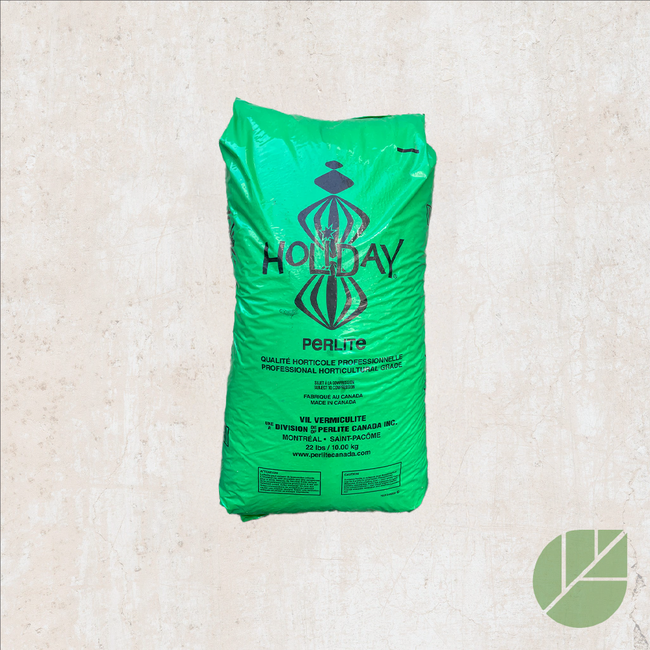
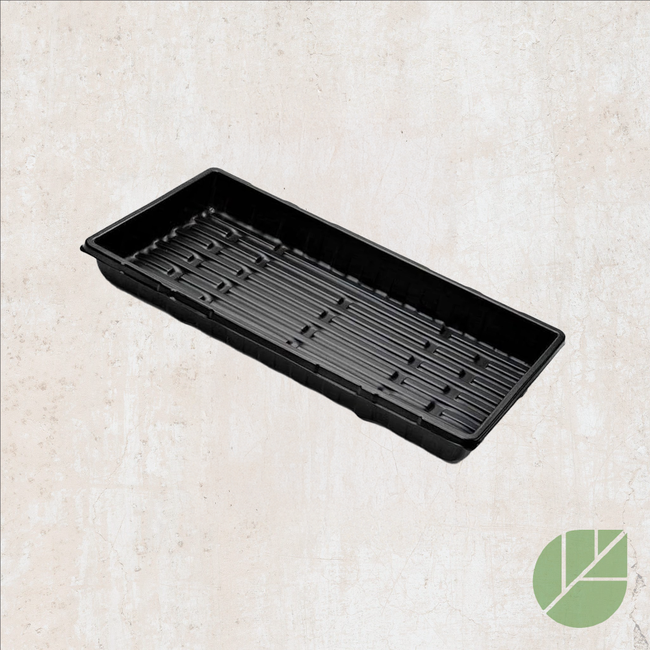
Shop the collectionSeed starting supplies
Shop the collection