Sale
Sold out

Annual cool-season vegetable
Brassicaceae
Organic leafy vegetable seeds
Organic 'Green Sprouting' broccoli
Brassica oleracea var. italica
Product code : BIOVO-0010
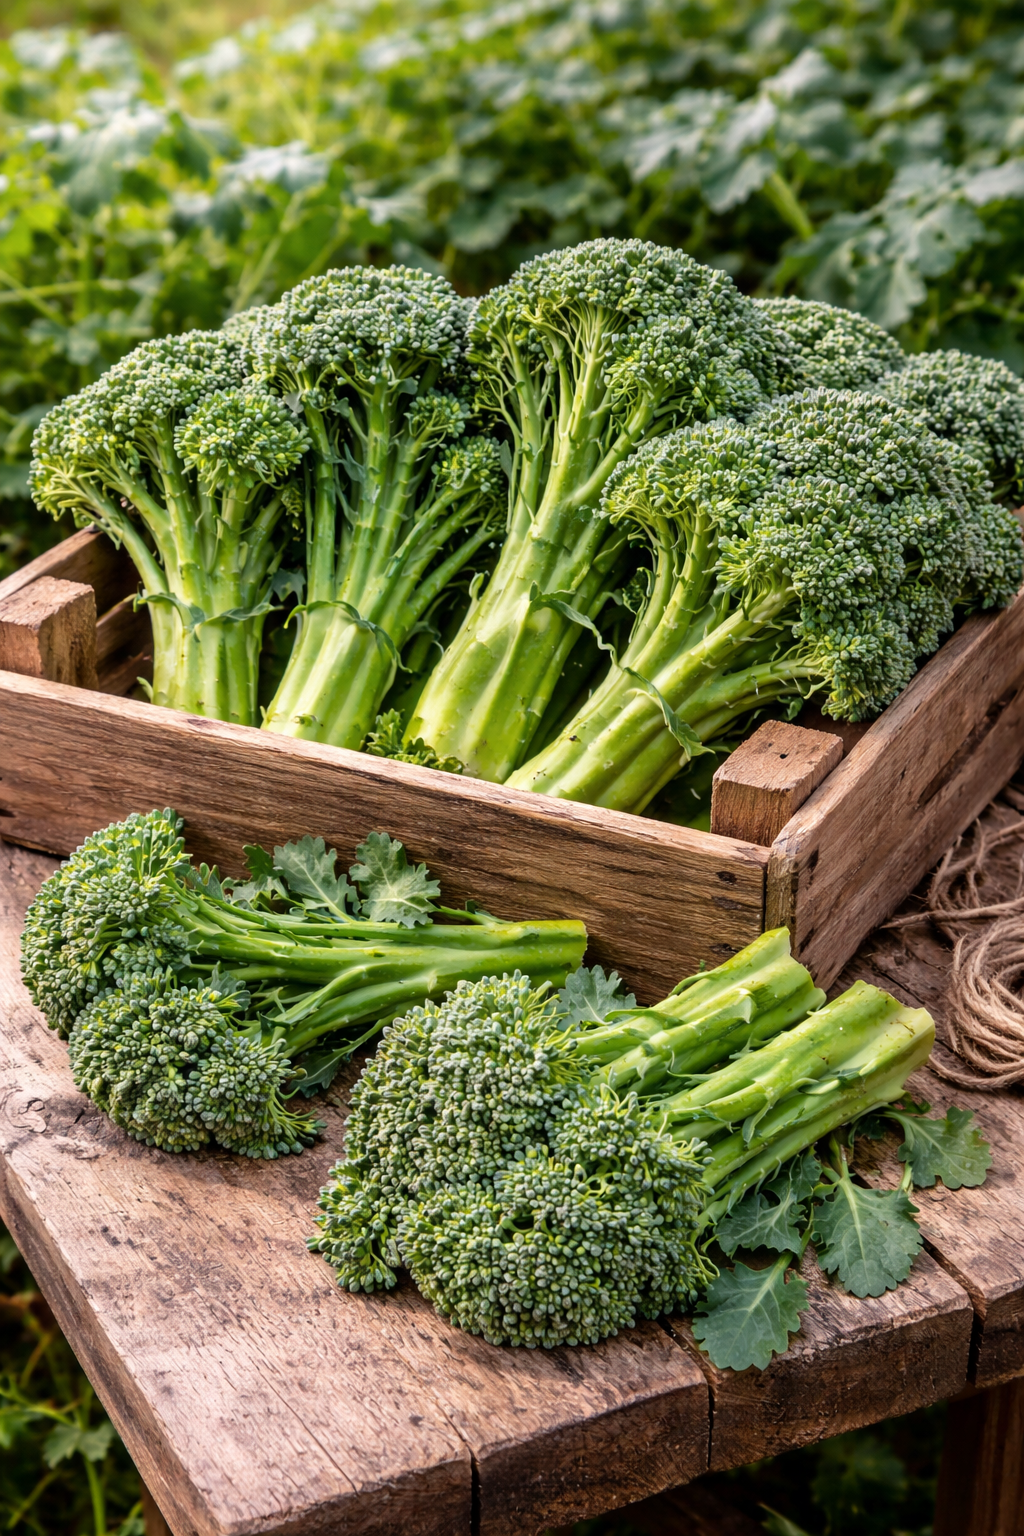
Organic 'Green Sprouting' broccoli, Brassica oleracea, produces a green central head followed by side shoots that may extend harvest after the first cut. This product contains approximately 200 organic seeds. Here “sprouting” refers to flowering shoots harvested in the garden, not seed intended for edible jar sprouts. Start seed indoors four to six weeks before transplanting or direct-sow in cool soil. Space plants 45 to 60 cm apart in sun or light partial shade and fertile moist well-drained soil. Maintain steady moisture, protect young plants with insect netting, and harvest within the indicative 60-to-75-day range while buds remain tight. Leave several healthy leaves after the first cut so secondary shoots can continue developing.
- Quantity
- Approximately 200 organic seeds
- Exposure
- Sun to partial shade
- Life cycle
- Biennial grown as an annual
Discover the plant
Common name'Green Sprouting' broccoli, green sprouting broccoli
FamilyBrassicaceae
GenusBrassica
Speciesoleracea var. italica
CultivarGreen Sprouting
TypeAnnual cool-season vegetable
Botanical nameBrassica oleracea var. italica
Organic 'Green Sprouting' broccoli (Brassica oleracea var. italica) is a cool-season garden broccoli grown for a green central head and side shoots that may follow the first cut. The word “sprouting” here describes flowering shoots produced in the garden; it does not mean the seed in this product is intended for edible jar sprouts. Tight flower buds, tender stalks, and young leaves may be steamed, roasted, stir-fried, or added to soups. Harvest generally falls within an indicative 60-to-75-day range, although temperature, sowing method, and transplanting date change this timing. Regular harvesting of side shoots can extend production when plants remain healthy and weather stays favourable.
Start seed indoors approximately four to six weeks before transplanting, or direct-sow when soil is cool and workable. Place seed approximately 0.5 to 1 cm deep. Harden plants gradually, then space them approximately 45 to 60 cm apart in full sun and fertile moist well-drained soil. Incorporate mature compost and maintain steady moisture, particularly during head formation. Mulch limits water fluctuations. Protect young plants early with insect netting and monitor flea beetles, aphids, imported cabbageworms, loopers, slugs, and rots encouraged by saturated ground. Rotate brassicas and avoid planting where related crops recently carried substantial disease.
Harvest the central head while buds remain tight and before yellow flowers open. Cut with a clean knife while leaving part of the stalk and several leaves on the plant; smaller side shoots may then form and extend harvest. Inspect plants every two or three days while heads enlarge because heat accelerates opening. Cool harvested heads promptly and refrigerate them. For a fall crop, schedule sowing or transplanting early enough for heads to develop during cool weather. Remove diseased debris and rotate with unrelated crops. Wash harvested portions carefully, discard damaged or contaminated tissue, and cook or refrigerate promptly according to the intended use.

Sowing guide
It all startswith a seed.
Sowing depth
Approximately 0.5 to 1 cm (1/4 to 3/8 in)
Spacing / density
Approximately 45 to 60 cm (18 to 24 in) between plants
Germination temperature
Approximately 10 to 24 °C (50 to 75 °F)
Germination time
Approximately 5 to 14 days; cool soil may place emergence near the slower end of the range.
Sowing period
Spring and late summer; successive sowings possible in cool weather
Propagation
Propagate from seed, maintaining even moisture and a suitable germination temperature.
Growing method
Growing 'Green Sprouting' broccoli from seed. Start seed indoors four to six weeks before transplanting, or direct-sow when soil is cool and workable. Place seed approximately 0.5 to 1 cm deep in moist growing medium without saturating it. Harden young plants gradually, then transplant them in sun or light partial shade, spacing them 45 to 60 cm apart. Choose fertile well-drained soil amended with mature compost. Water at soil level to maintain steady moisture, especially during head formation. Mulch helps reduce moisture fluctuations. Install tightly closed insect netting early and inspect the undersides of leaves. Harvest the central head while buds remain tight, then leave several leaves on the plant so side shoots can develop. For an autumn harvest, schedule sowing early enough for heads to form during cooler weather. Watch for flea beetles, aphids, caterpillars, and slugs before damage spreads. Avoid keeping foliage constantly wet and provide good air circulation. Remove clearly diseased debris after harvest and rotate broccoli with unrelated crops. Check plants every few days as heads enlarge because warm weather can accelerate flower opening. Refrigerate harvested heads promptly, and continue watering healthy plants evenly while side shoots develop. Record sowing, transplanting, and harvest dates to refine timing for your garden.
Soil and care
The right care,at the right time.
Soil pH
Slightly acidic to neutral
Care level
Easy
Watering
Keep soil evenly moist without saturating it, especially during emergence and head formation. Water deeply at soil level when the surface begins to dry. A light mulch reduces moisture swings and protects shallow roots. Avoid prolonged drought, which stresses plants, as well as standing water. Morning is generally the best time to irrigate. Adjust frequency to rainfall, temperature, soil texture, and container conditions.
Soil type
Choose fertile deep soil rich in mature organic matter and drained well. Broccoli forms heads best when roots receive steady moisture without standing in water. Incorporate compost before planting, loosen compacted areas, and avoid fresh manure. A slightly acidic to neutral pH, generally around 6.0 to 7.5, supports nutrient availability; a soil test should guide corrections. In heavy ground, use a raised bed. Rotate for three or four years where possible with unrelated crops to reduce accumulation of brassica diseases. Remove badly diseased roots and debris instead of composting them in a cool inactive pile.
Fertilization
Before sowing or transplanting, incorporate mature compost into fertile soil. After establishment, use a balanced fertilizer if needed and follow its label, avoiding excess nitrogen. Steady growth is preferable to a fast, tender surge. Observe leaf colour and plant vigour before adding more nutrients. A soil test remains the best basis for correcting deficiencies accurately. Water after feeding and keep fertilizer away from stems and young foliage.
Moisture
Evenly moist soil; good airflow around foliage
Seasonal care
Seasonal care for 'Green Sprouting' broccoli. Use 'Green Sprouting' broccoli’s stated sowing window as a frost-relative cue, not a universal date: spring and late summer; successive sowings possible in cool weather. Label the tray or row after sowing approximately 0.5 to 1 cm deep; seed generally emerges in 5 to 14 days at approximately 10 to 24 °C (50 to 75 °F), and slower seeds should not be disturbed. Raise seedlings in bright light or sow directly into a loose, fertile bed once cool-season conditions suit the crop. Thin or transplant to the stated spacing, setting the crown at soil level and firming soil gently around the roots. Keep moisture steady as leaves and stems expand, while preserving drainage and airflow after rain or overhead irrigation. 'Green Sprouting' broccoli container guidance: 35 to 45 cm (14 to 18 in). Set the pot where runoff can escape and light is adequate. Inspect leaves frequently for flea beetles, caterpillars, and slugs, especially while the edible centre is still small. A light cover can protect young plants from insects or cool wind, but remove or vent it before heat builds around the foliage. Plan harvest from the supplied guidance—approximately 60 to 75 days depending on method; harvest before flowers open—then use actual size and tenderness rather than forcing an exact calendar date. Cut before open flowers reduce culinary quality, leaving productive side shoots only where the crop naturally supplies them. If summer heat ends the crop, clear bolted stems; where autumns are long enough, start a separate late sowing as temperatures moderate.
Container growing
A garden,within reach.
Recommended pot size
35 to 45 cm (14 to 18 in)
Growing 'Green Sprouting' broccoli in containers. For 'Green Sprouting', choose a container matching this guide: 35 to 45 cm (14 to 18 in). Keep several drainage holes unobstructed. If a seed harvest from 'Green Sprouting' is planned, retain the cultivar label and consult crop-specific isolation guidance; vegetable harvest directions alone are not sufficient. Sow this leafy crop thinly or transplant a sturdy seedling without burying the crown. Choose a position for the crop with sun to partial shade without sacrificing airflow or watering access. Leave enough rim space for slow watering without splashing soil into the upright rosette bearing a central head followed by side shoots. The planting has a habit described as upright and leafy with thick stems and flowering shoots; use this to guide positioning or selective thinning without forcing a cramped plant. Check the shallow root zone often and water before it dries deeply, always emptying the saucer. The rosette produces the expected harvest form: harvestable leaves. Protect the developing crop from soil splash and rough handling. Place the container in sun during cool weather and use light afternoon shade as heat increases. The spacing guidance for this leafy crop is approximately 45 to 60 cm (18 to 24 in) between plants; use it when balancing airflow with the available growing area. Harvest clean outer leaves while preserving the centre, or cut the whole plant at its intended stage with a clean knife. Cut clean leaves before bolting, cool them promptly, and remove diseased potting debris from reuse. Succession-sow another labelled container instead of keeping bolting the rosette. Remove diseased mix from reuse, wash the pot, and cool every edible harvest promptly.

Bloom and dimensions
Its place,in your garden.
Mature height
Approximately 45 to 75 cm (18 to 30 in)
Width / spread
Approximately 45 to 60 cm (18 to 24 in)
Flower color
Yellow
Foliage color
Green to blue-green
Foliage type
Deciduous
Growth rate
Fast
Growth habit
Upright and leafy with thick stems and flowering shoots
Bloom period
Broccoli forms tight flower buds grouped in a central head and later on side shoots. Culinary harvest occurs before they open. When a head remains on the plant, small four-petalled yellow flowers appear and attract various insects. Heat, water stress, or delayed harvest accelerates opening. To retain tender texture, inspect heads every two or three days and cut them as soon as the buds begin loosening, while leaving several sound leaves to support new side shoots.
Fruiting
After flowering and pollination, broccoli forms elongated pods containing its seeds. This stage is not required for harvesting central heads and side shoots. To collect seed where permitted, allow a few healthy plants to complete their cycle, gather pods as they dry, and finish drying away from moisture. Cultivar fidelity is not assured without adequate isolation from other compatible flowering brassicas.
Days to maturity
Approximately 60 to 75 days depending on the growing method; harvest before flowers open
Harvest
Approximately 60 to 75 days depending on method; harvest before flowers open
Garden associations
In goodcompany.
Companion plants
No specific companion plant is confirmed for this product. 'Green Sprouting' can nevertheless grow near vegetables that prefer fertile, consistently moist, well-drained soil when enough room remains around its foliage. Low crops harvested quickly may share the bed without shading the broccoli. Maintain 45–60 cm between broccoli plants, preserve good airflow, and water every crop according to its needs. Companion planting does not replace brassica rotation, weeding, or monitoring for flea beetles, aphids, and caterpillars. Results vary with soil, weather, and garden layout. Thin or move neighbouring plants when they begin to restrict light, airflow, root space, or access for harvesting.
Recipe idea
From the gardento your plate.
Edible parts
Flower buds, tender stalks, and young leaves
'Green Sprouting' broccoli in the kitchen. For a simple Green Sprouting stir-fry, wash approximately 300 g young stems, leaves, and buds, then drain them. Separate thick stems from leaves and cut them into even pieces. Heat 15 mL (1 tbsp) oil in a large pan, add one small chopped garlic clove and 5 mL (1 tsp) ginger, then stir briefly without burning. Add stems with 30 mL (2 tbsp) water and cook covered for two minutes. Add leaves and buds, then continue cooking only until tender while preserving their colour. Season with a small amount of soy sauce or salt according to dietary needs. Serve immediately and refrigerate leftovers promptly in a closed container. Use a clean knife and board, discard damaged portions, and adjust cooking time to the actual thickness of the stems. Serve with rice or noodles and add extra seasoning at the table instead of extending cooking unnecessarily. Keep raw produce separate from ready-to-eat foods, wash hands before preparation, and use leftovers only when they have been cooled and stored safely.
Frequently asked questions
Your questions,answered.
When should Green Sprouting be sown in your region?
Place seed approximately 0.5 to 1 cm deep and keep the growing medium moist without overwatering. Harden plants before moving them to the garden, then space them 45 to 60 cm apart. Broccoli prefers fertile well-drained soil amended with mature compost. For an autumn crop, schedule sowing so head formation coincides with returning cool temperatures. Insect netting installed early helps protect young plants. Keep the cover tightly closed at soil level and inspect leaf undersides regularly. Water at soil level whenever the surface begins drying. For best results, check moisture and leaf condition regularly, then adjust watering and protection as the plants develop.
Which part of broccoli is harvested?
Harvest the central head first when its buds are well formed, tight, and still green. Cut it with a clean knife while leaving part of the stalk and several sound leaves on the plant. Smaller side shoots may then develop and extend the harvest. Florets, tender stalks, and sound young leaves are edible. Rinse them carefully to remove soil and insects, then refrigerate promptly. If buds begin loosening or yellow flowers appear, harvest without delay because heat and late cutting can make the stalks firmer and the flavour more pronounced. Discard portions showing rot, contamination, or an unusual odour. Cook thicker stalks slightly longer than the florets.
How can insects be limited on Green Sprouting?
Install fine insect netting at sowing or transplanting before flea beetles and butterflies can reach plants. Support it on hoops, secure every edge to the soil, and check that no infested brassica is trapped underneath. Inspect both leaf surfaces regularly and manually remove observed eggs or caterpillars. Keep the bed clean, water at soil level, and discard clearly diseased debris. After harvest, rotate with a crop from another family for several years. If additional action becomes necessary, identify the pest first and follow only a method authorized for leafy vegetables in your region. Wash harvested leaves thoroughly before cooking. Prompt action prevents minor damage from becoming widespread.
Can Green Sprouting be grown in a container?
Green Sprouting broccoli can be container-grown if one plant receives a pot 35–45 cm wide with comparable depth and unrestricted drainage. Its leafy frame may reach 45–75 cm, so choose a broad container that will not topple and allow room around it for airflow. Fill with rich vegetable potting mix, set the plant in sun during cool weather, and monitor moisture closely because brassicas dislike repeated drying. Water the mix rather than leaving the crown wet, and never keep the pot in standing runoff. Fine insect netting over a small frame can protect leaves without touching them. Harvest the central shoot while its buds remain tight, cutting above several healthy leaves; side shoots may then develop. A window box shared by crowded plants will not provide the 45–60 cm spacing recommended for full growth.
How can you tell when Green Sprouting is ready to harvest?
Look at the buds rather than waiting for a fixed head diameter. Green Sprouting is ready when the central cluster is well formed, the individual flower buds remain closed and tight, and the supporting stalk is still tender. The published 60–75-day range varies with the growing method and weather, so inspect plants frequently as the cluster enlarges. Cut in the cool part of the day with a clean knife, taking the shoot above several healthy leaves. Leaving that leafy base allows the plant to redirect growth into smaller side shoots for later harvests. A few opening flowers do not make the plant unsafe, but extensive yellow bloom usually means tougher stems and stronger flavour. Cool the cut broccoli promptly, wash before use, and cook thick stem sections slightly earlier than the leaves or fine buds.
Wildlife and pets
Life,around your plants.
Supporting wildlife
Green Sprouting broccoli is cut while the buds are tight. If a side shoot is left to open, its yellow crucifer flowers can provide pollen and nectar to bees, hoverflies, and other small visitors. Blooming marks a decline in eating quality, however, so reserve only a healthy unharvested stem for insects and keep the remaining shoots on schedule for the kitchen.
For a great start to your seeds
The right extras.Right here.
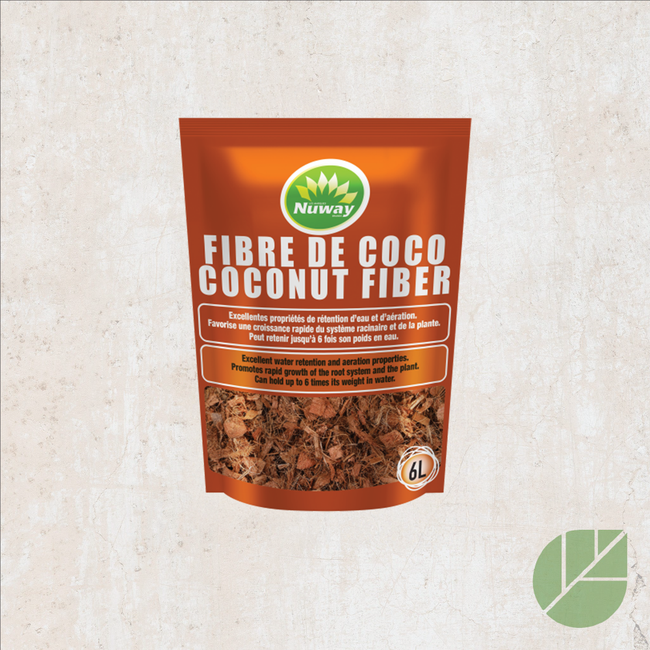
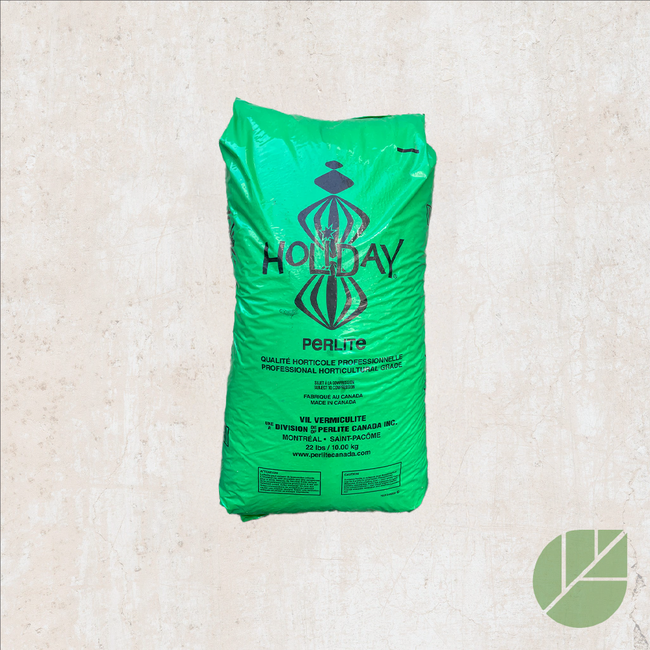
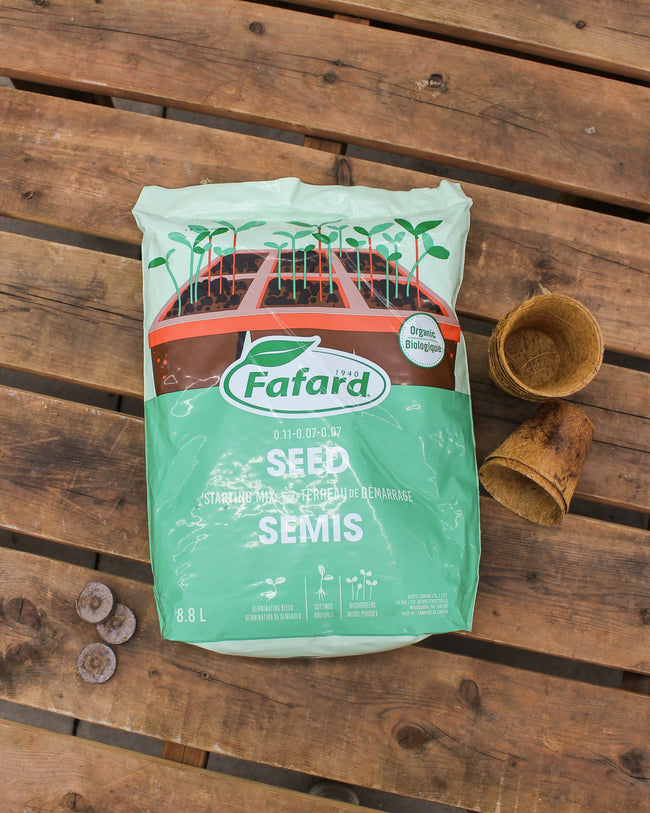
Seed Starting Soil
Shop the collectionSeed starting supplies
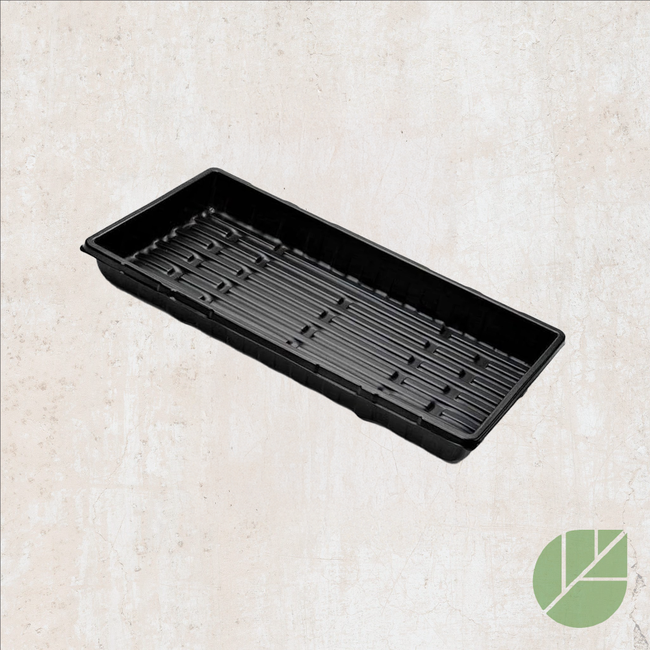
Shop the collection