Sale
Sold out

Hardy perennial culinary herb
Amaryllidaceae
Organic perennial culinary herb seeds
Organic chives
Allium schoenoprasum
Product code : BIOVO-0028
Organic chives, Allium schoenoprasum, are a hardy perennial herb in the Amaryllidaceae family. This product contains approximately 800 organic seeds, with a stated 90-day cycle and a reference germination rate of 90%. Sow ten seeds per hole and allow 30.5 cm between plants and rows. Grow in sun or partial shade in fertile, moist, well-drained soil. Cut established leaves 3 to 5 cm above the soil to encourage regrowth. Edible purple flowers provide nectar for visiting insects. Zone 3 applies to a well-established perennial in open ground, while an exposed container requires additional winter protection. Divide crowded clumps to renew growth.
- Quantity
- Approximately 800 organic seeds
- Exposure
- Sun to partial shade
- Life cycle
- Perennial
- Hardiness
- Zone 3
Discover the plant
Common nameChives, common chives
FamilyAmaryllidaceae
GenusAllium
Speciesschoenoprasum
TypeHardy perennial culinary herb
Botanical nameAllium schoenoprasum
Organic chives (Allium schoenoprasum) are a hardy perennial culinary herb in the Amaryllidaceae family. Clumps produce hollow leaves with mild onion flavour and edible purple umbels appreciated by pollinating insects. The species is native to Canada and much of the temperate Northern Hemisphere. This product contains approximately 800 organic seeds. The stated cycle is 90 days and the reference germination rate is 90%, although seed freshness and sowing conditions can change results. Zone 3 hardiness suits an established plant in well-drained open ground; exposed containers need additional winter protection. Compact clumps fit herb beds, edible borders, raised gardens, and containers near the kitchen.
Start seed indoors six to eight weeks before the last frost, or direct-sow outdoors in spring. Cover seeds lightly and keep the mix moist without saturation. You can sow ten seeds per hole, allowing approximately 30.5 cm between plants and rows. After emergence, provide intense light, then acclimate young clumps. Place them in sun or partial shade in fertile, moist, well-drained soil. Water during establishment and dry periods. Add modest mature compost in spring and divide clumps that become overly crowded. Avoid waterlogged winter sites and keep the crown level with the soil. In containers, empty saucers after watering and monitor moisture more often during hot weather.
Harvest a well-established clump with clean scissors approximately 3 to 5 cm above the soil to stimulate fresh growth. Use leaves fresh in salads, eggs, potatoes, soups, and sauces, or freeze chopped surplus. Edible purple florets can garnish food when they come from correctly identified plants grown for culinary use. After flowering, remove spent scapes to limit self-sowing. Carrot, cucumber, and strawberry can share a diversified food garden with chives, but proximity does not replace pest monitoring. Leave several intact umbels for bees and other visiting insects. Refrigerate harvested florets promptly and discard any leaves or flowers showing decay, contamination, or unauthorized treatment exposure.

Sowing guide
It all startswith a seed.
Sowing depth
Cover lightly, approximately 6 mm (1/4 in)
Spacing / density
10 seeds per hole; 30.5 cm between plants; 30.5 cm between rows
Germination temperature
Approximately 21 to 24 °C (70 to 75 °F)
Germination time
Approximately 7 to 14 days with fresh seed and even moisture.
Sowing period
Indoors 6 to 8 weeks before last frost or outdoors in early spring
Propagation
Seed and clump division
Growing method
Growing chives from seed. Sow several seeds per small pot six to eight weeks before last frost. Cover with approximately 6 mm (1/4 in) fine mix, maintain 21 to 24°C (70 to 75°F), and keep the medium moist without saturation. Fresh seed may emerge in seven to ten days. Immediately after emergence, provide intense light and good airflow. Acclimate young clumps gradually, then plant in sun or partial shade in fertile well-drained soil 20 or 30 cm apart. Irrigate during establishment and mulch lightly without covering the crown. Wait for a strong clump before the first cut. Harvest with clean scissors 3 to 5 cm above the soil. After flowering, cut tired leaves back to encourage regrowth. Add compost the following spring. Divide a crowded clump in spring or early fall, replanting every section at its former depth. Avoid waterlogged sites, remove diseased foliage, and record cutting dates to stagger harvests. Do not take every leaf before winter; allow the crown to store energy and enter dormancy naturally. Keep a durable label beside every clump and inspect its position after thaw. When seedlings are sparse, retain several together rather than disturbing their fine roots repeatedly.
Soil and care
The right care,at the right time.
Soil pH
Approximately 6.0 to 7.0
Minimum temperature
Overwinter in well-drained ground; local hardiness, snow cover and winter exposure affect survival
Care level
Easy
Watering
Keep the sowing mix evenly moist during germination without soaking it. After establishment, water deeply when the surface begins to dry. Even moisture supports tender leaves and active regrowth after cutting, while standing water promotes rot. Water in the morning and reduce frequency during cool weather. Containers dry faster, so check them often during hot periods and always let excess water drain. Mulch lightly around outdoor clumps without burying the crown or trapping constant moisture against leaves.
Soil type
Chives prefer fertile, moist, well-drained soil amended moderately with mature compost. Loose loam retains enough moisture to support leaves without leaving water around the bulbs. Aim for pH around 6.0 to 7.0. Avoid compacted soil and waterlogged winter sites. In containers, use an airy herb mix and several drainage holes, then divide crowded clumps. Keep the crown near soil level and refresh a portion of tired potting mix when dividing mature plants.
Fertilization
Incorporate mature compost before planting and add a thin layer around established clumps in spring. Normally fertile soil needs little extra fertilizer. After repeated cutting, a light balanced feeding may support regrowth when label directions and a soil test indicate a need. Avoid excessive nitrogen, which produces soft leaves. Before feeding again, check watering, drainage, light, and crowding within old clumps. Divide congested plants when reduced vigour comes from limited space rather than a nutrient shortage.
Moisture
Moist soil with good drainage
Seasonal care
Seasonal care for chives. In late winter, start indoor seed six to eight weeks before last frost or inspect established clumps as snow recedes. In spring, gently remove dead foliage, add compost around the crown without burying it, and divide crowded clumps. Acclimate new plants before setting them outside. During establishment, irrigate if soil dries and weed by hand. In early summer, harvest leaves 3 to 5 cm above the soil while allowing several clumps to flower for pollinators. After bloom, remove scapes when self-sowing is unwanted, then cut tired foliage back. Through summer, maintain even moisture and monitor thrips, aphids, and rot in poorly drained sites. In early fall, divide when needed while roots still have time to establish. Reduce heavy cutting before cold weather and let foliage enter dormancy naturally. In containers, shelter the root ball from repeated freezing and drying. Clean scissors, remove only diseased tissue, and record spring emergence, flowering, cutting, and division dates so interventions can be distributed more effectively the following year. Check drainage again before winter because saturated soil increases crown damage and winter loss. When seed is desired, allow several umbels to dry completely, cut them over a bag, and finish drying under cover. Label the batch and do not retain seed from diseased clumps. Inspect stored seed for moisture after several days. Divide maintenance among clumps so flowers, fresh leaves, and recovering plants remain available simultaneously.
Container growing
A garden,within reach.
Recommended pot size
20 to 25 cm (8 to 10 in)
Growing chives in containers. Choose a stable container 20 to 30 cm (8 to 12 in) wide and similarly deep with several drainage holes. Fill it with fertile well-drained mix amended with modest mature compost. Place one small clump in the centre without burying the crown. Position the container in sun or partial shade and water as the surface begins drying, then empty the saucer. During hot weather, check moisture daily without keeping roots constantly saturated. Cut established leaves 3 to 5 cm above the mix with clean scissors. Remove scapes after flowering when seed is not wanted. When the clump fills the pot, divide it and replant only healthy sections. For winter, place the container in a sheltered location where it remains cold but avoid repeated drying and waterlogging. A fully exposed pot may become colder than garden soil. In spring, clear dead leaves, add modest compost, and resume watering gradually. Label the pot and monitor aphids, thrips, and crown rot. Quarantine any container moved indoors and provide bright cool conditions rather than forcing weak growth in poor light. Compare container regrowth with a clump grown in open soil, recording watering frequency, winter exposure, and the first usable spring harvest.

Bloom and dimensions
Its place,in your garden.
Mature height
Approximately 30 to 45 cm (12 to 18 in) at flowering
Width / spread
Approximately 30 to 45 cm (12 to 18 in)
Flower color
Pale purple to violet
Foliage color
Dark green
Foliage type
Deciduous
Growth rate
Fast
Growth habit
Dense upright herbaceous clump
Fragrance
Mild onion flavour and aroma
Bloom period
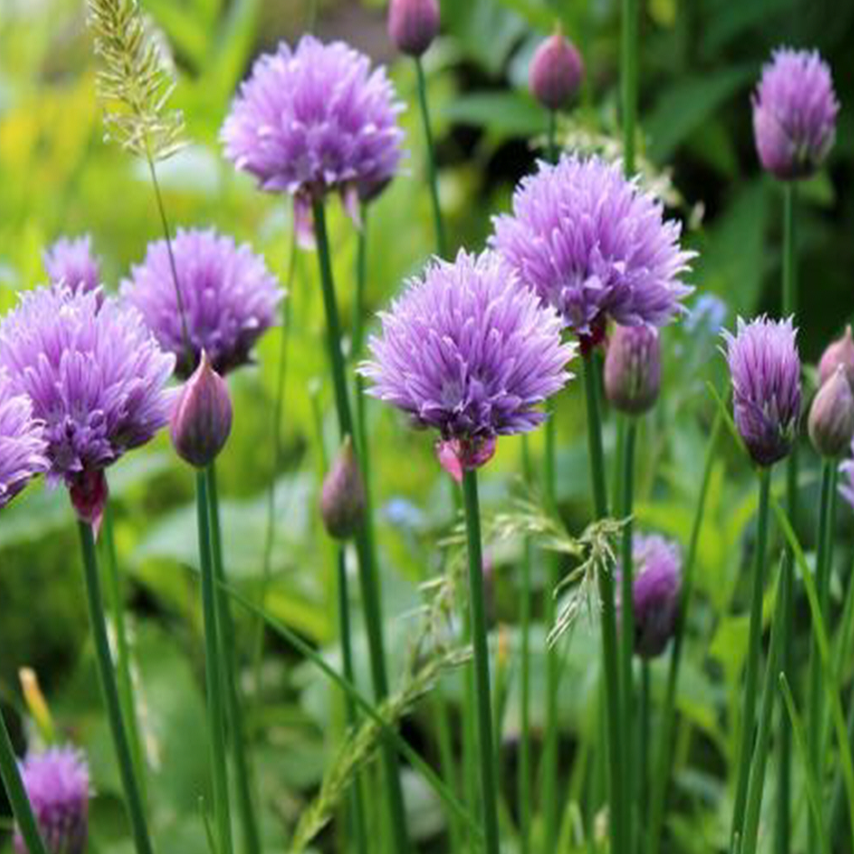
Purple to violet-pink umbels appear in late spring or early summer on established clumps. Edible flowers attract various visiting insects. Leave several scapes intact for pollinators, or remove spent flowers to limit self-sowing. Harvest only correctly identified, untreated flowers intended for food. Divide overly dense clumps in spring or autumn and maintain good airflow around foliage. When saving seed, let selected heads mature fully, dry them in a ventilated paper bag, and label the year clearly.
Fruiting
Chives produce rounded flower heads on hollow scapes in spring to early summer. Pollinated florets mature into dry capsules containing black seed, while the clump continues growing from its bulbs. Snip flowers young for eating, deadhead to limit self-sowing, or leave selected heads until papery and dry for seed. Cutting spent scapes keeps the planting tidy and redirects attention to fresh leaves.
Days to maturity
Listed growing period of 90 days
Harvest
First cut approximately 6 to 8 weeks after planting; repeated cuts afterward
Garden associations
In goodcompany.
Companion plants
Carrot, cucumber, and strawberry can accompany chives in a diversified food garden. This proximity does not provide assured growth improvement or consistent pest protection. Respect the spacing, light, water, and rotation needs of every crop. Chives do not replace integrated pest management: identify the pest or disease first, then choose an appropriate intervention. Companion arrangements must not reduce light, airflow, or root space. Record observations from one season to another before attributing a result to companion planting. Observe local results carefully.
Recipe idea
From the gardento your plate.
Edible parts
Leaves and tender flowers
Chives in the kitchen. Chive butter — Soften 125 g unsalted butter in the refrigerator and then briefly at room temperature. Rinse a small handful of healthy leaves, dry them completely, and finely chop approximately three tablespoons. Mix them into the butter with one teaspoon lemon juice, a pinch of salt, and pepper. Place the mixture on parchment, shape it into a log, and wrap it tightly. Refrigerate within two hours, then slice for potatoes, vegetables, fish, or bread. Use only correctly identified flowers grown for food when adding several purple florets. Keep the butter cold and use promptly, or freeze small labelled portions. Wash utensils and hands before preparation. Discard any batch showing mould, an unusual odour, or extended storage at room temperature. People with dairy restrictions should use a suitable alternative and verify every ingredient before serving. Prepare only the amount needed to limit leftovers and preserve the fresh chive flavour. Mark frozen portions with both the preparation date and intended use.
Frequently asked questions
Your questions,answered.
When should chives be sown in your region?
Start indoors six to eight weeks before last frost or direct-sow outdoors in early spring. Place several seeds in a small pot and cover approximately 6 mm (1/4 in). Keep the mix around 21 to 24°C (70 to 75°F), moist without saturation. Provide abundant light afterward. Acclimate young clumps gradually, then transplant into fertile well-drained soil in sun or partial shade. Space them 20 to 30 cm apart. Chives are hardy, but a young seedling benefits from a gradual transition before permanent planting. Label pots because narrow seedlings can easily be confused with grass or other alliums. For a successful start, inspect Organic chives regularly and adjust care to its actual stage of growth.
How can chives be harvested without weakening the clump?
Wait until the clump is well established, then use clean scissors to cut leaves approximately 3 to 5 cm above the soil. Do not pull leaves or cut into the crown. Harvest one portion of the clump or alternate among several plants so active foliage remains. Ontario references indicate a first cut approximately six to eight weeks after planting followed by repeated harvests. After flowering, cutting back to approximately 5 cm may stimulate new growth. Irrigate during dry periods and allow enough time before cold weather for the plant to rebuild reserves. Remove yellow or diseased leaves separately and clean scissors before moving to another clump.
When and how should a chive clump be divided?
Divide in spring as growth resumes or in early fall with enough time for rooting before frost. Water the previous day when soil is dry, lift the entire clump with a fork, and separate it into sections carrying roots and several healthy shoots. Remove soft, discoloured, or rotting portions. Replant divisions at their former depth, space them 20 to 30 cm apart, firm gently, and water. Limit harvest while roots re-establish. Division every several years may rejuvenate a very crowded mass, but act according to actual density rather than one absolute schedule. Label divisions and monitor moisture because freshly separated roots dry faster than established clumps.
Are chive flowers edible and useful to pollinators?
Yes. Purple Allium schoenoprasum umbels attract bees and other visitors, and tender florets may garnish salads, eggs, soups, or vinegar. Use only a correctly identified plant grown without treatments unauthorized for edible crops. Harvest several clean flowers after dew dries, inspect them to remove insects, and wash immediately before use. Their onion flavour may be stronger than the leaves, so begin with a small amount. Leave several complete umbels for pollinators as well. Bloom does not ensure one particular visitor and does not replace a diversity of flowering plants. Refrigerate harvested florets promptly and discard any showing decay or contamination. Harvest with clean scissors and avoid damaged umbels.
How should harvested chives be preserved?
Use fresh leaves promptly to preserve colour and flavour. Rinse immediately before use, dry completely, and refrigerate in a clean container without crushing them. For longer storage, chop healthy leaves and freeze them in small portions, alone or in a tray with a little water. Label with date and species. Drying is possible but greatly weakens the delicate flavour, so do not indicates a result equivalent to fresh chives. Discard every portion that is slimy, mouldy, or unusually scented. Refrigerate preparations containing dairy, eggs, or other perishable foods within two hours. Keep frozen batches separate from garlic chives and other alliums to prevent labelling errors.
Wildlife and pets
Life,around your plants.
Native plant
Yes
Supporting wildlife
Purple umbels provide nectar for bees, hoverflies, butterflies, and other visiting insects in late spring and early summer. Allow several scapes to bloom without ending the entire leaf harvest. Avoid spraying open flowers and place containers where pollinators can forage. Visitor numbers vary with weather, location, and surrounding flowers. Butterfly visits vary among gardens, weather conditions, and seasons.
For a great start to your seeds
The right extras.Right here.
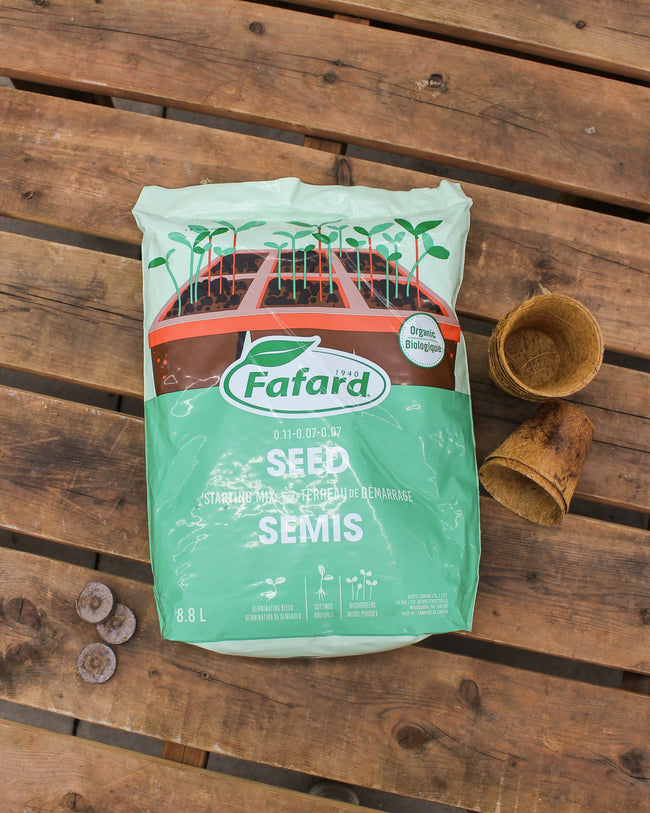
Seed Starting Soil
Shop the collectionSeed starting supplies
Shop the collection