Sale
Sold out

Herb
Amaryllidaceae
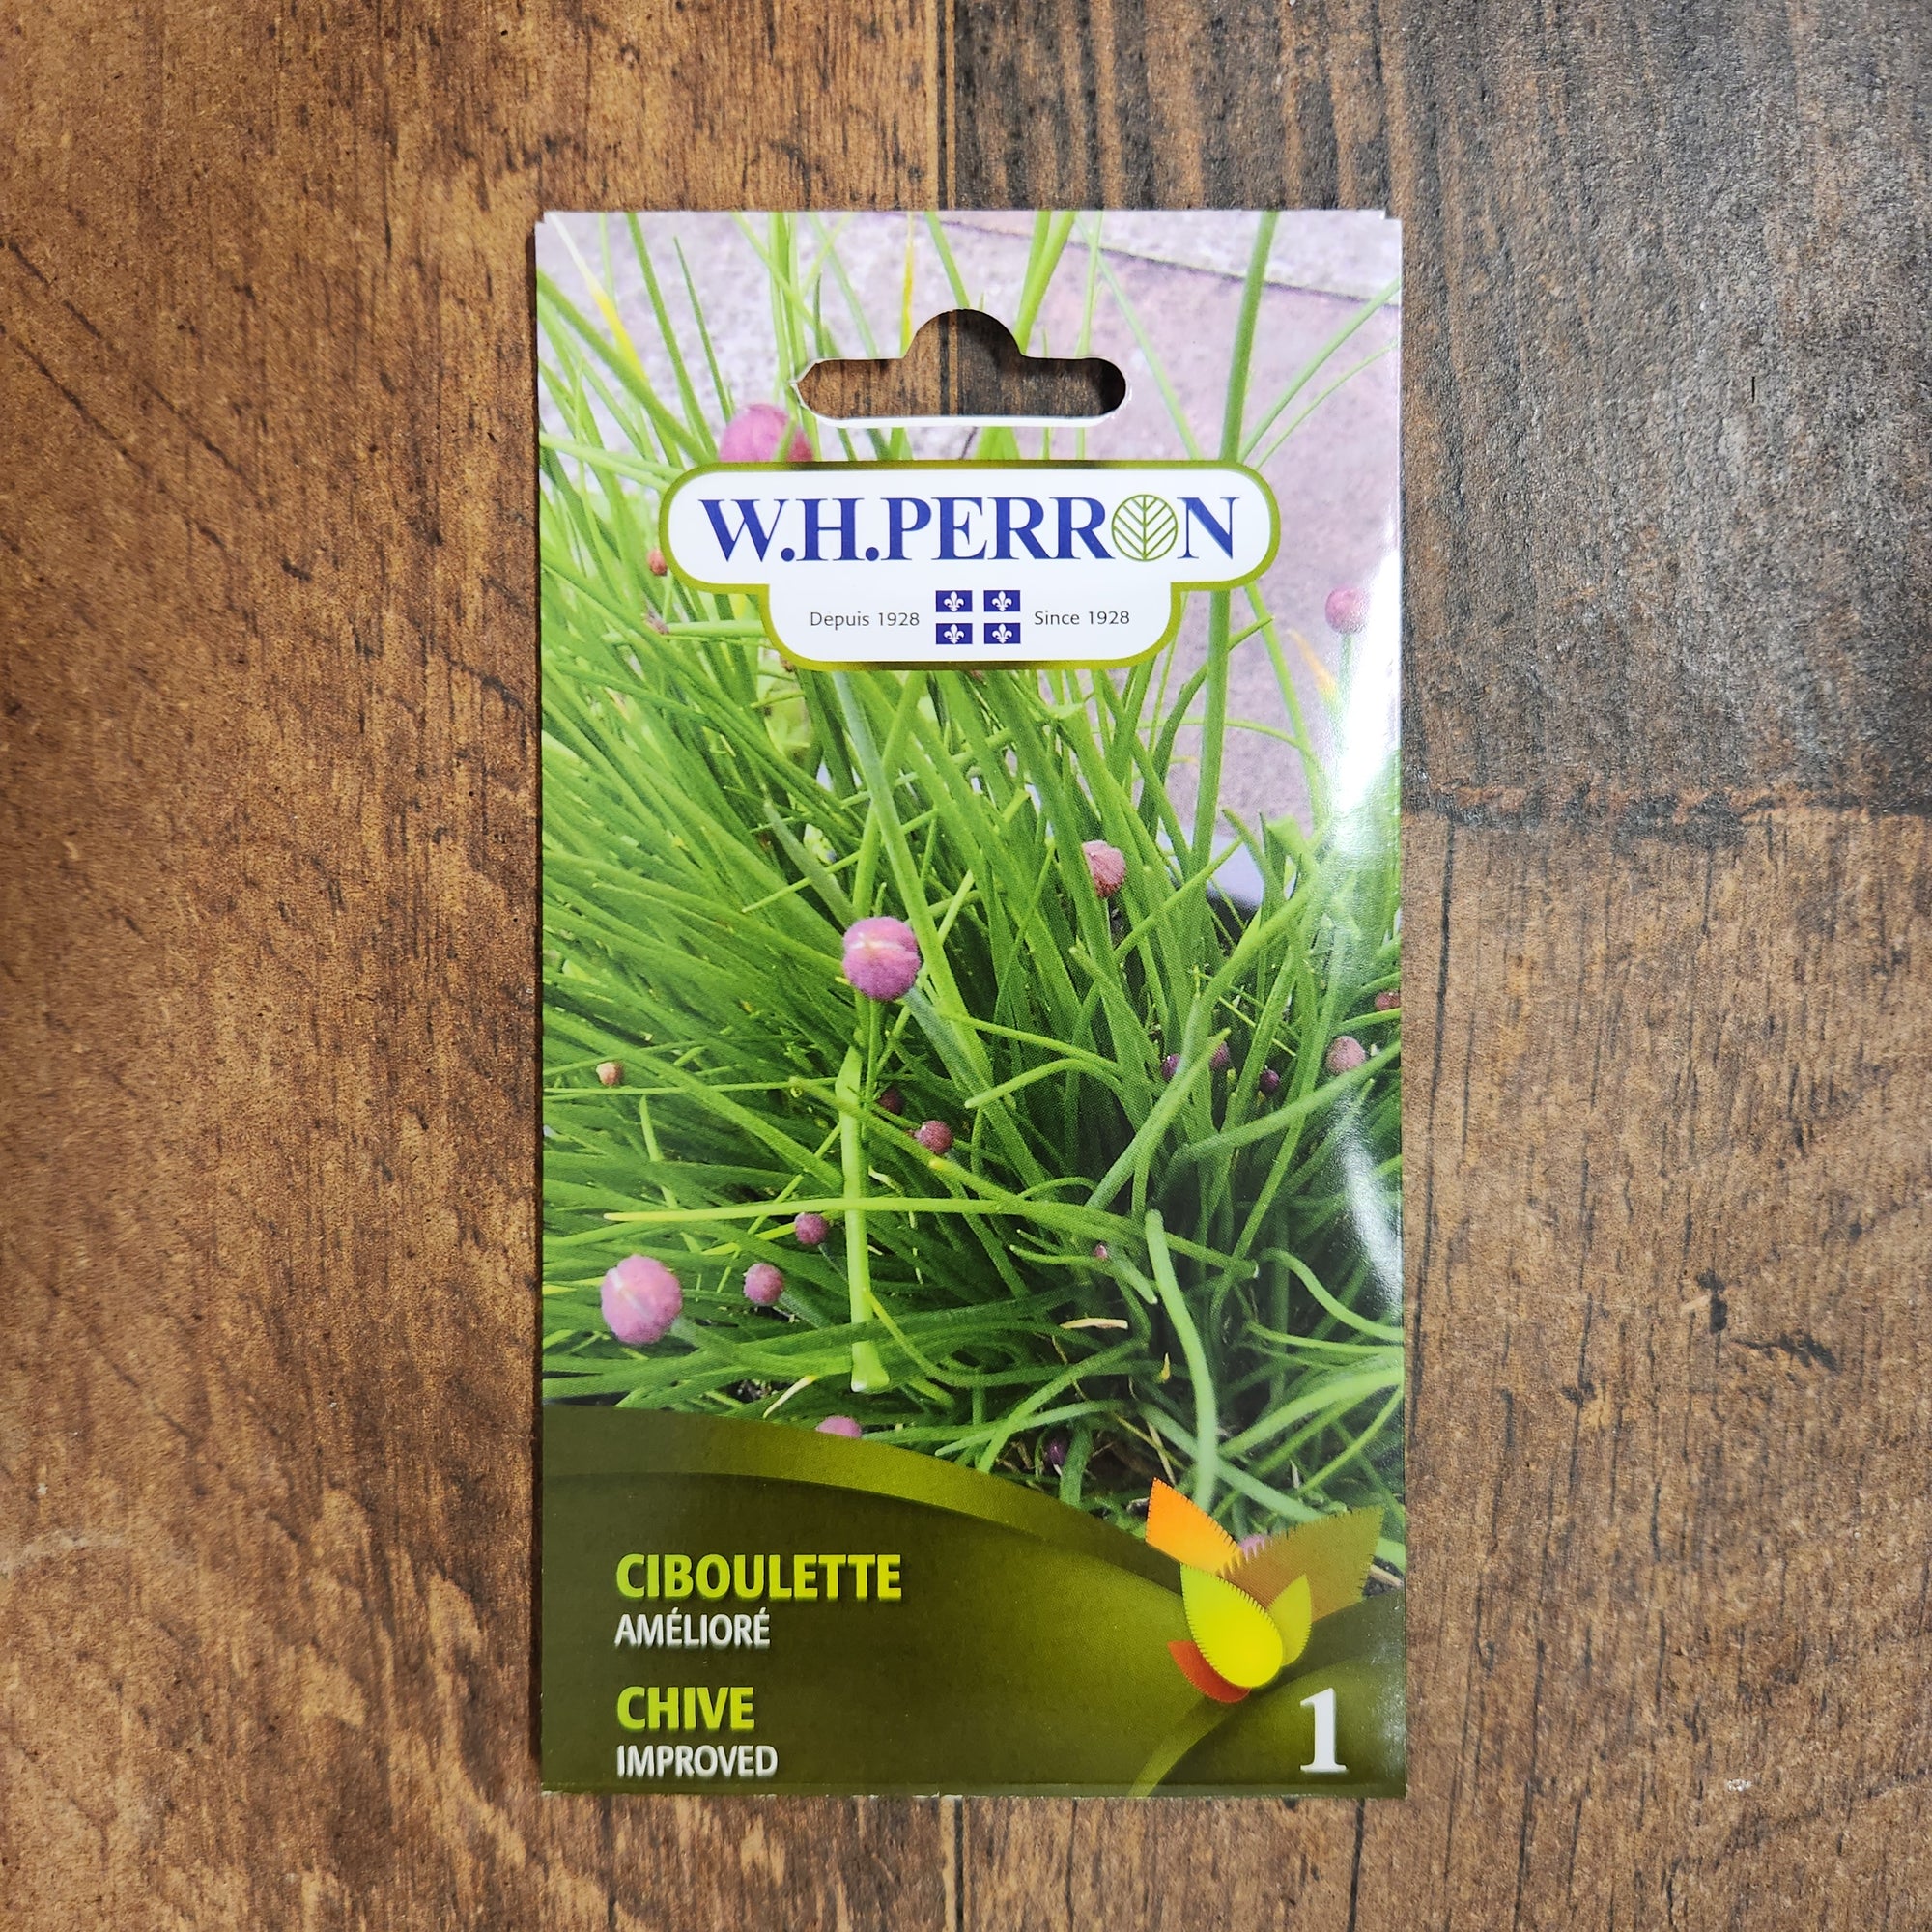
Improved chives
Chives
Product code : WHPER-0151
Improved chives form a clump of fine, hollow, grayish-green leaves. Its aromatic foliage should be snipped in small quantities to season dishes without pulling up the clump. Prepare seeds in a clean, well-draining substrate, following the depth indicated for this herb. After germination, sufficient lighting helps produce compact plants. In the garden, choose a location that suits the species' light and moisture needs. A container with drainage holes makes it easier to monitor water availability. Water according to the state of the soil and avoid excess fertilizer, which results in tender, fragile foliage.
- Quantity
- Approximately 200 seeds
- Exposure
- Sun
- Life cycle
- Perennial
Discover the plant
Common nameImproved chives
FamilyAmaryllidaceae
GenusGarlic
Specieschives
TypeHerb
Botanical nameChives
Improved Chives (Allium schoenoprasum). Improved chives form a clump of hollow, thin, grayish-green leaves. Its aromatic foliage can be cut in small quantities to season dishes without pulling up the clump. For Improved Chives, this packet allows you to start cultivation from seeds and follow the development of young plants. For Improved Chives, prepare the site before sowing, then keep a label to identify this selection among your other crops. For Improved Chives, the result will depend in particular on the available light, the soil, and the weather.
Start growing “Improved Chives” in a space prepared for sowing. For Improved Chives, to start cultivation: Sow indoors 6 to 8 weeks before the last frost. For Improved Chives, recommended spacing: 15 cm (5.9 in) between plants; 30 cm (11.8 in) between rows. For Improved Chives, keep a small clump near the kitchen and cut the leaves with clean scissors. For Improved Chives, the flowers can be left for decoration or removed if you prefer the foliage. For Improved Chives, prepare the seedlings in a clean, well-draining substrate, following the depth indicated for this herb.
In the garden, “Improved Chives” require a location suited to their development. For Improved Chives, keep a small clump near the kitchen and cut the leaves with clean scissors. For Improved Chives, the flowers can be left for decoration or removed if you prefer the foliage. For Improved Chives, place this herb near a pathway so you can easily pick a few leaves when cooking. For Improved Chives, an individual pot allows you to meet its needs without imposing the same watering schedule on all neighboring species. For Improved Chives, harvest from well-identified plants, then rinse the foliage before use.

Sowing guide
It all startswith a seed.
Spacing / density
15 cm (5.9 in) between plants; 30 cm (11.8 in) between rows
Sowing period
Sow indoors 6-8 weeks before the last frost
Propagation
Sowing
Growing method
Improved chives form a clump of fine, hollow, grayish-green leaves. Its aromatic foliage can be cut in small quantities to season dishes without pulling up the clump. Start growing "Improved chives" in an area prepared for sowing. To begin cultivation: Sow indoors 6 to 8 weeks before the last frost. Recommended spacing: 15 cm (5.9 in) between plants; 30 cm (11.8 in) between rows. Keep a small clump near the kitchen and cut the leaves with clean scissors. The flowers can be left for ornament or removed if you prefer the foliage. Prepare the seedlings in a clean, well-draining substrate, following the depth indicated for this herb. At the beginning of the season, prepare your equipment and check the soil condition before setting your schedule. Adapt your interventions to the plant's stage rather than a rigid date. After emergence, ensure sufficient light and space out the seedlings to avoid excessive competition. Gradually acclimate plants intended for the outdoors. During growth, observe the foliage, humidity, and the possible appearance of pests. Keep a small clump near the kitchen and cut the leaves with clean scissors.
Soil and care
The right care,at the right time.
Watering
Moderate
Soil type
Improved chives: Keep a small clump near the kitchen and cut the leaves with clean scissors. The flowers can be left for ornament or removed if you prefer foliage. Use soil or a substrate that allows excess water to drain while maintaining the necessary moisture for the roots. Work the soil when it is dry enough to avoid compaction. Remove weeds before planting and adapt organic matter additions to the crop.
Fertilization
Base fertilization on soil fertility, the substrate used, and observed growth. Follow the dosages indicated on the chosen product; increasing applications does not guarantee better results. Pre-enriched potting soil does not require the same interventions as a poor substrate. Avoid placing concentrated fertilizer against seeds or fragile roots. Water according to the manufacturer's instructions and reduce applications when growth slows down.
Seasonal care
Improved chives form a clump of fine, hollow, grayish-green leaves. Its aromatic foliage should be snipped in small quantities to season dishes without pulling up the clump. At the start of the season, prepare your equipment and check soil conditions before setting your schedule. Adapt your actions to the plants' growth stage rather than a rigid calendar. After germination, ensure sufficient light and space out the seedlings to prevent excessive competition. Gradually acclimate plants destined for the outdoors. During growth, monitor the foliage, moisture levels, and the potential appearance of pests. Identify any issues before choosing a course of action. Remove debris that hinders airflow, keep pathways accessible, and re-evaluate watering after rainfall. Note sowing dates and key results. At the end of the cycle, clean your tools and store remaining seed packets in a cool, dry place. These observations will allow you to more precisely adjust future sowings for your location. Prepare seeds in a clean, well-draining substrate, respecting the depth indicated for this herb. After germination, sufficient lighting helps achieve compact plants. In the garden, adapt the location to the species' light and moisture needs. A container with drainage holes makes it easier to monitor water availability. Water according to the state of the soil and avoid excess fertilizer, which produces tender, fragile foliage.
Container growing
A garden,within reach.
Recommended pot size
Minimum diameter: 25 cm (9.8 in)
Keep a small clump near the kitchen and trim the leaves with clean scissors. The flowers can be left for decoration or removed if you prefer the foliage. Improved chives form a clump of hollow, thin, grayish-green leaves. Their aromatic foliage can be cut in small quantities to season dishes without pulling up the clump. Place the container in its permanent spot before filling it. Choose a pot that has drainage holes, is stable, and is large enough for root development; a simple closed cache-pot does not allow for water drainage. Use a container potting mix rather than compact garden soil. Moisten the substrate before sowing or planting, without saturating it. Leave a rim at the top to facilitate watering and keep space between the plants. Check the moisture regularly with your finger, as the surface may dry out while the bottom remains damp. Water slowly until water comes out of the holes, then empty the saucer. During hot weather, check the pots more often. Fertilize according to the needs of the crop and the instructions on the chosen product. The roots have a limited volume, so container gardening requires different monitoring than planting in the ground. Position any supports as soon as you install the plant. Maintain easy access to inspect the leaves, remove damaged parts, and harvest without pulling on the stems. At the end of the cycle, remove debris and clean the equipment before reuse.

Garden associations
In goodcompany.
Companion plants
Organize neighboring crops according to their light requirements, height, and space occupied at maturity. Prevent tall plants from permanently shading smaller ones or blocking access for watering. Successive crops can use the same space if the first is harvested before the next one expands. Flowers diversify the garden, but companion planting does not guarantee the absence of pests. Keep enough air between plants and observe the interactions on-site. Use companion planting as an organizational tool, without attributing automatic protection against diseases to it.
Recipe idea
From the gardento your plate.
Edible parts
Aromatic leaves
Enhanced chives. For 4 servings, use 250 g (9 oz) of plain yogurt, 5 g (0.2 oz) of fresh leaves, and 15 ml (1 tbsp) of lemon juice. To use a small harvest of herbs, prepare a fresh yogurt sauce. Pick a few healthy leaves from a properly identified plant, wash them, and dry them gently. Remove any overly tough stems, then chop the leaves with a clean knife. Mix them into plain yogurt, add a few drops of lemon juice, and season to taste. Start with a small amount of herbs: mint, basil, parsley, and other aromatics have different intensities. Taste before adding more. Serve this sauce with cooked vegetables, potatoes, or flatbread. Prepare only the amount needed for the meal and keep the sauce in the refrigerator until serving. Use clean utensils to avoid contaminating the rest. This culinary idea focuses on the aroma of the leaves; it does not assume any medicinal properties. Always choose a species intended for food use and a harvest from plants grown for this purpose.
Frequently asked questions
Your questions,answered.
How do I start this crop from seed?
Improved chives form a clump of fine, hollow, grayish-green leaves. Its aromatic foliage should be harvested in small quantities to season dishes without pulling up the clump. Start growing "Improved chives" in an area prepared for sowing. To begin cultivation: Start indoors 6 to 8 weeks before the last frost. Recommended spacing: 15 cm (5.9 in) between plants; 30 cm (11.8 in) between rows. Keep a small clump near the kitchen and cut the leaves with clean scissors. Flowers can be left for ornament or removed if you prefer the foliage. Prepare the seeds in clean, well-draining substrate, following the depth indicated for this herb.
How do I adjust the watering?
Improved chives form a clump of hollow, thin, grayish-green leaves. Its aromatic foliage can be cut in small amounts to season dishes without pulling up the clump. Check the moisture level before watering and adjust the frequency based on rain, heat, and the stage of growth. Gently moisten the surface during germination so as not to displace the seeds. Once the plants are established, direct the water toward the soil rather than onto the leaves. Avoid stagnant water and extreme fluctuations between dryness and saturation. Containers generally dry out faster than garden beds and require more frequent checks.
How to choose your location?
Improved chives form a clump of fine, hollow, grayish-green leaves. Its aromatic foliage can be cut in small quantities to season dishes without pulling up the clump. Start growing "Improved Chives" in an area prepared for sowing. To start cultivation: Sow indoors 6 to 8 weeks before the last frost. Recommended spacing: 15 cm (5.9 in) between plants; 30 cm (11.8 in) between rows. Keep a small clump near the kitchen and cut the leaves with clean scissors. Flowers can be left for decoration or removed if you prefer the foliage. Prepare the seeds in a clean, well-draining substrate, following the depth indicated for this herb.
How to make the most of this selection?
Improved chives form a clump of fine, hollow, grayish-green leaves. Its aromatic foliage should be snipped in small quantities to season dishes without pulling up the clump. Place this herb near a walkway so you can easily gather a few leaves when cooking. An individual pot allows you to meet its specific needs without requiring the same watering for neighboring species. Harvest from clearly identified plants, then rinse the foliage before use. The fragrance may change with flowering, heat, and the stage of the leaves; conduct small tests to find your preference. To extend the harvest's use, choose a suitable drying or freezing method. Oil-based preparations require special storage precautions and must not be left at room temperature.
What to look out for during the season?
Improved chives form a clump of fine, hollow, greyish-green leaves. Its aromatic foliage should be snipped in small quantities to season dishes without pulling up the clump. At the start of the season, prepare your equipment and check the soil condition before setting your schedule. Adapt your actions to the plants' stage of development rather than a rigid date. After emergence, ensure sufficient light and space out the seedlings to avoid excessive competition. Gradually acclimatize plants intended for the outdoors. During growth, observe the foliage, moisture levels, and the potential appearance of pests. Identify the problem before choosing a course of action.
For a great start to your seeds
The right extras.Right here.
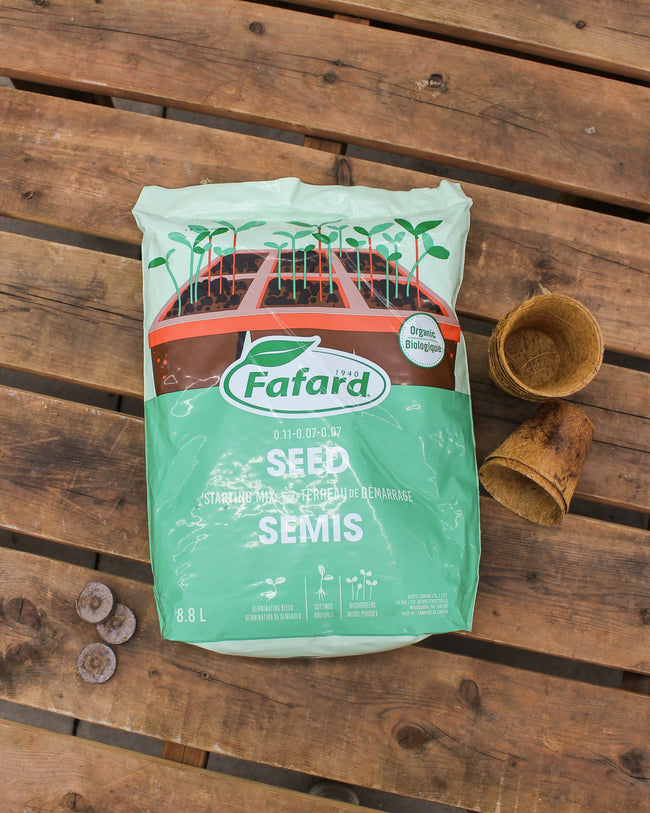
Seed Starting Soil
Shop the collectionSeed starting supplies
Shop the collection