Sale
Sold out

Bulb
Liliaceae
Black Parrot Tulip
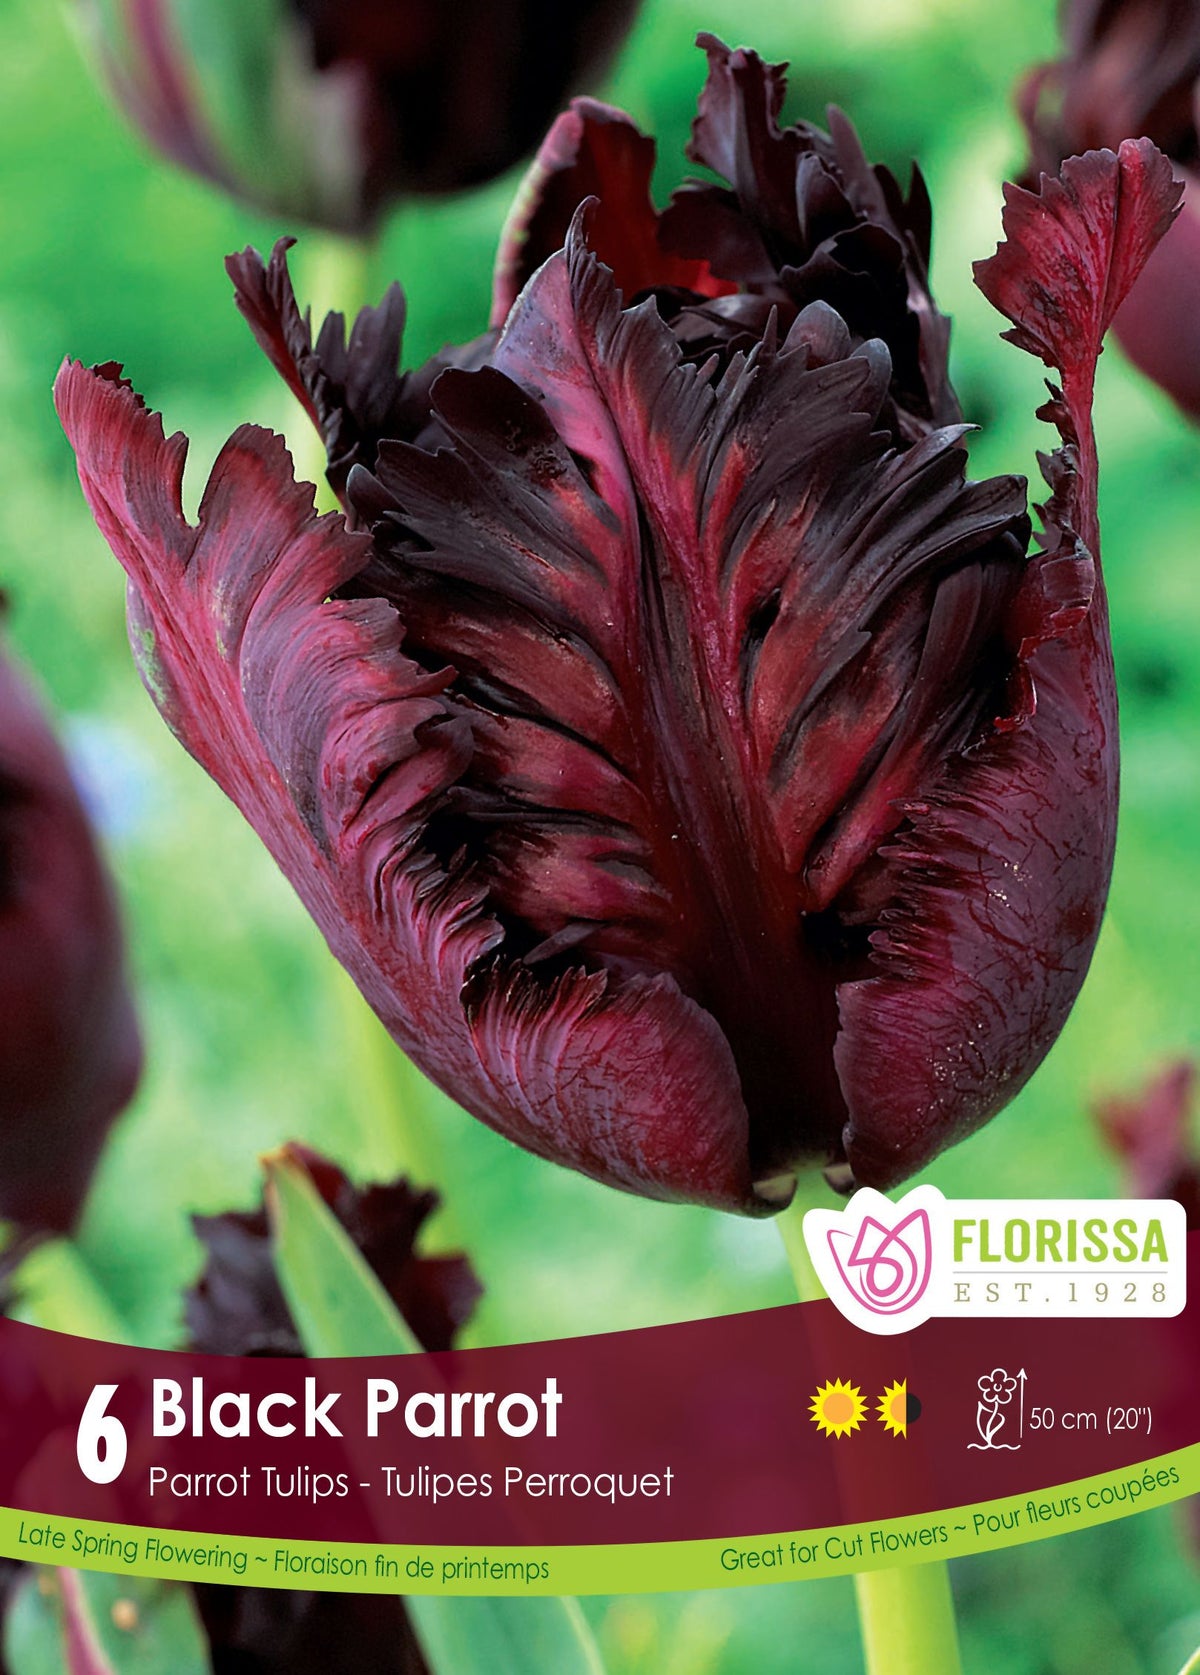
Step into the dramatic and refined world of the 'Black Parrot' tulip, a late-flowering parrot variety, celebrated for its deep, fringed, and sculpted petals, oscillating between very dark violet, almost black burgundy, and inky reflections. Its exuberant form, spectacular texture, and mysterious coloring make it a true work of botanical art, ideal for gothic-chic flowerbeds, highly stylized pots, or bouquets with character. Late blooming, excellent vase life, and assumed originality: this tulip is the quintessential choice to bring contrast, depth, and style to your floral arrangements. Height: 45 to 55 cm (18 to 22 in). Water needs: Low to moderate (well-drained soil). Planting period: September to October, before the first frosts.
- Quantity
- 6 bulbs
- Exposure
- Sun
Discover the plant
Common nameBlack Parrot Tulip
FamilyLiliaceae
GenusTulip
TypeBulb
Botanical nameTulip
Black Parrot Tulip (Tulipa). Enter the dramatic and refined world of the 'Black Parrot' tulip, a late-blooming parrot variety, famous for its deep, fringed, and sculpted petals, oscillating between very dark purple, almost black burgundy, and inky reflections. Its exuberant shape, spectacular texture, and mysterious color make it a true botanical work of art, ideal for gothic-chic beds, highly stylish pots, or bouquets with character. Late flowering, excellent longevity, and assumed originality: this tulip is the perfect choice to bring contrast, depth, and style to your floral arrangements. Pair it with pale flowers or silvery foliage to create a luxurious, contrasting, and unforgettable atmosphere.
Plant tulips in the fall, in soil that is still easy to work with before it freezes. Choose a sunny location with well-drained soil, then loosen the soil to a sufficient depth. Place the bulbs with the pointed end up and respect the planting depth indicated for their size. When planting in groups, leave space between the bulbs to allow the roots to develop. Water after backfilling if the soil is dry. Avoid areas where water remains on the surface after rain and mark the planting location to avoid damaging the bulbs during subsequent gardening work.
In spring, monitor moisture during growth and water at the base if a dry period persists. Remove faded flowers while keeping the leaves green. This foliage allows the bulb to replenish its reserves; wait for it to yellow naturally before cutting it and avoid braiding it. In containers, check for dryness more often than in the ground and always allow excess water to drain. Regrowth and flowering in subsequent years depend on the variety and growing conditions. Keep bulbs out of reach of children and animals: tulips are ornamental and not for consumption.

Planting guide
Plant well.Grow beautifully.
Planting depth
15 cm (6 in)
Spacing / density
4 to 5 in (10 to 12 cm)
Growing method
Plant tulips in the fall, in soil that is still easy to work before it freezes. Choose a sunny spot with well-drained soil, then loosen the soil to a sufficient depth. Place the bulbs with the pointed end up and respect the planting depth indicated for their size. When planting in groups, leave space between bulbs to allow the roots to develop. Water after backfilling if the soil is dry. Avoid areas where water remains on the surface after rain and mark the planting so as not to damage the bulbs during subsequent gardening. In spring, monitor moisture during growth and water at the base if a dry spell persists. Remove faded flowers while keeping the leaves green. This foliage allows the bulb to replenish its reserves; wait for it to yellow naturally before cutting it and avoid braiding it. In containers, check for dryness more often than in the ground and always allow excess water to drain. Regrowth and flowering in subsequent years depend on the variety and growing conditions. Keep bulbs out of reach of children and animals: tulips are ornamental and not for consumption.
Soil and care
The right care,at the right time.
Watering
During the growing season, water the base of the plant when the soil surface begins to dry out. Take rainfall into account: if the soil remains moist, wait before adding more water. Continue to monitor moisture after flowering as long as the leaves are green, then reduce watering as they naturally yellow. Avoid standing water around the bulbs. For potted plants, check the soil more frequently and allow excess water to drain freely through the drainage holes.
Soil type
Light, loose, fertile, well-drained. Observe your location after a rain to identify spots where water remains on the surface for a long time. Work the soil when it's dry: intervening when it's soggy risks compacting it around the roots. Adapt amendments to the actual texture of the soil, without systematically adding sand or fertilizer. If you're growing in containers, use a suitable substrate and make sure the drainage holes remain clear.
Fertilization
Apply a bulb fertilizer in the fall. Observe the dosage indicated on your fertilizer's packaging and measure the quantity before applying it. Take into account compost and other additions already made to avoid fertilizing the same planting twice. Distribute the product according to its instructions for use; avoid concentrated contact with roots or storage organs.
Seasonal care
Plant tulips in the fall, in soil that is still easy to work with before it freezes. Choose a sunny spot with well-drained soil, then loosen the soil to a sufficient depth. Place the bulbs with the pointed end facing up and respect the planting depth indicated for their size. When planting in groups, leave space between the bulbs to allow the roots to develop. Water after backfilling if the soil is dry. Avoid places where water remains on the surface after rain and mark the planting location to avoid damaging the bulbs during subsequent gardening work. In spring, monitor humidity during growth and water at the base if a dry period persists. Remove faded flowers while keeping the leaves green. This foliage allows the bulb to replenish its reserves; wait for it to yellow naturally before cutting it and avoid braiding it. In containers, check for dryness more often than in the ground and always allow excess water to drain. Re-growth and flowering in subsequent years depend on the variety and growing conditions. Keep bulbs out of reach of children and animals: tulips are ornamental and not for consumption. As the seasons pass, observe new shoots, soil moisture, and the condition of the stems. A durable label helps locate the planting during its dormancy. Clean tools after cutting diseased parts and remove debris that degrades around the base.
Container growing
A garden,within reach.
Container gardening requires planning for the necessary root volume and the plant's final height. Choose a stable pot with drainage holes and a suitable planting medium. Leave enough space to respect the recommended depth and spacing, rather than crowding plants to immediately fill the pot. Place the container in the indicated exposure and regularly check the moisture, especially in hot or windy weather. A pot is more exposed to temperature variations than planting in the ground. Therefore, plan from the outset for a wintering location compatible with the plant's needs and your region's climate. Plant tulips in autumn, in soil that is still easy to work before it freezes. Choose a sunny spot with well-drained soil, then loosen the soil to a sufficient depth. Place the bulbs point upwards and respect the planting depth indicated for their size. When planting in groups, leave space between the bulbs to allow the roots to develop. Water after backfilling if the soil is dry. Avoid areas where water remains on the surface after rain and mark the planting location to avoid damaging the bulbs during subsequent gardening work. In winter, protect the container according to the plant's needs: its roots are more exposed to cold than in the ground.

Bloom and dimensions
Its place,in your garden.
Mature height
45 to 55 cm (18" to 22")
Bloom period
Step into the dramatic and refined world of the 'Black Parrot' tulip, a late parrot variety, famous for its deep, fringed, and sculpted petals, oscillating between very dark violet, almost black burgundy, and inky reflections. Late flowering, excellent durability, and undeniable originality: this tulip is the ultimate choice for adding contrast, depth, and style to your floral arrangements. A parrot flower with deep black fringed petals. Pair with pale flowers or silver foliage to create a luxurious, contrasting, and unforgettable atmosphere.
Garden associations
In goodcompany.
Companion plants
To accompany the Tulipe Black Parrot, you might consider muscari, pansies, or forget-me-nots. Choose neighboring varieties based on their height, flowering period, and the colors you wish to combine. Most importantly, ensure that their exposure and water requirements are suitable for the same location. Maintain enough distance so that the leaves do not obscure young shoots and to allow easy access to each plant during maintenance. These pairings are intended to create the garden's aesthetic; they do not guarantee protection against pests or diseases. Adjust the layout after observing one growing season.
Frequently asked questions
Your questions,answered.
How to successfully plant Black Parrot Tulips?
Plant tulips in the fall, in soil that is still easy to work with before it freezes. Choose a sunny spot with well-drained soil, then loosen the soil to a sufficient depth. Place the bulbs with the pointed end facing up and respect the planting depth indicated for their size. When planting in groups, leave space between the bulbs to allow the roots to develop. Water after backfilling if the soil is dry. Avoid areas where water remains on the surface after rain and mark the planting location to avoid damaging the bulbs during subsequent gardening work. Keep a durable label to easily find this planting during its dormant period.
What kind of light should I provide for Black Parrot Tulip?
The recommended exposure is full sun. Observe the light in your chosen spot in the morning and afternoon, as the shade from trees or buildings changes throughout the day. Also consider neighboring plants: their foliage can obscure a young plant as it develops. For container plants, place the pot where you can move it if conditions become too hot or too shady. Appropriate exposure must go hand in hand with suitable soil and watering. If you move a plant started indoors outside, gradually acclimatize it to garden conditions to avoid too abrupt a transition for young leaves.
How to adjust watering?
Water according to the actual soil moisture, taking into account rain, heat, and wind. Check below the surface before deciding on re-watering: soil that is dry on the surface may still be moist at the root level. Direct water to the base and allow it to penetrate, without keeping the plant in saturated soil. Containers generally require more frequent checks because they dry out faster. Make sure their drainage holes remain clear and empty any water-holding saucers. Also adapt care to the plant's cycle: active growth and a resting period do not require the same inputs.
What to plan for container gardening?
Container gardening requires planning for the necessary root volume and the plant's final height. Choose a stable pot with drainage holes and a suitable growing medium. Leave enough space to respect the recommended planting depth and spacing, rather than crowding plants to immediately fill the pot. Place the container in the indicated exposure and regularly check the moisture, especially in hot or windy weather. A pot is more exposed to temperature variations than a plant in the ground. Therefore, from the outset, plan a wintering location compatible with the plant's needs and your region's climate.
What care should be provided after the growing season?
In spring, monitor moisture during growth and water at the base if a dry spell persists. Remove faded flowers while keeping the green leaves. This foliage allows the bulb to replenish its reserves; wait for it to yellow naturally before cutting it and avoid braiding it. In containers, check for drying out more often than in the ground and always allow excess water to drain away. Reblooming and flowering in subsequent years depend on the variety and growing conditions. Keep bulbs out of reach of children and animals: tulips are ornamental and not for consumption.
For planting your bulbs
The right extras.Right here.
Bulb planters and planting tools
Shop the collection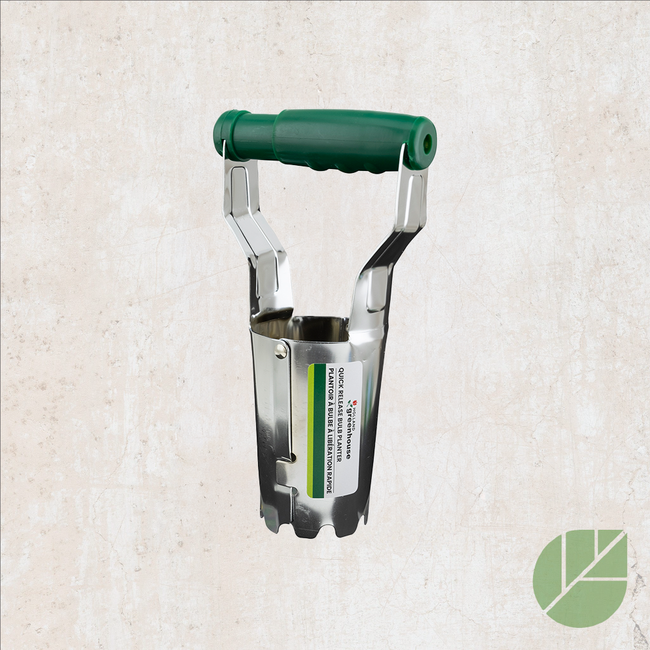
Soils and amendments for bulbs
Shop the collection