Sale
Sold out

Aromatic perennial subshrub
Lamiaceae
Organic perennial culinary herb seeds
Organic summer thyme
Thymus vulgaris
Product code : BIOVO-0127
Organic summer thyme, Thymus vulgaris, forms a small, evergreen, highly aromatic perennial clump. Each product offers about 350 certified organic seeds, with a 90-day indication to help plan the growing season. Surface-sow eight to ten weeks before the last frost, maintain 18–22°C, and provide bright light after emergence. Transplant into full sun and light, neutral to alkaline, perfectly drained soil. Space plants 25–35 cm apart. Harvest green stems before or as flowering begins without cutting deeply into old wood. Use them fresh or dried, then trim lightly after bloom to maintain a compact shape. Protect the crown from standing water, especially during winter in colder gardens.
- Quantity
- Approximately 350 organic seeds
- Exposure
- Sun
- Life cycle
- Perennial
- Hardiness
- Zone 5 to 9
Discover the plant
Common nameCommon thyme, summer thyme
FamilyLamiaceae
GenusThymus
Speciesvulgaris
TypeAromatic perennial subshrub
Botanical nameThymus vulgaris
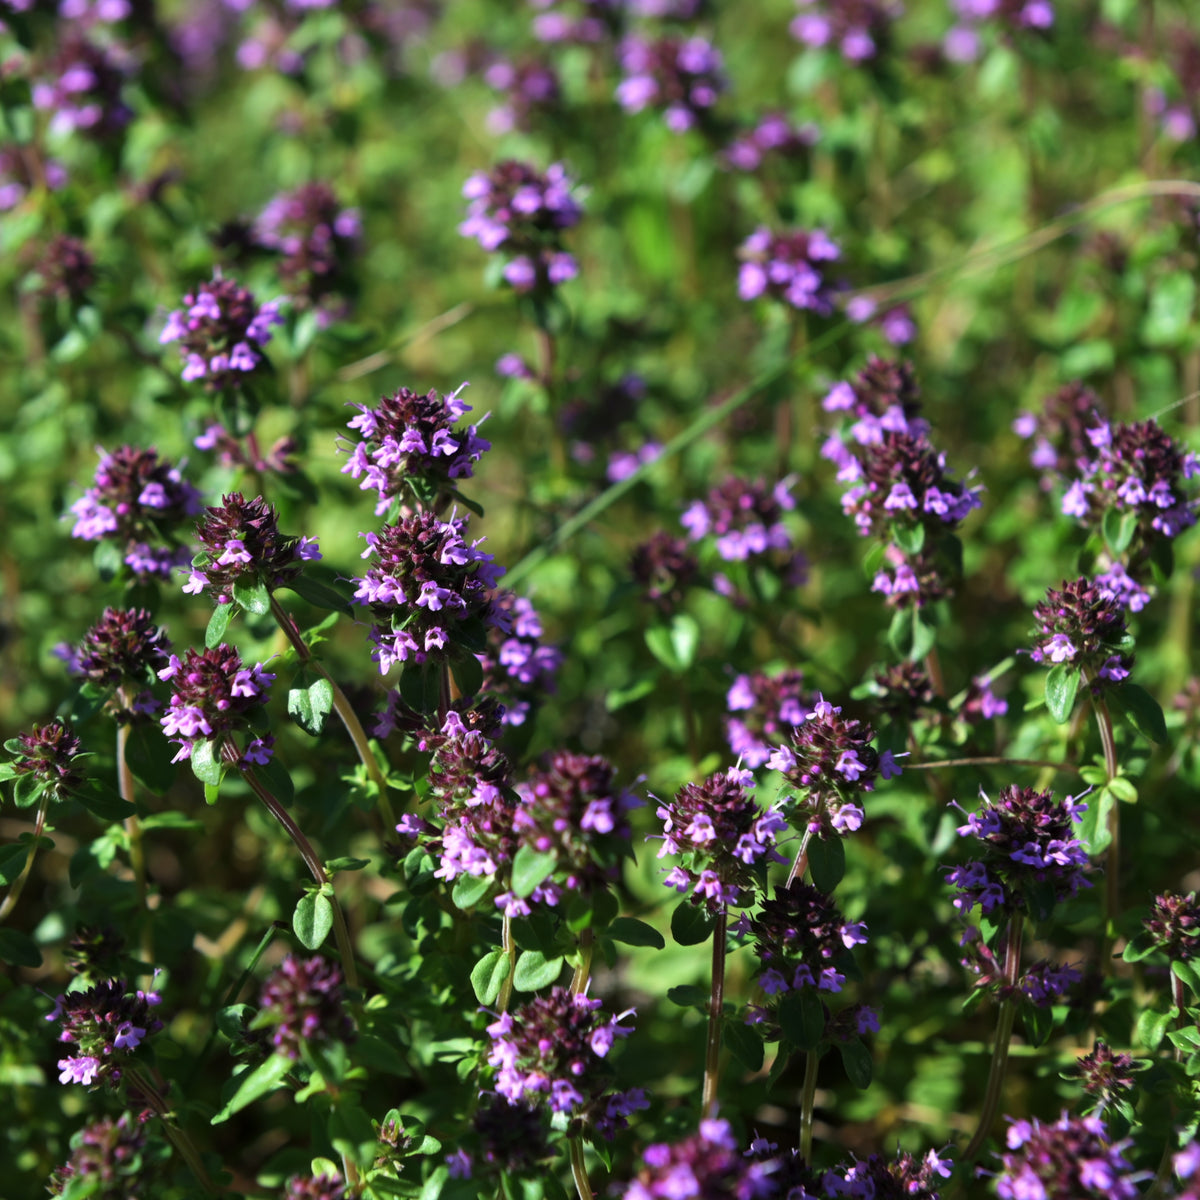
Organic summer thyme (Thymus vulgaris) is a perennial subshrub with evergreen, grey-green, intensely aromatic foliage. This product contains approximately 350 organic seeds and lists a 90-day reference. Its low habit suits rock gardens, borders, herb beds, and well-drained containers. In early summer, small white to pink flowers attract bees and other pollinators. Fresh or dried leaves flavour sauces, vegetables, marinades, soups, meat, and fish. The name “summer” describes this product without identifying a particular cultivar or subspecies, so plants are identified as Thymus vulgaris. Seedlings may vary modestly in form, aroma, and vigour.
Start seed indoors eight to ten weeks before the last frost in fine, well-drained mix. Scatter the tiny seeds on the surface, press gently, and barely cover because deep sowing impairs emergence. Maintain approximately 18–22°C and light, consistent moisture without saturating the mix. Germination generally takes 14 to 21 days. Provide bright light immediately after emergence to produce compact plants. Pot up carefully, then harden seedlings gradually. Plant in full sun and light, sandy or gravelly, neutral to alkaline soil with excellent drainage, leaving 25–35 cm between plants. Water during establishment, then allow the surface to dry slightly between deep waterings.
Begin with small harvests once plants are well established. With clean scissors, cut leafy stems before or as flowering begins without cutting heavily into the woody base. Retain enough green growth to support recovery. Use sprigs fresh or dry them in small bundles in a shaded, well-ventilated place. After flowering, shorten tender shoots lightly to maintain a compact clump; avoid severe pruning into old wood. Once rooted, thyme tolerates short dry periods. In cold climates, protect the crown mainly from standing water and shelter containers from repeated winter rain. Container-grown roots need additional protection because they are more exposed to freezing and thawing cycles.

Sowing guide
It all startswith a seed.
Sowing depth
Surface sow or barely cover
Spacing / density
Space 25 to 35 cm (10 to 14 in) apart
Germination temperature
Approximately 18 to 22 °C (64.4 to 71.6 °F)
Germination time
Approximately 14 to 21 days with surface-sown seed, light, and even moisture.
Sowing period
Indoors 8 to 10 weeks before last frost
Propagation
Seed, cuttings, layering, and division
Growing method
Growing thyme from seed. Start summer thyme indoors eight to ten weeks before last frost. Moisten fine well-drained mix, scatter seed on the surface, then press gently. Barely cover or leave exposed because tiny seed must not be buried deeply. Maintain 18 to 22°C and light steady moisture. Emergence may require approximately 14 to 21 days depending on temperature, moisture, and seed freshness. Immediately after emergence, remove any dome, increase airflow, and provide intense light. Pot seedlings carefully, then acclimate gradually after frost. Set in full sun in light neutral to alkaline perfectly drained soil, 25 or 35 cm apart. Water during rooting, then allow the surface to dry. Pinch only green tips to support branching. Harvest lightly before flowering. After bloom, shorten young shoots without cutting into old wood. Before winter, clear the crown, reduce irrigation, and verify that water never collects around roots. Keep every seedling clearly labelled as Thymus vulgaris. Inspect leaf undersides and the base every week. When a plant stretches, improve light before feeding. Keep pots separate until vigour and aroma have been compared, then share a cutting only with a complete label. Avoid harvesting diseased tissue, clean tools after every plant, and correct drainage promptly when the crown remains wet after irrigation.
Soil and care
The right care,at the right time.
Soil pH
Neutral to slightly alkaline
Minimum temperature
Overwintering depends on the strain, drainage and local winter conditions; survival is not guaranteed for this seed lot
Care level
Easy
Drought tolerance
Yes
Watering
Keep mix lightly and evenly moist during germination, then water young plants until rooted without saturating soil. Once the clump is established, water deeply but less often and let the surface dry between applications. In pots, always empty saucers and check drainage after every heavy rain. Before watering, test the medium with a finger and wait until the upper few centimetres have begun to dry.
Soil type
Choose light sandy gravelly or chalky lean to moderately fertile soil with perfect drainage. In heavy ground, grow on a mound or incorporate a substantial proportion of coarse mineral material. Standing water around the woody base causes more losses than low fertility, especially during winter thaws. A gravel layer around the crown also reduces splashing and helps keep the woody base dry. After heavy rain, inspect drainage and remove debris touching the crown.
Fertilization
In spring, add only a thin layer of mature compost when growth appears weak. In properly prepared garden soil, substantial feeding is unnecessary. In containers, use a low dose of balanced organic fertilizer only when needed. Avoid excess nitrogen, which produces soft less aromatic stems that withstand winter moisture poorly. Compact aromatic growth is preferable to rapid, tender shoots. Judge feeding by new growth colour and density rather than by a fixed calendar.
Moisture
Thyme prefers low humidity around foliage and a crown that dries quickly. Space plants, avoid overhead irrigation, and choose a site with airflow. Constant humidity and waterlogged soil encourage decline, while slight drought is tolerated well after establishment.
Seasonal care
Seasonal care for thyme. In late winter, inspect pots, seed-starting supplies, and labels, then prepare light mix. In spring, surface-sow under intense light or wait for an established clump to resume before pruning. Remove dead portions gradually with a clean tool without cutting into living old wood. Add a thin compost layer only when growth is weak. After frost, acclimate seedlings and set them in full sun. During rooting, maintain light moisture; afterward, space irrigation farther apart. Pinch green tips to encourage branching. In early summer, monitor aphids, mites, leaf spots, and rot in humid sites. Harvest before or as flowering begins while retaining enough foliage. Leave selected flowers for pollinators. After bloom, shorten tender shoots and remove only diseased tissue. In fall, stop feeding, reduce water, and clear the crown. Shelter pots from repeated rain without enclosing the plant in wet material. During thaws, inspect drainage. Record sowing, aroma, harvest, flowering, and survival to adapt the method to the microclimate and identify the healthiest plants. Replace faded labels before winter and keep dried batches dated. In containers, rotate pots for balanced light and empty saucers after every watering. During rainy periods, verify that mix dries between showers and move containers temporarily beneath an open shelter when needed. Dry harvest in small separate batches and check condition before storage. The following spring, compare regrowth in garden and container plants before changing protection. Keep dated observations instead of generalizing from one season or one seedling. Replace faded labels before moving or sharing a plant so it remains correctly identified as Thymus vulgaris.
Container growing
A garden,within reach.
Recommended pot size
At least 20 to 25 cm (8 to 10 in) wide and deep
Growing thyme in containers. Choose a container at least 20 to 25 cm (8 to 10 in) wide and deep with several holes. Use light potting mix blended with a generous proportion of coarse mineral material and a modest amount of compost. Surface-sow or transplant an acclimated seedling without burying the woody base. Place the pot in full sun. Water deeply after planting, then wait until the surface dries before watering again. Always empty the saucer. Pinch green tips to form a compact clump and rotate the container for balanced light. Feed very lightly only when foliage pales. Harvest stems before or as flowering begins while retaining sufficient green growth. Trim lightly after flowers, never deeply into old wood. Check holes after rain. For winter, place the pot in a bright site sheltered from repeated rain and freeze-thaw cycles. Insulate the sides without trapping moisture and wait for visible spring regrowth before removing dry portions. Keep the botanical label secure through winter. The following spring, renew only part of the mix when roots are crowded. Observe regrowth before feeding and keep several seedlings in separate pots until aroma and survival have been compared. Clean scissors between pots, reject diseased harvest, and keep every cutting clearly labelled as Thymus vulgaris.

Bloom and dimensions
Its place,in your garden.
Mature height
Approximately 15 to 30 cm (6 to 12 in)
Width / spread
Approximately 20 to 40 cm (8 to 16 in)
Flower color
White to pink or pale mauve
Foliage color
Grey-green to dark green
Foliage type
Evergreen
Growth rate
Moderate
Growth habit
Low, bushy, branching, and woody at the base
Fragrance
Warm, herbal, earthy, and peppery
Bloom period
Small white to pink flowers appear in whorls in early or midsummer, depending on climate and sowing date. They attract bees, butterflies, and other pollinating insects. Leave several branches in bloom, then lightly shorten faded green shoots without cutting deeply into old woody stems. Good sun and lean, well-drained soil support compact flowering growth. Avoid heavy feeding and waterlogged ground, which can weaken the crown before or after bloom.
Fruiting
After flowering, small dry schizocarps divide into tiny nutlets containing the seed. Collect them only when they turn brown and dry during rain-free weather. Place stems in a labelled paper bag, finish drying away from moisture, then separate and store the seed without assigning an variable by conditions cultivar name. Keep each plant's harvest separate because seedlings may vary. Discard material showing mould, insects, or uncertain identification before storage.
Days to maturity
Approximately 90 days
Harvest
Leafy stems before or as flowering begins; small harvests after establishment
Garden associations
In goodcompany.
Companion plants
No specific companion plant is confirmed for this product. Thyme can nevertheless grow near other herbs and vegetables that prefer full sun and well-drained soil when every species receives suitable care. Keep the crown open and leave enough spacing for airflow. Low flowers can be placed along the edge to extend garden interest without crowding the clump. Companion planting does not replace drainage, weeding, soil-level watering, or regular inspection. Choose neighbouring plants mainly according to compatible light, water, and spacing needs rather than expecting a particular protective effect. Remove or move any plant that begins to shade the thyme or trap moisture around its woody base.
Recipe idea
From the gardento your plate.
Edible parts
Leaves, tender stems, and flowers
Thyme in the kitchen. Summer thyme roasted vegetables — Preheat the oven to 220°C (425°F). Cut approximately 750 g carrots, potatoes, zucchini, or other firm vegetables into evenly sized pieces. Rinse six to eight small stems of correctly identified thyme, remove damaged portions, then strip leaves with clean hands. Toss vegetables with two tablespoons oil, one teaspoon fresh leaves, and salt and pepper to taste. Spread in one layer on a clean baking sheet. Roast for 25 to 40 minutes depending on the vegetables, turning once, until thoroughly cooked and browned. Taste before adding more thyme because aroma may be concentrated. Serve hot. Refrigerate leftovers within two hours and use promptly. This recipe describes culinary use without a medical claim. Anyone sensitive to an ingredient should omit it. Use only a plant grown for food, correctly labelled, and free from treatments incompatible with harvest. Reheat leftovers thoroughly and discard any portion with uncertain storage.
Frequently asked questions
Your questions,answered.
Is summer thyme a particular cultivar or subspecies?
No. The word “summer” is part of the commercial name, but it confirms neither a cultivar nor a particular subspecies. The plant is therefore presented at species level as Thymus vulgaris, without assigning traits specific to Thymus vulgaris subsp. aestivus. Seedlings may vary modestly in vigour, form, or aroma. Label every plant and compare it before propagating one individual by cutting. A personal selection may be retained clonally while keeping its species identification and original number. Keep every plant labelled as Thymus vulgaris so it remains correctly identified. Compare aroma and winter survival over several seasons before selecting plants for propagation.
Why is drainage so important for thyme?
Common thyme comes from dry Mediterranean environments and performs best in light soil where water leaves the crown rapidly. Heavy saturated ground deprives roots of air, encourages rot, and increases losses during winter thaws. Plant on a mound, in a rock garden, or in a container with many holes. Add coarse mineral material instead of a large compost quantity. Water during rooting, then allow the surface to dry between applications. Empty saucers and keep pots away from downspouts. Thick wet winter cover may worsen the problem, so prefer airy protection. Inspect the crown in spring before pruning and wait for visible regrowth. When decline appears, correct drainage before adding stronger fertilizer.
When and how should summer thyme be harvested?
Begin with small cuts once the plant is well rooted. For concentrated aroma, harvest green stems before or as flowering begins, in the morning after dew dries. Use clean scissors and cut above a leafy branch. Remove no more than one-third of green growth at once and do not prune deeply into the woody base, which regrows poorly. Retain some flowering stems for pollinators. Use sprigs fresh promptly or dry them as small bundles or in a thin shaded layer. Store only once leaves are crisp. Label every batch with the date and discard any container showing condensation, mould, or unusual odour. Reduce heavy harvest before winter so enough green tissue remains for recovery.
How should woody thyme be pruned?
Trim lightly in spring after visible regrowth and again after flowering. Use a clean tool and shorten only shoots that remain green, immediately above a branch. Avoid cutting into brown leafless old wood because thyme may not produce new shoots there. Spread pruning across several interventions instead of removing a large portion at once. When a clump is very bare, take cuttings from healthy stems beforehand to retain the selected plant. Improve light and drainage as well; pruning does not correct waterlogged soil. Clear debris and observe recovery before feeding. Take new cuttings only from healthy green shoots and label them clearly as Thymus vulgaris.
How should fresh or dried thyme be stored?
For fresh use, refrigerate clean stems in a ventilated container and use promptly. Rinse immediately before preparation. For drying, harvest before or as flowering begins, then hang small bundles or spread a thin layer in a dark dry ventilated place. Store only when leaves are crisp and thin stems break easily. Use a clean dry opaque container, then record the date and plant identity. Check after several days that no condensation has formed. Discard every batch showing mould, soft texture, insects, or unusual odour. Keep new batches separate from older ones and crush leaves only when cooking. Never combine a questionable batch with sound material, and rotate supplies so the oldest inspected thyme is used first.
Wildlife and pets
Life,around your plants.
Supporting wildlife
The small nectar-bearing flowers attract bees, butterflies, and several other pollinating insects in early summer. Keep several flowering branches in a sunny location and avoid treatments while visitors are active. Harvest other stems before full bloom to balance culinary use with a useful nectar supply. Observe activity without disturbing feeding insects.
For a great start to your seeds
The right extras.Right here.
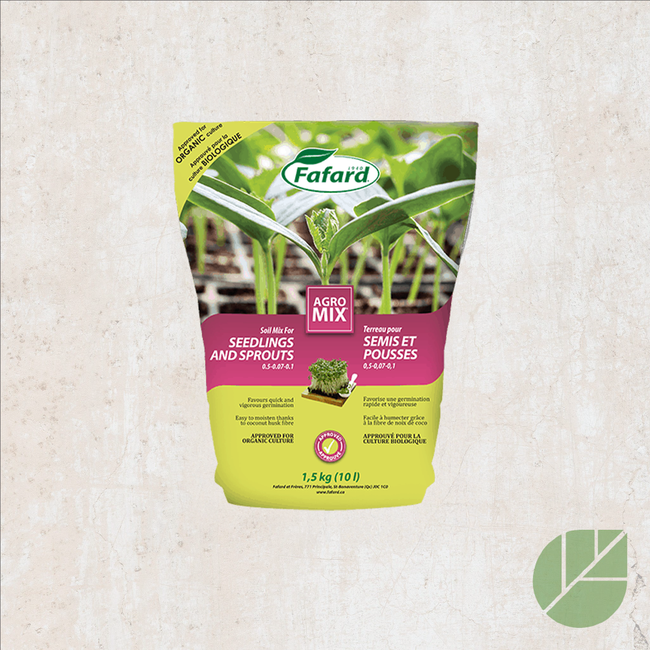
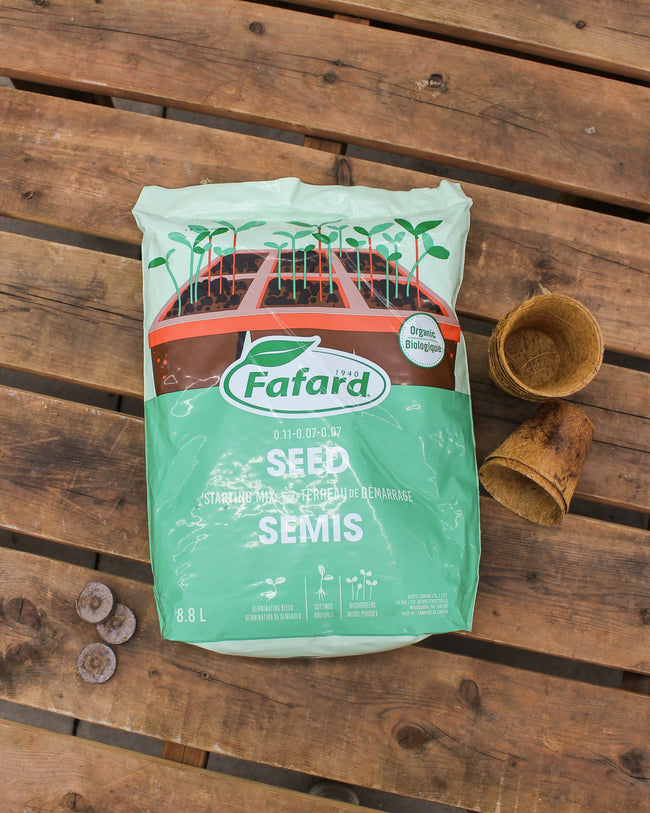
Seed Starting Soil
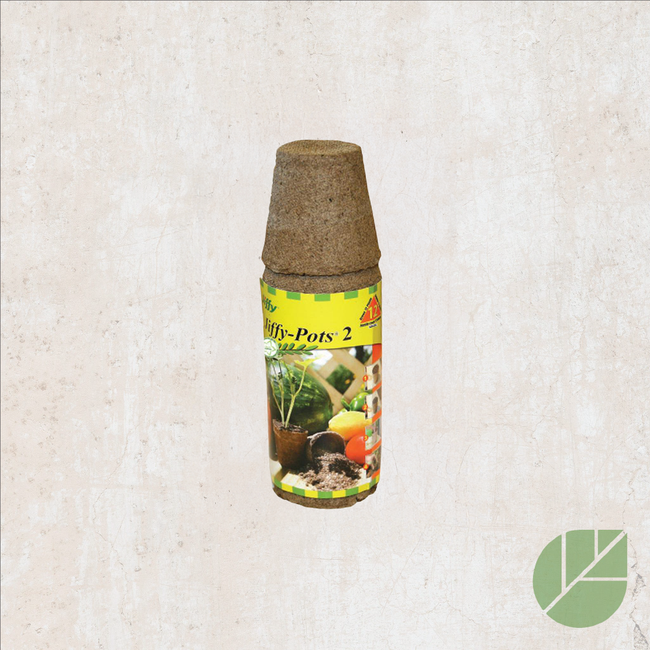
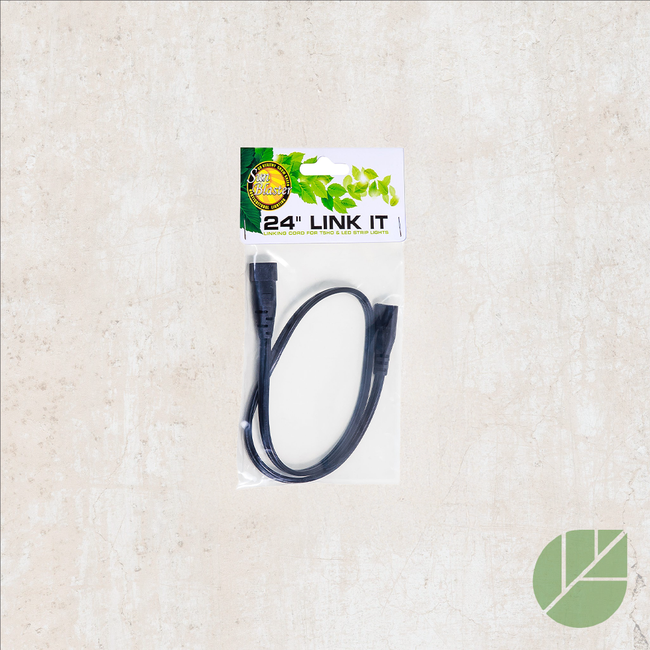
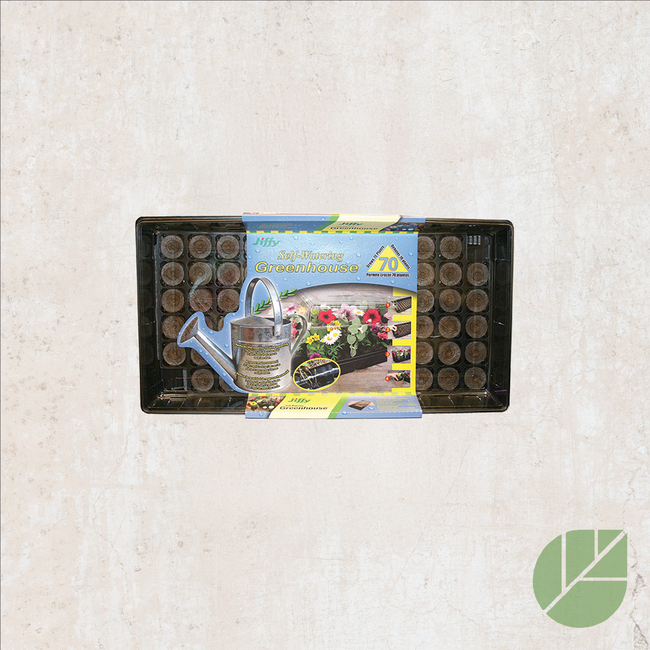
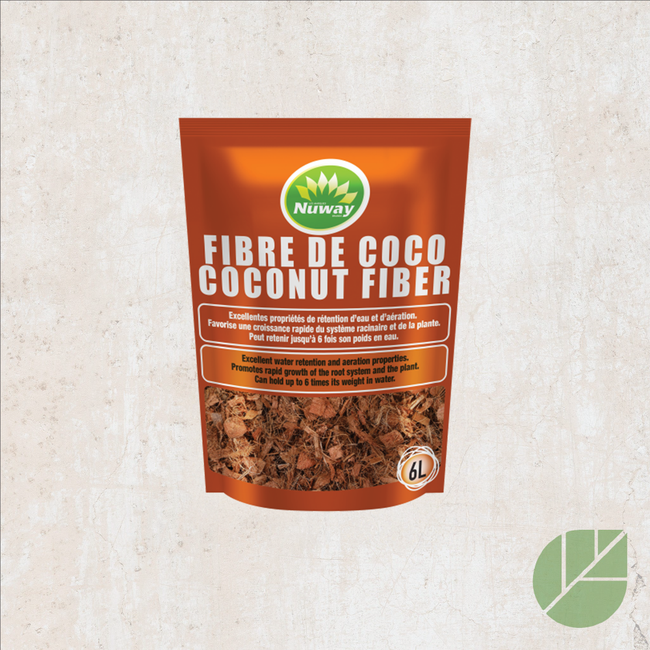
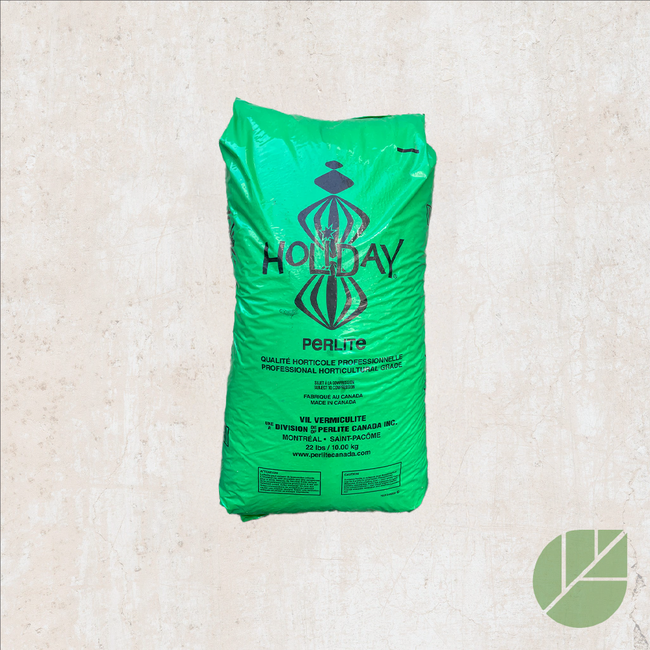
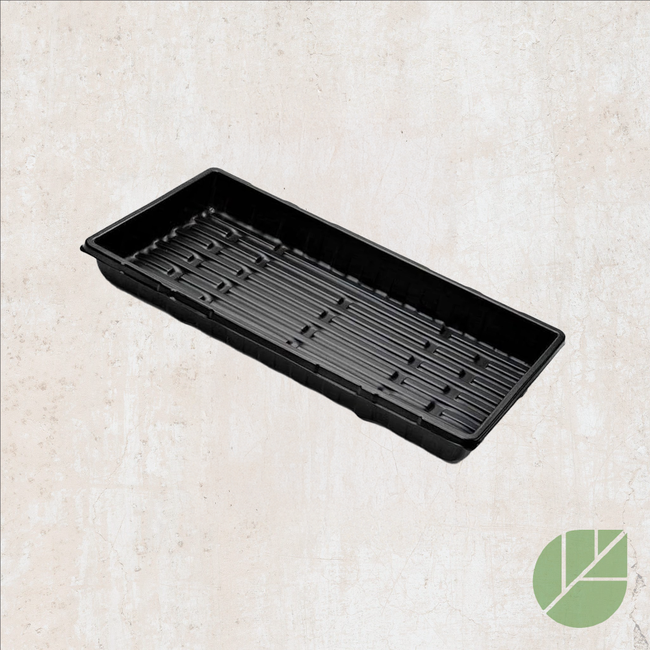
Shop the collectionSeed starting supplies
Shop the collection