Organic seeds

Arugula microgreens

Eruca sativa

Product code : WESTO-0255

Arugula microgreens is a arugula microgreens cultivar selected for home food or ornamental gardens. It prefers bright indirect light or grow lights and clean, fine, free-draining potting or soilless medium. Dense sowing in a shallow tray using a clean, free-draining medium. Press onto the medium and cover lightly according to species. Allow Seeds about 3 to 6 mm apart depending on size. Mist or bottom-water; keep moist without saturation. For best results, label the row and observe the plants regularly as conditions change through the season. Adjust watering to rainfall, wind, container size, and the actual moisture at soil level. Good air circulation and adequate spacing help foliage dry normally after rain or irrigation.
3 99 $
Pay in 4 interest-free payments with Sezzle
Detailed plant guide
Advice adapted to Canada
Secure payment
Share
Quantity
90 g
Life cycle
Harvested very young

Discover the plant

Common nameArugula microgreens
FamilyBrassicaceae
GenusEruca
Speciessativa
Typemicrogreen
Botanical nameEruca sativa

Arugula microgreens (Eruca sativa) Arugula microgreens is distinguished by flat plants with a spicy character. It is a clearly identified arugula microgreens cultivar for gardeners who value dependable sowing information and a well-labelled crop. Its botanical identity is Eruca sativa. Plan this variety for a home vegetable plot, raised bed, or suitable container, according to its mature size and growing requirements. For best results, label the row and observe the plants regularly as conditions change through the season. Adjust watering to rainfall, wind, container size, and the actual moisture at soil level. Good air circulation and adequate spacing help foliage dry normally after rain or irrigation.

Dense sowing in a shallow tray using a clean, free-draining medium. Press onto the medium and cover lightly according to species. Keep the seedbed evenly moist through emergence. Allow Seeds about 3 to 6 mm apart depending on size. Provide bright indirect light or grow lights and avoid standing water. A germination temperature of About 24°C until germination, then near 16°C is appropriate for this crop. Thin crowded seedlings early and harden indoor-started plants gradually before transplanting. For best results, label the row and observe the plants regularly as conditions change through the season. Adjust watering to rainfall, wind, container size, and the actual moisture at soil level.

Arugula microgreens is grown for the edible portions normally harvested from this type of crop. Pick only healthy produce at the appropriate stage, handle it carefully, and rinse it according to the intended preparation. Maintain mist or bottom-water; keep moist without saturation. Keep the planting accessible for observation, watering, harvest, or grooming. Use clean tools, remove damaged material, and store unused seed in a cool, dry, dark location. Choose compatible neighbouring plants and maintain enough room for air circulation. For best results, label the row and observe the plants regularly as conditions change through the season. Adjust watering to rainfall, wind, container size, and the actual moisture at soil level.

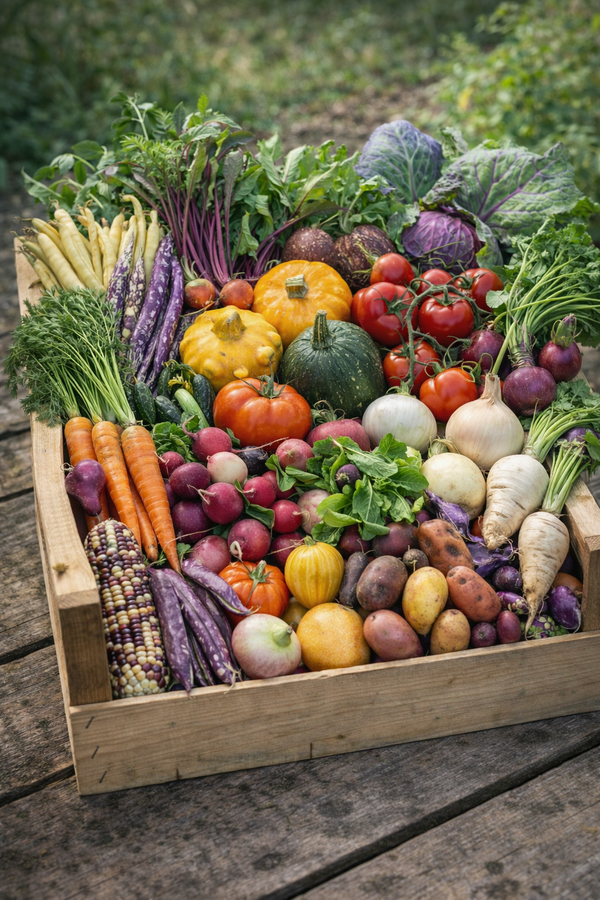
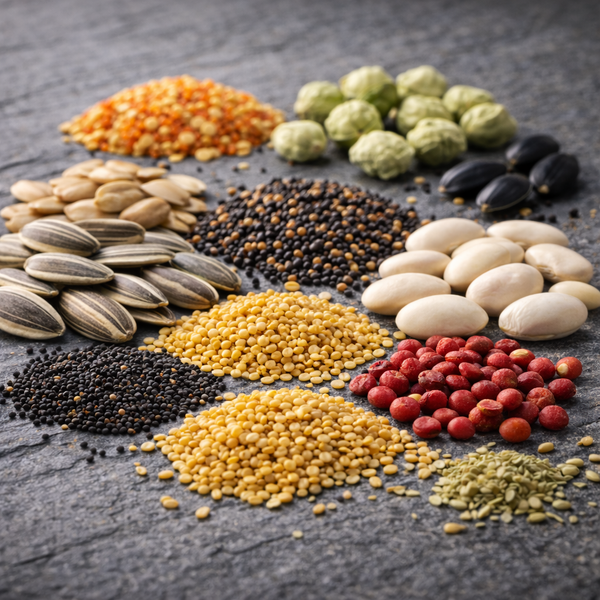
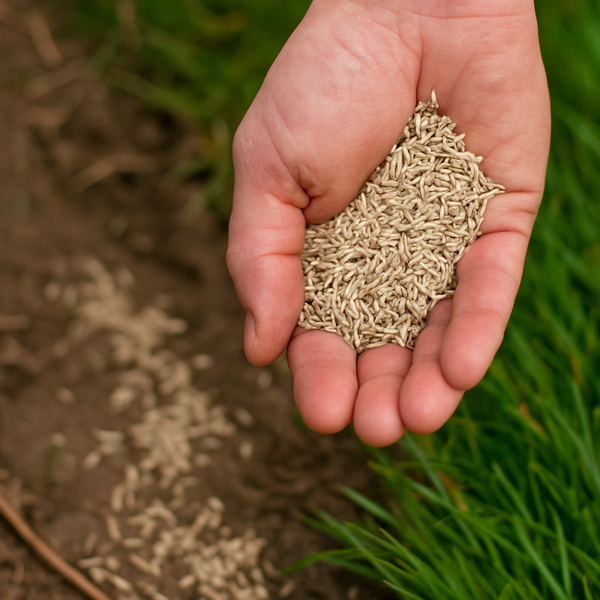
Illustration associée à Roquette à germer, dans la gamme Weston. La roquette à germer apporte une saveur relevée; ses graines mucilagineuses conviennent mieux à une méthode en plateau qu’à un bocal serré. Le visuel permet de repérer la référence et l’aspect présenté pour cette sélection. Les dimensions et les couleurs observées au jardin dépendent du stade de croissance et des conditions de culture.

Sowing guide

It all startswith a seed.

Sowing period

Dense sowing in a shallow tray using a clean, free-draining medium

Propagation

Seed

Growing method

Prepare a clean seedbed or containers with clean, fine, free-draining potting or soilless medium. Dense sowing in a shallow tray using a clean, free-draining medium. Press onto the medium and cover lightly according to species unless the packet gives a more specific direction. Use the following spacing as the crop develops: Seeds about 3 to 6 mm apart depending on size. Keep the medium evenly moist during emergence without leaving it saturated. Provide bright indirect light or grow lights and good air movement. Thin crowded seedlings early so the remaining plants develop without unnecessary competition. Harden indoor-started plants gradually before transplanting them outdoors after the appropriate frost date. Mist or bottom-water; keep moist without saturation. For best results, label the row and observe the plants regularly as conditions change through the season. Adjust watering to rainfall, wind, container size, and the actual moisture at soil level. Good air circulation and adequate spacing help foliage dry normally after rain or irrigation. Keep the growing area free of weeds that compete for light, moisture, and nutrients. Use clean tools for harvest and remove damaged plant material when it appears. Always follow the packet information when a variety-specific direction differs from general guidance. A simple garden label makes the cultivar easy to identify from sowing through harvest or flowering. Check young plants frequently because small moisture or pest problems are easier to address early.

Soil and care

The right care,at the right time.

Seasonal care

Prepare a small amount of seeds for food sprouting, using potable water and equipment cleaned before each new batch. Sprouting arugula adds a pungent flavor, to be used in small portions. Use a growing medium suitable for seeds that become gelatinous on contact with water; a compact layer in a jar drains poorly. After the rinses prescribed by the method, allow excess water to drain; moisture useful for growth does not justify stagnant water. Do not add improvised fertilizer to a food sprouter; only follow the method indicated for the seeds and growing medium used. Inspect the crop daily and discard altered batches; a normal appearance or odor does not guarantee the absence of pathogenic bacteria. Sprouted arugula adds a peppery accent to be used sparingly in dishes. Prepare the amount needed for the meal and follow the sanitation guidelines applicable to sprouts. After harvesting, clean and then dry the equipment before starting again; sprouts should be consumed well cooked to reduce microbiological risk. Choose the growing medium according to the seed: mucilaginous species should remain spread out on an appropriate surface, without forming a compact, submerged layer. Allow space for the seeds to expand and keep the container easily disassemblable or accessible for cleaning after harvesting. Sprouting arugula adds a pungent flavor; its mucilaginous seeds are better suited to a tray method than a tightly packed jar.

Container growing

A garden,within reach.

Leave room for the seeds to expand and keep the container easily detachable or accessible for cleaning after harvest. Sprouting arugula adds a spicy flavor that should be used in small portions. Use a growing medium suitable for seeds that become gelatinous on contact with water; a compact layer in a jar drains poorly. Choose the medium according to the seed: mucilaginous species should remain spread out on an appropriate surface, without forming a compact submerged layer. After the rinses prescribed by the method, allow excess water to drain; the moisture needed for growth does not justify stagnant water. Do not add improvised fertilizer to a food-grade sprouter; only follow the method indicated for the seeds and growing medium used. Place the batch on a clean surface, away from splashes and scorching sun, which can overheat a small container. Inspect the crop daily and discard compromised batches; a normal appearance or odor does not guarantee the absence of pathogenic bacteria. After harvesting, clean and dry the equipment before reusing; sprouts are best consumed cooked to reduce microbiological risk. Sprouting arugula adds a spicy flavor; its mucilaginous seeds are better suited to a tray method than a tightly sealed jar.
Illustration associée à Roquette à germer, dans la gamme Weston. La roquette à germer apporte une saveur relevée; ses graines mucilagineuses conviennent mieux à une méthode en plateau qu’à un bocal serré. Le visuel permet de repérer la référence et l’aspect présenté pour cette sélection. Les dimensions et les couleurs observées au jardin dépendent du stade de croissance et des conditions de culture.

Bloom and dimensions

Its place,in your garden.

Days to maturity

4 to 5 days — supplier reference

Harvest

Sprouted arugula adds a peppery flavor that should be used sparingly.

Recipe idea

From the gardento your plate.

Edible parts

Young shoots
For four servings, allow 100 g (3.5 oz) of harvested Rocket sprouts, 500 ml (2 cups) of cooked rice, one carrot, and 15 ml (1 tbsp) of oil. Use a clean harvest and cook the sprouts completely according to the method suitable for the seed. Legumes require their own cooking; a simple rinse does not replace it. Sauté the finely diced carrot in oil, add the rice, then the already cooked sprouts. Reheat evenly while stirring and serve without raw sprout garnish. Quickly cool any leftovers in a shallow container and refrigerate them. This preparation is intended for a meal; it is not a method of preservation at room temperature. Germinated rocket adds a peppery accent that should be used in moderation in dishes. Prepare the quantity needed for the meal and follow the food safety instructions applicable to sprouts. Sprouting rocket provides a strong flavor to be used in small portions. Use a suitable growing medium for seeds that become gelatinous on contact with water; a compact layer in a jar drains poorly.

Frequently asked questions

Your questions,answered.

How should Arugula microgreens be sown?
Dense sowing in a shallow tray using a clean, free-draining medium. Prepare clean, fine, free-draining potting or soilless medium. Press onto the medium and cover lightly according to species. Keep the seedbed evenly moist until emergence without saturating it. Label the row and provide bright indirect light or grow lights. Thin crowded seedlings so the final spacing follows this guidance: Seeds about 3 to 6 mm apart depending on size. If plants are started indoors, provide strong light and harden them gradually before transplanting outdoors at the appropriate time. For best results, label the row and observe the plants regularly as conditions change through the season. Adjust watering to rainfall, wind, container size, and the actual moisture at soil level.
Which location is best for Arugula microgreens?
Arugula microgreens prefers bright indirect light or grow lights and clean, fine, free-draining potting or soilless medium. Choose a location that leaves enough room for Seeds about 3 to 6 mm apart depending on size. Avoid low spots where water remains after rain. In a container, use drainage holes and a clean growing mix. Observe how light moves across the space during the day, especially near buildings or taller plants. For best results, label the row and observe the plants regularly as conditions change through the season. Adjust watering to rainfall, wind, container size, and the actual moisture at soil level. Good air circulation and adequate spacing help foliage dry normally after rain or irrigation. Keep the growing area free of weeds that compete for light, moisture, and nutrients.
How should Arugula microgreens be watered?
Mist or bottom-water; keep moist without saturation. During germination, use a gentle spray or careful watering so seed is not displaced. After establishment, water at soil level when the surface begins to dry. Adjust frequency to rainfall, heat, wind, soil texture, and container size. Avoid standing water because roots still require oxygen. Morning watering can help foliage dry normally during the day. For best results, label the row and observe the plants regularly as conditions change through the season. Adjust watering to rainfall, wind, container size, and the actual moisture at soil level. Good air circulation and adequate spacing help foliage dry normally after rain or irrigation. Keep the growing area free of weeds that compete for light, moisture, and nutrients.
What maintenance does Arugula microgreens need?
Keep the planting labelled, weeded, and appropriately spaced. Check young plants regularly for wilting, chewing damage, discolouration, or crowding. Provide bright indirect light or grow lights and maintain the moisture pattern described for the crop. Use clean tools, avoid deep cultivation near established roots, and remove unhealthy debris. Apply any fertilizer or pest-control product only according to its label. For best results, label the row and observe the plants regularly as conditions change through the season. Adjust watering to rainfall, wind, container size, and the actual moisture at soil level. Good air circulation and adequate spacing help foliage dry normally after rain or irrigation. Keep the growing area free of weeds that compete for light, moisture, and nutrients. Use clean tools for harvest and remove damaged plant material when it appears.
When should Arugula microgreens be harvested?
Harvest Arugula microgreens when the edible part reaches the stage described for the cultivar or on the packet. Pick during the cooler part of the day when practical and use clean tools. Remove damaged portions, rinse according to the intended preparation, and cool perishable produce promptly. Regular picking may extend production for crops that continue forming leaves, pods, or fruit. Stop using any plant material that appears spoiled or unidentified. For best results, label the row and observe the plants regularly as conditions change through the season. Adjust watering to rainfall, wind, container size, and the actual moisture at soil level. Good air circulation and adequate spacing help foliage dry normally after rain or irrigation.