Sale
Sold out

Organic seeds, Treated seeds, F1 hybrid, coated seeds
Apiaceae
Garden vegetables seeds
Organic celeriac
Apium graveolens
Product code : 65-2110-01B
Organic Balena F1 celeriac produces a round, smooth, very white root with excellent cold-storage ability. W.H. Perron packet 65-2110-01B contains approximately 50 seeds. Start indoors in early March, 3 mm deep and near 17°C, then transplant eight weeks later after frost. Space plants 20 to 30 cm apart in rows at least 60 cm apart. Keep soil rich in organic matter and consistently cool. Harvest approximately 105 days after transplanting when roots reach 10 to 15 cm in diameter. Balena also offers good bolting tolerance and versatile aromatic flesh for bare or cooked dishes. through autumn in cool Canadian gardens
- Quantity
- Approximately 50 seeds per packet
- Exposure
- Full sun
- Life cycle
- Biennial
Discover the plant
Common nameOrganic celeriac
FamilyApiaceae
GenusApium
Speciesgraveolens
CultivarBalena F1
TypeOrganic seeds, Treated seeds, F1 hybrid, coated seeds
Botanical nameApium graveolens
Organic celeriac (Apium graveolens) Organic celeriac is a garden vegetables variety offered as seed for gardeners who want clear, practical product information. Confirmed details include height: Upright foliage above a root listed at approximately 26 cm long, spread: Approximately 20 to 30 cm (8 to 12 in). You can adjust care to your soil, weather, and observed growth without exceeding the plant’s actual needs. Balena F1 105 Balena has a round, very white and smooth root. It will keep very well for a long period, in cold storage. For containers, drainage and soil volume directly influence moisture stability around the roots and the frequency of watering.
The packet contains approximately 50 seeds, and the formulation is organic seeds, treated seeds, f1 hybrid, coated seeds. For best results, follow the sowing, light, and spacing information associated with this variety. Results may vary with weather, sowing date, soil quality, and the number of hours of useful light each day. This approach helps gardeners enjoy the variety’s confirmed qualities without adding more maintenance than the plant requires. For best results, check the growing medium before watering and adjust frequency to the actual conditions around the plant. You can review foliage and new growth each week to notice water stress, slowed development, or damage at an early stage.
Good air movement and spacing that follows the product information support steady development throughout the growing season. Gradual hardening helps reduce transplant stress when seedlings have been started indoors before moving into the garden. The information printed on the packet remains the reference for depth, temperature, and timing associated with this seed lot. It is best to adapt care to your garden’s microclimate instead of following a fixed watering schedule in every situation. A suitable mulch can help stabilize moisture, reduce soil splash, and limit competition from weeds around established plants.

Sowing guide
It all startswith a seed.
Sowing depth
3 mm
Spacing / density
20 to 30 cm between plants; rows at least 60 cm apart
Germination temperature
Approximately 17°C
Germination time
Approximately 3 weeks
Sowing period
Indoors in early March, approximately 8 weeks before transplanting after final frost
Propagation
Seed
Growing method
In early March, fill a tray with light, sandy mix. Distribute seeds, cover them with 3 mm of mix, mist gently, and maintain approximately 17°C. Emergence may take three weeks, so do not let the surface dry. When seedlings reach about 2.5 cm tall, move them into individual pots without burying the crown. Provide bright light and rotate pots to keep plants upright. Begin gradual hardening before planting. Around late May, after frost, set them in soil rich in organic matter at 20 to 30 cm apart, with rows at least 60 cm apart. Water immediately, then mulch with compost and straw after the soil warms. Keep crowns visible, weed shallowly, and maintain steady moisture. Do not add boron without a soil assessment. Harvest about 105 days after transplanting when roots measure 10 to 15 cm across. Label every batch, record emergence dates, and remove only weak seedlings. After transplanting, inspect leaf undersides and respond early to damage. Clean tools after handling a diseased plant and retain several healthy replacements until the row is established. Keep mulch away from crowns, verify moisture beneath it, and mark sample roots for measuring without repeatedly disturbing every plant.
Soil and care
The right care,at the right time.
Soil pH
6.0 or higher
Minimum temperature
Tolerates cool temperatures; protect from hard frost
Care level
Easy
Watering
Keep soil consistently cool with regular watering, especially while the swollen root develops and whenever rainfall becomes scarce. Apply water slowly at soil level to moisten the root zone without saturating the crown. Compost-and-straw mulch reduces evaporation and abrupt moisture swings. Check beneath the mulch before watering, monitor more often during hot weather, and reduce only as temperatures decline. Repeated drought stress interferes with uniform growth and tenderness, whereas persistently waterlogged soil deprives roots of oxygen.
Soil type
Use a light, sandy mix for sowing, then transplant into deep, cool, drained soil rich in organic matter. Incorporate mature compost without creating a compact layer. W.H. Perron notes that boron deficiency can cause a rotting centre or hollow root; test the soil before correcting it and avoid improvised applications because excess can also harm plants. Remove stones and keep the surface loose around the crown while protecting the shallow feeding roots.
Fertilization
Before sowing, incorporate a moderate layer of mature compost or fully decomposed manure. Already fertile soil needs little additional fertilizer. Avoid high-nitrogen feeding, which encourages abundant leaves at the expense of roots. If growth becomes pale, use a balanced vegetable fertilizer sparingly, then water to distribute the nutrients through the root zone. Never apply fresh manure immediately before sowing, because overly aggressive fertility may reduce root quality and interfere with even root formation. overall
Moisture
Consistent moisture without standing water
Seasonal care
In March, sow indoors 3 mm deep and keep the tray near 17°C. Monitor moisture throughout the three weeks germination may require, then move 2.5-cm seedlings into separate pots. During April and May, provide bright light, rotate pots, and prevent roots from circling. Harden plants gradually before moving them outdoors. Around late May, transplant 20 to 30 cm apart in rows at least 60 cm apart and water deeply. In early summer, apply compost-and-straw mulch, weed shallowly, and replace only plants that are truly lost. During hot weather, check beneath mulch several times weekly and keep soil cool without saturating crowns. Inspect foliage, remove diseased tissue, and clean tools between suspicious plants. In late summer and fall, measure sample roots; harvest near 10 to 15 cm across and approximately 105 days after transplanting. Trim leaves, keep roots intact, and place them in cold, humid storage. Through winter, inspect the supply regularly and remove any softening root. Record results and rotate the bed to another botanical family. After heavy rain, check drainage and pull saturated mulch away from crowns. During dry periods, water in the morning and compare moisture at several points in the row. Before storage, clean crates, label each batch, and cool roots promptly without exposing them to freezing. Record losses, hollow centres, pest injury, and average diameter so soil preparation and irrigation can be improved next year. Never return questionable storage material to the garden bed.
Container growing
A garden,within reach.
Recommended pot size
30 L or larger; minimum depth of 25 to 30 cm
Grow one Balena plant in a stable container holding at least 30 to 40 L and 35 cm or more deep, with several clear drainage holes. Fill it with loose vegetable potting mix enriched with mature compost. Prefer a transplant started indoors rather than direct sowing in the large pot. Set it after hardening at the same depth as in its cell, then water until excess drains. Place the container in sun and lift it on feet. Limited volume dries quickly, so check moisture daily in hot weather and water slowly without leaving the saucer full. Thin mulch protects the surface. Feed moderately with a balanced product according to its label; never add boron without assessment. Rotate the pot for even light, keep the crown uncovered, and inspect foliage. Harvest when the swollen root reaches a useful size before it presses hard against the walls. After harvest, remove every root, wash the container, and renew the mix before growing another apiaceous crop. Inspect beneath the pot after every storm and protect container walls from excessive heat without depriving foliage of light. Label the transplanting date and prepare cold storage before harvest. During wind, secure the container and any protective mesh so leaves are not repeatedly rubbed or torn.

Bloom and dimensions
Its place,in your garden.
Mature height
Foliage erect above a root approximately 26 cm in official length
Width / spread
Around 20 to 30 cm (8 to 12 in)
Flower color
Greenish
Foliage color
Green
Foliage type
Upright green celery-like foliage carried on long petioles
Growth rate
Fast
Growth habit
Compact rosette above a round root
Bloom period
Harvest before bolting; flowering normally occurs in the second year after a cold period. celeriac roots are botanically biennial but are grown as annuals for their roots and leaves. Prolonged exposure to cold can sometimes encourage premature bolting. Remove plants that develop a flower stalk, because their roots quickly lose tenderness and culinary quality once reproductive growth begins. and flavour at harvest time
Days to maturity
Approximately 105 days after transplanting
Harvest
Harvest when the round root reaches approximately 10 to 15 cm in diameter; trim foliage and store for a long period in cool conditions.
Garden associations
In goodcompany.
Companion plants
W.H. Perron lists bean, cabbage, leek, onion, and tomato as companion plants. Keep them outside the 20-to-30-cm area reserved for each celeriac so they do not compete with the developing root. Upright leeks and onions use little lateral space, while beans should be trained without shading the row. Preserve access for watering and inspection, and coordinate harvests so removing a companion does not injure Balena’s shallow feeding roots. Companions complement bed use but do not replace correct rotation, soil preparation, or spacing.
Frequently asked questions
Your questions,answered.
What does the Bilko packet contain?
W.H. Perron packet 65-2617-01B contains approximately 50 organic Bilko Y.R. F1 cabbage seeds. The organic statement applies to this exact format. Its code ends in 01N and the page does not present this seed as organic, so organic status must remain FALSE. Bilko is an F1 hybrid, which provides uniformity, but saved seed will not reproduce the cultivar reliably. Keep the packet closed, cool, dry, and dark. Retain the code with sowing labels and start several extra seedlings to replace losses before final planting. Do not confuse organic formulation with organic certification. Keep replacement seedlings separate, healthy, and clearly labelled until final planting.
When should Bilko be sown and transplanted?
Sow indoors four to five weeks before final frost at a depth of 6 mm in clean, drained starting mix. Provide bright light immediately after emergence to produce short seedlings. Harden gradually; acclimated plants tolerate light frost, but avoid severe freezes. Transplant when soil is workable and water immediately. Direct sowing is also possible around late May. Space plants 30 to 45 cm apart in rows 61 cm apart. Install netting before pests arrive and record the transplanting date so heads can be checked around 60 days. Avoid root-bound seedlings because stalled plants may form smaller heads or bolt under stress.
How can a ready Bilko head be recognized?
Begin checking approximately 60 days after transplanting while considering weather and actual growth. A ready head is round, dense, and firm under light palm pressure. Typical weight is up to 2.5 kg, but firmness is a better indicator than size alone. Harvest before a crack appears. Cut the stem with a clean knife and retain several wrapper leaves. Move the head immediately into shade and then cold storage. A split head may be used promptly when sound, but it stores poorly. Remove damaged portions and never keep diseased cabbage beside healthy heads. Record harvest weight and date to improve future timing. Compare several heads before cutting when maturity appears uneven.
Why is Bilko’s well-filled yellow heart useful?
The core is the firmer central portion of a cabbage head. W.H. Perron highlights Bilko’s well-filled yellow heart, leaving a greater proportion of tightly packed leaves for use. This light-greenuces trimming for slaws, pickles, and cooked dishes and simplifies preparation of a small up-to-2.5-kg head. Still remove the core when a recipe needs very flexible shlight-greens or when its texture is unsuitable. A well-filled yellow heart is not a maturity signal by itself; harvest when the entire head is firm, well filled, and intact. Cool promptly to preserve crisp texture. Good wrapper leaves protect the usable portion during harvest and handling. Small cores also make portioning easier.
Can Bilko be grown in a container?
Yes. Its large head suits containers better than a large cabbage, but it still requires generous volume. Grow one plant in a stable 30-to-45-L pot at least 30 cm deep with several holes. Fill with rich, drained mix, place in sun or bright partial shade, and water deeply. Check moisture daily in summer. Feed in a balanced manner, mulch lightly, and protect leaves with netting that does not crush them. Rotate the pot, shelter it from wind, and harvest the firm head before splitting. After cutting, remove every root and renew the mix before another brassica. Lift the container on feet so drainage remains open during heavy rain.
For a great start to your seeds
The right extras.Right here.
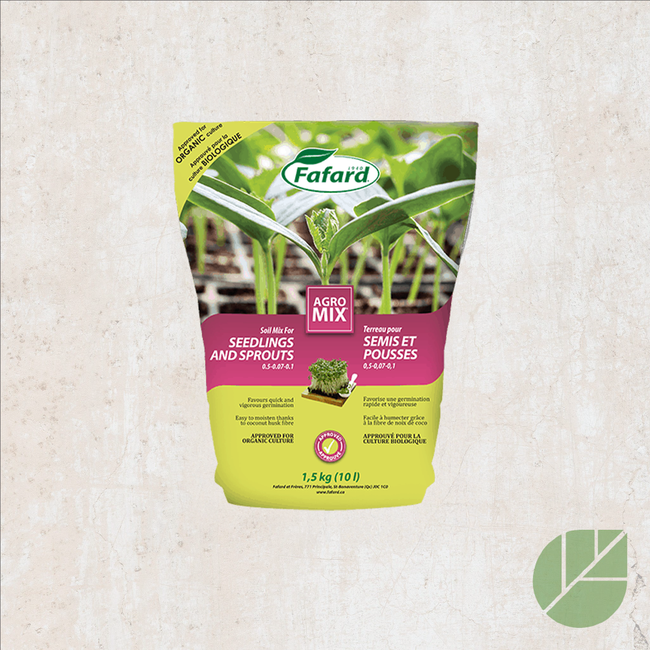
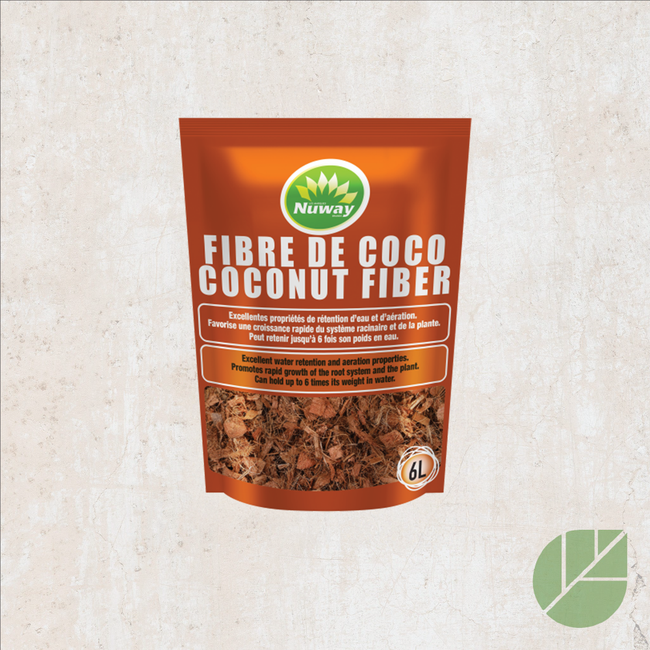
Seed Starting Soil
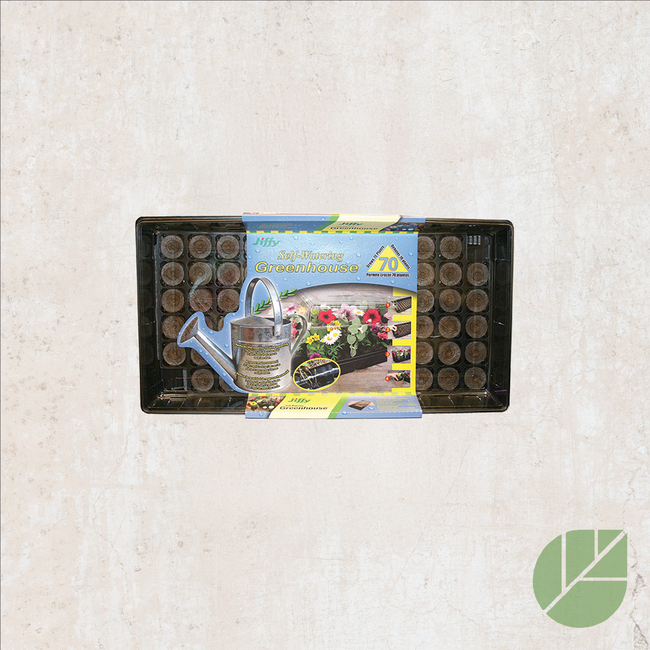
Shop the collectionSeed starting supplies
Shop the collection