Sale
Sold out

Organic
Fabaceae
Semences biologiques pour germes et micropousses
Organic Red Clover Microgreens (Trifolium pratense)
Red clover
Product code : 65-9504-01B
WH Perron Organic Red Clover can be grown year-round in a sprout jar, mesh-bottomed tray, or microgreen tray. The packet contains 50 g of small organic seeds. After pre-soaking for 8 to 12 hours, rinse and drain two or three times a day. Harvest sweet and crunchy sprouts in 5 to 6 days, or let microgreens grow for 5 to 14 days. Bright indirect light promotes greening after the initial dark phase. Strict hygiene, potable water, and complete draining are essential with each handling. Grow delicate sprouts or green microgreens at home with a sweet, fresh, and slightly alfalfa-like taste.
- Quantity
- 50 g
- Exposure
- Initial darkness, then bright indirect light
- Life cycle
- Perennial grown indoors for a short cycle
Discover the plant
Common nameOrganic Red Clover Microgreens
FamilyFabaceae
GenusClover
Speciesclover
CultivarRed clover
TypeOrganic
Botanical nameRed clover
Reproducible seedsYes
Organic Red Clover Microgreens (Trifolium pratense). Grow delicate sprouts or green microgreens at home with a mild, fresh flavor similar to alfalfa. The WH Perron packet, reference 65-9504-01B, contains 50g of organic seeds. The seeds are naturally small and come in warm shades of mustard, brown, or tan. Their crisp texture is perfect for salads, sandwiches, bowls, garnishes, and fresh snacks. This variety matures in 5 to 6 days for sprouts; 5 to 14 days for microgreens. The packet contains 50g to start your planting.
Germination generally requires visible sprouts quickly after soaking in potting soil maintained at a moderate and stable indoor temperature. The sowing schedule for this variety is as follows: indoors year-round. For this variety, observe the following sowing depth: on the surface after pre-soaking. The seeds of this variety remain on the surface; gentle watering preserves their placement and prevents them from being washed under a layer of potting soil. Prepare a small production of sprouts or microgreens that you can observe daily. Clean equipment before sowing and use potable water.
The first few days can be spent in darkness; then gradually expose the young shoots to bright, indirect light to encourage greening. Harvest microgreens with clean scissors. Discard any crop showing an abnormal odor, slimy texture, or visible contamination, and restart with a disinfected container. Begin to observe the harvest of this variety as it approaches 5 to 6 days for sprouts; 5 to 14 days for microgreens; then check for the desired color, firmness, and size for picking. When planting this variety, the spacing to remember is 2 tsp.

Sowing guide
It all startswith a seed.
Sowing depth
On surface after pre-soaking
Spacing / density
2 tbsp per tray or 1 tsp per mesh pot
Germination temperature
Moderate and stable indoor temperature
Germination time
First visible sprouts quickly after soaking
Sowing period
All year round indoors
Propagation
Sowing after pre-soaking
Growing method
Measure the desired quantity before soaking to avoid overfilling the container. Cover the seeds with potable water for 8 to 12 hours, then rinse and drain. For sprouts, place them in a clean sprouting jar and repeat rinsing two or three times a day. For microgreens, spread them on a clean, moist substrate after soaking, without forming too thick a layer. Initially, keep them in a dark or covered environment, then introduce bright indirect light once the shoots stand upright. Ensure gentle air circulation and avoid scorching direct sunlight. Harvest sprouts in 5 to 6 days or microgreens between 5 and 14 days. Wash hands and utensils before each handling, drain completely after each rinse, and observe the smell, color, and texture. An abnormal odor, sliminess, or visible mold indicates that the batch must be discarded and the equipment disinfected before starting again. Record each date and clean the equipment between batches to make the method easy to repeat. Organic Red Clover Microgreens (Trifolium pratense) allow you to produce fine sprouts or green microgreens at home with a mild, fresh taste, slightly similar to alfalfa.
Soil and care
The right care,at the right time.
Soil pH
Drinking water; clean, neutral support
Minimum temperature
Protect from cold and sudden changes
Care level
Moderate
Watering
Rinse with potable water two or three times a day, then allow the water to drain completely. The seeds should remain moist, never submerged, between rinses. In a microgreen tray, moisten the medium evenly without creating puddles. Adjust frequency to temperature and air circulation, and check more often if the surface dries quickly. To start, soak the seeds for 8 to 12 hours in clean water, then drain them carefully.
Soil type
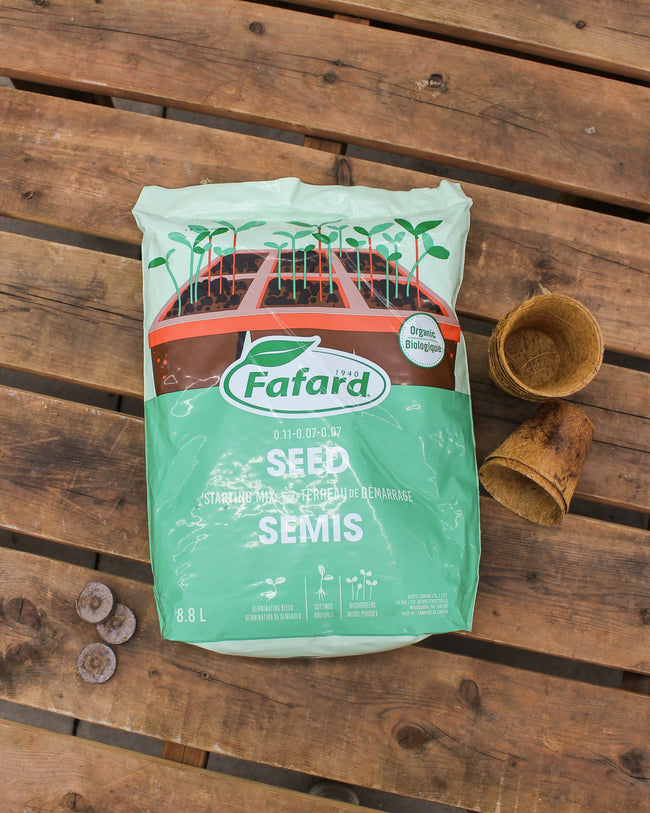
Use a clean, light, uniform, well-draining medium designed for indoor food production. Moisten it without soaking it, spread the seeds evenly, and prevent any stagnant water around the roots. A microgreen mat or a new, fine potting mix works well. The container should be washable, stable, and have efficient drainage to promote even germination.
Moisture
Wet with complete drip-off
Seasonal care
This indoor cultivation can be repeated all year round rather than following outdoor seasons. In winter, move the tray away from cold windows and compensate for short days with regular, bright, indirect light. In spring and autumn, monitor temperature variations near windows. In summer, avoid direct sunlight and excessive heat, which accelerate drying and can degrade quality. Between each batch, empty residues, then wash and disinfect the sprouting jar, saucer, tray, and scissors. Allow everything to dry completely before a new sowing. Stagger small quantities rather than filling a large container; this improves air circulation and facilitates quick consumption. Note soaking and harvesting dates to adjust the duration to your environment. Regardless of the season, use potable water, rinse at the official frequency, drain promptly, and quickly refrigerate harvested sprouts. If the crop appears slimy, smells bad, or shows contamination, discard it without tasting. Record each date and clean the equipment between batches to make the method easy to repeat. Always keep harvested sprouts clean, dry, and quickly refrigerated. In a sprouting jar, gather about two tablespoons in the center of the tray, water around the periphery first, and gently spread the seeds when the first sprouts appear.
Container growing
A garden,within reach.
Recommended pot size
Shallow tray, sprouter, or mesh cup
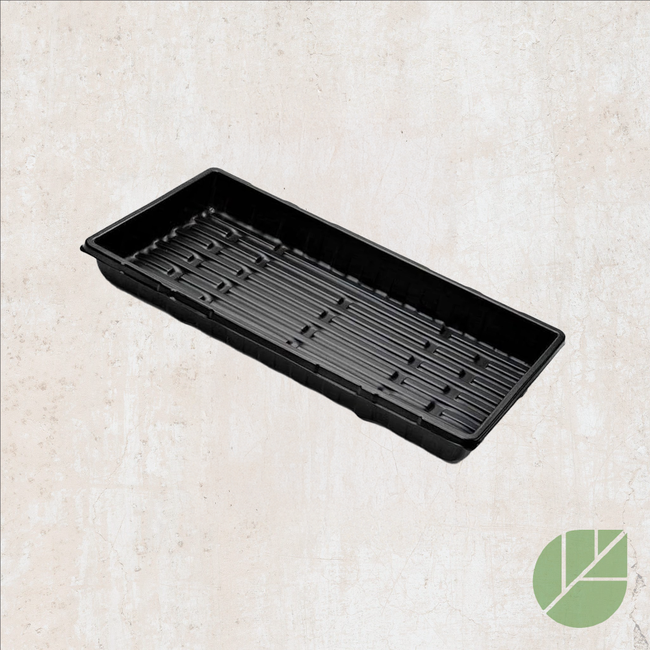
A sprouter, a jar with a mesh lid, a mesh tray, or a shallow tray is suitable for this cultivation. Choose a container that is easy to wash and large enough so that the swollen seeds do not form a compact mass. For the mesh tray, WH Perron recommends about one teaspoon spread in a single layer after soaking. In a tray, about two tablespoons can initially be grouped in the center, then spread out when the sprout emerges. Keep the container tilted after rinsing so that residual water drains away. For microgreens, a clean growing medium can stabilize the roots, but it must remain moist without being waterlogged. Place the setup in a clean area, away from kitchen splashes and animals. Transition from initial darkness to bright indirect light, then harvest with disinfected scissors. Wash and dry all equipment completely before the next batch. Record each date and clean the equipment between batches to make the method easy to repeat. Discard any crop showing an abnormal odor, slimy texture, or visible contamination, and start over with a disinfected container.

Bloom and dimensions
Its place,in your garden.
Flower color
Not observed at harvest stage
Foliage color
Fresh green after exposure to light
Foliage type
Cotyledons and first true leaves
Growth habit
Dense carpet of upright young shoots
Fragrance
Sweet, fresh, and crisp taste, similar to alfalfa; the shoots are a beautiful dark green color
Bloom period
Harvested before flowering
Days to maturity
5 to 6 days for sprouts; 5 to 14 days for microgreens
Harvest
Cut the microgreens with clean scissors above the growing medium. Harvest the amount needed for your meal and keep the rest of the crop clean and well-aerated.
Recipe idea
From the gardento your plate.
Edible parts
Germs or sprouts depending on the use of the variety
Recipe idea with your harvest of organic red clover microgreens. Add the microgreens to a bowl of cooked rice and vegetables. Prepare the rice, then sauté carrots and mushrooms in a pan. Distribute them into bowls with a pre-cooked protein source, such as lentils or tofu. Gently rinse and drain the harvested microgreens. Add them to the pan at the end of cooking to warm them through before arranging them on top of the bowl. Mix lemon juice with a little soy sauce and a spoonful of oil, then drizzle this dressing over the dish. Finish with some toasted sesame seeds. Use harvested microgreens, never seeds sold for planting. For lots intended for food germination, use only seeds specifically designated for this purpose. The flavor varies by species: radish sprouts are added in smaller quantities than sweet pea shoots.
Frequently asked questions
Your questions,answered.
How much does the packet contain, and is it organic?
Packet 65-9504-01B officially contains 50 g of organic seed. W.H. Perron states this format by weight, which is more precise than an estimated count for these small seeds. The supplier does not identify a coating, priming, or another special treatment. Measure only the amount needed, reseal the packet carefully, and keep the remainder cool, dry, and protected from light. The official product page consulted is https://whperron.com/produit/germes-et-ou-micropousses-trefle-rouge/ Check every batch daily, keep all equipment clean, and drain thoroughly to obtain a fresh, even harvest that is pleasant and ready to serve. Check every batch daily, keep all equipment clean, and drain thoroughly to obtain a fresh, even harvest that is pleasant and ready to serve.
How long should the seed be soaked and rinsed?
Presoak seed for 8 to 12 hours in potable water, then drain completely. Rinse and drain two or three times daily afterward. Rinsing supplies needed moisture, while drainage prevents water from standing around the seed. Use a clean container, wash hands before every handling step, and observe the batch. An unusual odour, slimy surface, or visible contamination means the crop should be discarded and all equipment sanitized before another attempt. Regular observation allows density, moisture, and harvest timing to be adjusted without unnecessary disturbance to young shoots. Check every batch daily, keep all equipment clean, and drain thoroughly to obtain a fresh, even harvest that is pleasant and ready to serve.
When should sprouts or microgreens be harvested?
W.H. Perron indicates approximately 5 to 6 days for sprouts and a range of 5 to 14 days for microgreens. Temperature, light, density, and the preferred stage can change timing. Harvest sprouts when well developed but still crisp. For microgreens, cut clean stems above the medium after cotyledons open. Dry the harvest carefully, refrigerate it promptly, and consume it while freshness and texture remain at their best. Regular observation allows density, moisture, and harvest timing to be adjusted without unnecessary disturbance to young shoots. Record every date and clean equipment between batches so the method remains easy to repeat. Check every batch daily, keep all equipment clean, and drain thoroughly to obtain a fresh, even harvest that is pleasant and ready to serve.
Why do seeds form a compact mass?
Small seeds swell after soaking and their roots intertwine quickly. Too much seed, an undersized container, or incomplete drainage creates a compact mass that traps moisture. Reduce the next batch, spread seed gently once sprouts emerge, and provide mild airflow. The W.H. Perron guide suggests approximately two tablespoons in the centre of a tray or one teaspoon in a single layer on a mesh growing dish after soaking. Regular observation allows density, moisture, and harvest timing to be adjusted without unnecessary disturbance to young shoots. Record every date and clean equipment between batches so the method remains easy to repeat. Keep notes on timing and moisture so the next batch can be adjusted accurately.
How can an unsafe batch be recognized?
Discard the batch without tasting if it develops an unusual odour, becomes slimy, changes appearance in a concerning way, or shows visible contamination. Do not try to save only one portion. Empty the container, wash and sanitize it using a method suitable for the material, then let it dry completely. Restart with fresh seed, potable water, and a less crowded amount. Careful hygiene and complete drainage reduce problems but do not replace daily observation. Regular observation allows density, moisture, and harvest timing to be adjusted without unnecessary disturbance to young shoots. Check every batch daily, keep all equipment clean, and drain thoroughly to obtain a fresh, even harvest that is pleasant and ready to serve.
For a great start to your seeds
The right extras.Right here.
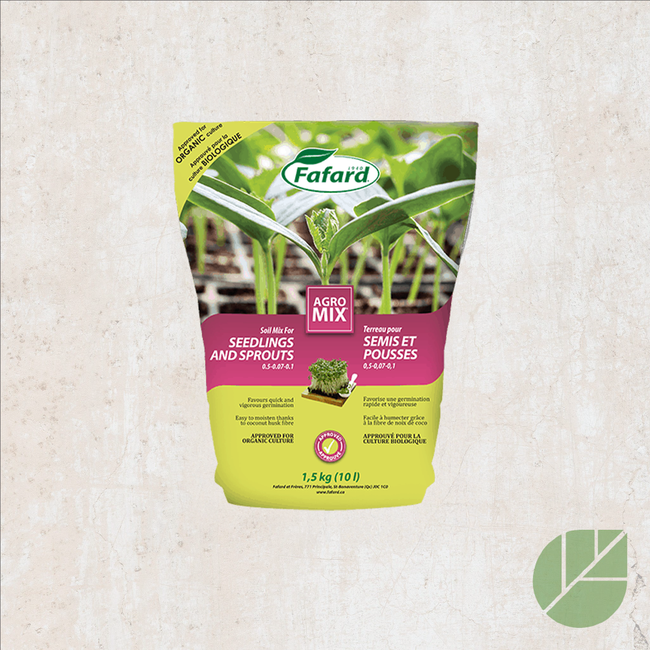
Seed Starting Soil
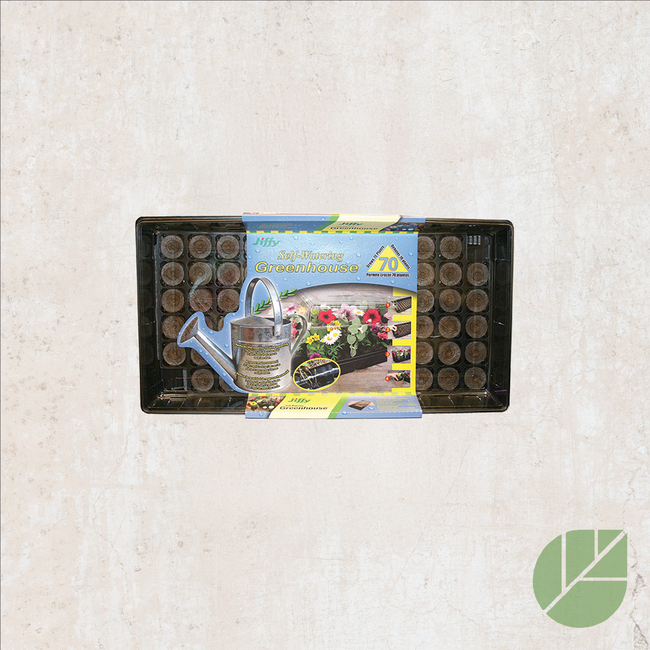
Shop the collectionSeed starting supplies
Shop the collection