Sale
Sold out

Vegetable
Apiaceae
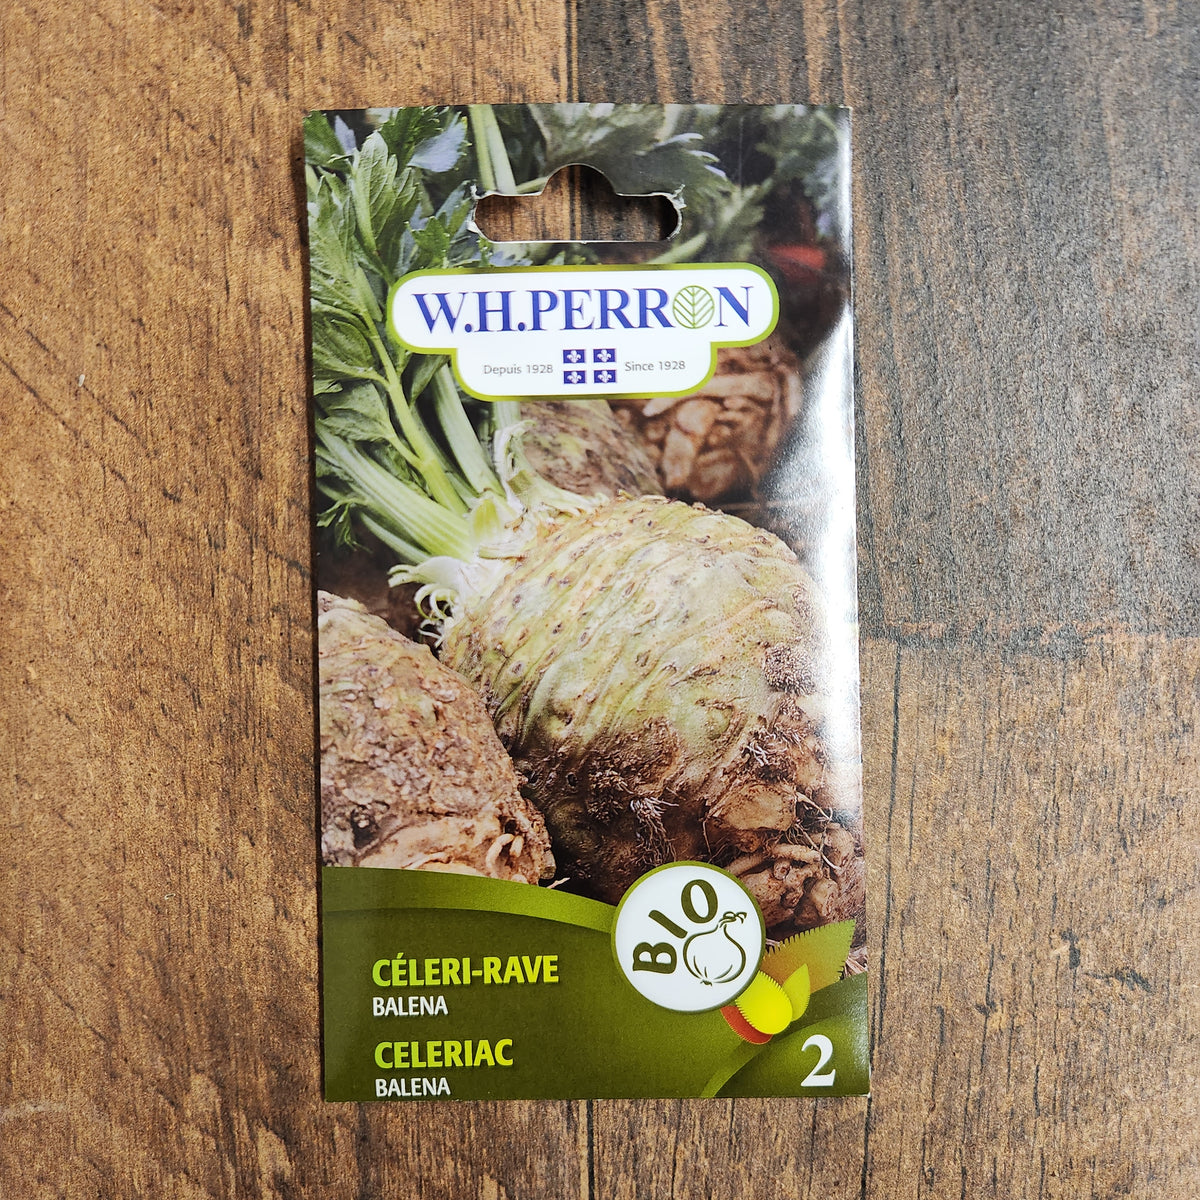
Celeriac 'Balena' organic
Apium graveolens var. rapaceum
Product code : WHPER-0035
The organic celeriac 'Balena' F1 develops a light-colored bulbous root intended for culinary use. It can be used to prepare purees, soups, and grated celeriac salads. The supplier indicates a maturity of 105 days after transplanting; this period varies depending on growing conditions. Start seeds early enough indoors to allow the plants to establish themselves before planting in the garden. Use a fine potting soil, maintain regular moisture, and provide plenty of light after germination. Gradually acclimate the young plants to outdoor conditions. Plant them in fertile, well-draining soil without compressing the roots.
- Quantity
- Approximately 50 seeds
- Exposure
- Sun to partial shade
- Life cycle
- Biennial
Discover the plant
Common nameOrganic celeriac
FamilyApiaceae
GenusCelery
Speciesgraveolens
CultivarWhale
TypeVegetable
Botanical nameApium graveolens var. rapaceum
Organic Celeriac (Apium graveolens var. rapaceum 'Balena') (Apium graveolens var. rapaceum). Organic 'Balena' F1 celeriac develops a light-colored bulbous root intended for cooking. It can be used to prepare purées, soups, and grated celeriac salads. The supplier indicates a maturity of 105 days after transplanting; this timeframe varies with growing conditions. For Organic Celeriac (Apium graveolens var. rapaceum 'Balena'), this packet allows you to start cultivation from seeds and follow the development of the young plants. rapaceum 'Balena'), prepare the site before sowing, then keep a label to recognize this selection among your other crops.
Start growing "Organic Celeriac 'Balena'" in a space prepared for sowing. For Organic Celeriac (Apium graveolens var. rapaceum 'Balena'), to start cultivation: Indoor starting before planting in the garden. Sowing depth: 0.3 cm (0.1 in). rapaceum 'Balena'), recommended spacing: 20 to 30 cm (7.9 to 11.8 in) between plants; 60 cm (23.6 in) between rows. Germination temperature: 17 °C (63 °F). Emergence generally takes 21 days. Celeriac requires a long season to develop its bulbous base.
In the garden, "Organic Celeriac 'Balena'" requires a location suitable for its development. For harvest: 105 days after transplanting. Celeriac requires a long season to develop its bulbous base. Weed early and support growth with regular feeding and watering. For Organic Celeriac (Apium graveolens var. rapaceum 'Balena'), install this crop in an easily accessible area to observe maturity and harvest without trampling neighboring plants. rapaceum 'Balena'), organize companion plantings according to available space, light, and water, without expecting a neighboring plant to provide automatic protection against insects.

Sowing guide
It all startswith a seed.
Sowing depth
0.3 cm (0.1 in)
Spacing / density
20-30 cm (7.9-11.8 in) between plants; 60 cm (23.6 in) between rows
Germination temperature
18 to 24°C (64 to 75°F)
Germination time
21 days
Sowing period
Indoor starting before garden planting
Propagation
Sowing
Growing method
The organic celeriac 'Balena' F1 develops a light-colored bulbous root intended for cooking. It is used to prepare purees, soups, and grated celeriac salads. Start growing 'Organic Celeriac 'Balena'' in a space prepared for sowing. To start cultivation: Start indoors before planting in the garden. Sowing depth: 0.3 cm (0.1 in). Recommended spacing: 20 to 30 cm (7.9 to 11.8 in) between plants; 60 cm (23.6 in) between rows. Germination temperature: 17 °C (63 °F). Emergence generally takes 21 days. Celeriac requires a long season to develop its bulbous base. Weed early and support growth with regular feeding and watering. At the beginning of the season, prepare your equipment and check soil conditions before setting your schedule. Adapt interventions to the stage of the plants rather than a rigid date. After emergence, ensure sufficient light and space out the seedlings to avoid excessive competition. Gradually acclimate plants intended for the outdoors. During growth, monitor the foliage, moisture, and the possible appearance of pests. Celeriac requires a long season to develop its bulbous base.
Soil and care
The right care,at the right time.
Soil pH
6.0 to 7.0 — general recommended range for the vegetable garden
Watering
Regular
Soil type
Organic 'Balena' celeriac: Celeriac requires a long season to develop its swollen base. Weed early and support growth with regular feeding and watering. Use soil or a substrate that allows excess water to drain while retaining the moisture needed by the roots. Work the soil when it has dried out enough to avoid compaction. Remove weeds before planting and adapt the application of organic matter to the crop.
Fertilization
Base fertilization on soil fertility, the substrate used, and observed growth. Follow the dosages indicated on the chosen product; increasing applications does not guarantee better results. Pre-enriched potting soil does not require the same interventions as a poor substrate. Avoid placing concentrated fertilizer against seeds or fragile roots. Water according to the manufacturer's instructions and reduce applications when growth slows down.
Moisture
Consistently moist soil, without standing water
Seasonal care
The organic 'Balena' F1 celeriac develops a light-colored bulbous root intended for culinary use. It is ideal for preparing purees, soups, and grated celeriac salads. At the start of the season, prepare your equipment and check the soil condition before setting your schedule. Adapt your actions to the stage of the plants rather than a rigid date. After emergence, ensure sufficient light and space out the seedlings to avoid excessive competition. Gradually acclimatize the plants intended for the outdoors. During growth, observe the foliage, humidity, and any potential appearance of pests. Identify the problem before choosing an intervention. Remove debris that hinders airflow, keep paths accessible, and re-evaluate watering after rainfall. Note the sowing dates and key results. At the end of the cycle, clean your tools and store remaining packets in a cool, dry place. These observations will help you more accurately adjust future sowings for your location. Start seeds indoors early enough to allow the plants to establish themselves before planting in the garden. Use fine potting soil, maintain consistent moisture, and provide plenty of light after emergence. Gradually acclimatize the young plants to outdoor conditions. Plant them in fertile, well-draining soil, without compressing the roots. Water at the base during establishment and weed carefully to limit competition.
Container growing
A garden,within reach.
Celeriac requires a long season to develop its swollen base. Weed early and support its growth with regular feeding and watering. The organic 'Balena' F1 celeriac develops a light-colored bulb suitable for cooking. It is perfect for preparing purées, soups, and grated celeriac salads. Place the container in its final location before filling it. Choose a stable pot with drainage holes that is large enough for root development; a simple solid planter does not allow for water drainage. Use a potting mix rather than compact garden soil. Moisten the substrate before sowing or planting, without saturating it. Leave a rim at the top to facilitate watering and maintain space between plants. Check moisture regularly with your finger, as the surface may dry out while the bottom remains damp. Water slowly until water runs out through the holes, then empty the saucer. During hot weather, check the pots more frequently. Fertilize according to the needs of the crop and the instructions on the chosen product. Roots have limited volume: container gardening therefore requires different monitoring than growing in the ground. Position any necessary supports during setup. Keep the area easily accessible to inspect leaves, remove damaged parts, and harvest without pulling on the stems. At the end of the cycle, remove debris and clean the equipment before reuse.

Bloom and dimensions
Its place,in your garden.
Days to maturity
105 days post-transplant
Harvest
105 days after sowing
Garden associations
In goodcompany.
Companion plants
Organize neighboring crops according to their light requirements, height, and space occupied at maturity. Prevent tall plants from permanently shading smaller ones or blocking access for watering. Successive crops can use the same space if the first is harvested before the next one expands. Flowers diversify the garden, but companion planting does not guarantee the absence of pests. Keep enough air between plants and observe the interactions on-site. Use companion planting as an organizational tool, without attributing automatic protection against diseases to it.
Recipe idea
From the gardento your plate.
Edible parts
Swollen part harvested as celeriac
Organic 'Balena' celeriac. For 4 servings, allow for 500 g (18 oz) of vegetables, 1 small onion, 15 ml (1 tbsp) of oil, and 60 ml (¼ cup) of water. Prepare a side dish of cooked vegetables with herbs, choosing only the edible parts of the harvest. Wash the vegetables, remove any damaged parts, and cut them into evenly sized pieces. Heat a little oil in a saucepan, add a minced onion, and let it soften over medium heat. Incorporate the firmer vegetables first, then a small amount of water to prevent them from sticking. Cover and continue cooking until they become tender. Add delicate leaves or pieces that cook quickly toward the end. Season with fresh herbs, pepper, and a little salt to taste. Serve with rice, bread, or another cooked grain. Adjust the cooking time to the vegetable used: the desired textures vary depending on the harvest. Refrigerate leftovers promptly in a clean container. This preparation is intended to be consumed as a cooked dish; it does not constitute a canning method.
Frequently asked questions
Your questions,answered.
How do I start this crop from seed?
The organic 'Balena' F1 celeriac develops a light-colored bulbous root intended for culinary use. It is perfect for preparing purées, soups, and grated celeriac salads. Start growing 'Organic 'Balena' Celeriac' in a space prepared for sowing. How to start: Start indoors before planting in the garden. Sowing depth: 0.3 cm (0.1 in). Recommended spacing: 20 to 30 cm (7.9 to 11.8 in) between plants; 60 cm (23.6 in) between rows. Germination temperature: 17 °C (63 °F). Emergence generally takes 21 days. Celeriac requires a long season to develop its bulbous base. Weed early and support growth with regular feeding and watering.
How do I adjust the watering?
The organic celeriac 'Balena' F1 develops a light-colored bulb intended for cooking. It can be used to prepare purees, soups, and grated celeriac salads. Check the moisture level before watering and adjust the frequency based on rainfall, heat, and the stage of growth. Gently moisten the surface during germination so as not to displace the seeds. Once the plants are established, direct the water toward the soil rather than onto the leaves. Avoid standing water and extreme fluctuations between drought and saturation. Containers generally dry out faster than garden beds and require more frequent checks.
How to choose your location?
Organic 'Balena' F1 celeriac develops a pale bulbous root intended for culinary use. It is ideal for preparing purees, soups, and grated celeriac salads. Start growing 'Organic Celeriac 'Balena'' in a space prepared for sowing. To start cultivation: Start indoors before planting in the garden. Sowing depth: 0.3 cm (0.1 in). Recommended spacing: 20 to 30 cm (7.9 to 11.8 in) between plants; 60 cm (23.6 in) between rows. Germination temperature: 17 °C (63 °F). Emergence generally takes 21 days. Celeriac requires a long season to develop its bulbous base. Weed early and support growth with regular feeding and watering.
How to enjoy this selection?
The organic 'Balena' F1 celeriac develops a pale, swollen bulb intended for cooking. It can be used to prepare purees, soups, and grated celeriac salads. Place this crop in an easily accessible area to monitor maturity and harvest without trampling neighboring plants. Organize companion plantings based on available space, light, and water, without expecting a neighboring plant to provide automatic protection against insects. Regular harvesting allows you to choose the stage best suited for your culinary needs. Clean the vegetables before preparation and use only the parts known to be edible. To preserve food in jars, use a proven recipe and the appropriate treatment. Note the sowing and harvest dates to better adjust the quantities cultivated the following season.
What are the benchmarks to keep in mind during the season?
The organic celeriac 'Balena' F1 develops a light-colored bulb intended for culinary use. It is ideal for preparing purées, soups, and grated celeriac salads. At the beginning of the season, prepare your equipment and check the soil condition before setting your schedule. Adapt your actions to the stage of the seedlings rather than a rigid date. After germination, ensure sufficient light and space out the seedlings to avoid excessive competition. Gradually acclimate plants intended for the outdoors. During growth, monitor the foliage, moisture, and the potential appearance of pests. Identify the problem before choosing an intervention.
For a great start to your seeds
The right extras.Right here.
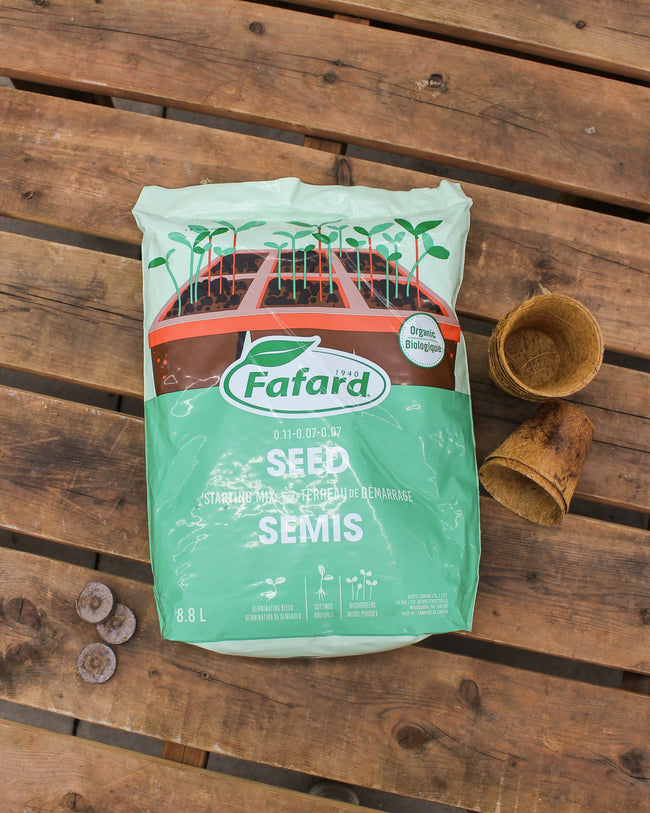
Seed Starting Soil
Shop the collectionSeed starting supplies
Shop the collection