Sale
Sold out

Vegetable bulb
Amaryllidaceae
Échalote multiplicatrice productive pour potager
Shallot onion 'Multipliers' (15 bulbs)
Allium cepa Aggregatum Group
Product code : VAN-340-240-01
‘Multiplier’ produces fifteen No.1 bulbs, each capable of forming several new shallots around its base. Plant them in spring, 2.5 cm (0.98 in.) deep and 10 cm (4 in.) apart, in full sun, in loose, fertile, well-drained soil. The upright green leaves reach approximately 45 cm (18 in.) and indicate maturity by yellowing and then falling over in late summer. Water regularly during growth without saturating the soil, weed superficially, and reduce watering before harvest. Lift the clumps on a dry day, separate the bulbs, and cure them in a well-ventilated sheltered area. This multiplying shallot is suitable for sauces, marinades, slow cooking, and roasted vegetables. The row remains easy to inspect.
- Quantity
- 15 bulbes No1
- Exposure
- Sun
- Life cycle
- Annual grown from bulbs
Discover the plant
Common name'Multiplier' Shallot
FamilyAmaryllidaceae
GenusGarlic
SpeciesOnion
CultivarMultiplier
TypeVegetable bulb
Botanical nameAllium cepa Aggregatum Group
‘Multiplier’ Shallot (Allium cepa Aggregatum Group). The ‘Multiplier’ shallot contains fifteen No. 1 bulbs designed to produce several new bulbs around each planted subject. This Allium cepa Aggregatum Group crop develops green, tubular, upright foliage that reaches approximately 45 cm (18 in), while the clump occupies nearly 10 cm (4 in). Its main interest lies in this natural multiplication, which transforms a small spring planting into a generous late summer harvest. The harvested bulbs bring a balanced shallot flavor to sauces, marinades, stews, and roasted vegetables. The fifteen-bulb format allows for the creation of a productive row or several groups in a sunny raised bed. Plant the bulbs in spring as soon as the soil is workable.
Position each tip upwards at 2.5 cm (0.98 in) deep, keeping the neck close to the surface, then space the plants 10 cm (4 in) apart so that the clumps can grow. Choose full sun and fertile, loose soil, enriched with mature compost and perfectly drained. Water after planting, then deeply when the surface begins to dry. Weed without working deeply, as the roots remain superficial. When the leaves yellow and fall over, reduce watering to prepare drier bulbs that are easier to store.
Harvest in late summer during a dry period. Lift the clumps with a fork placed at a distance, gently separate the bulbs, and spread them out under a warm, well-ventilated shelter. Wait until the necks are closed and the skins are dry before cutting the leaves. Then sort the harvest: quickly use any damaged subjects and store healthy bulbs in a cool, dry, and dark place. Serve them raw, marinated, sautéed, or roasted depending on their size. To maintain the health of the vegetable garden, remove debris and practice a rotation of several years before growing shallots, onions, garlic, leeks, or chives again in the same spot.

Planting guide
Plant well.Grow beautifully.
Spacing / density
4 in (10 cm) between bulbs
Best planting time
Spring as soon as the soil is workable
Propagation
Natural division of bulbs into clumps
Growing method
‘Multiplicateur’ shallots contain fifteen No1 bulbs designed to produce several new bulbs around each planted one. Their main advantage lies in this natural multiplication, which transforms a small spring planting into a generous late-summer harvest. The harvested bulbs bring a balanced shallot flavor to sauces, marinades, stews, and roasted vegetables. The fifteen-bulb format allows for a productive row or several groups in a sunny raised bed. Plant the bulbs in spring as soon as the soil is workable. Position each tip upwards, 2.5 cm (0.98 in) deep, keeping the collar near the surface, then space plants 10 cm (4 in) apart so the clumps can grow. Choose full sun and fertile, loose soil, enriched with mature compost and perfectly drained. Water after planting, then deeply when the surface begins to dry. Weed without deep cultivation, as the roots remain shallow. When the leaves yellow and fall over, reduce watering to prepare drier, easier-to-store bulbs. Lift the clumps with a fork placed at a distance, gently separate the bulbs, and spread them out in a warm, well-ventilated shelter. Then sort the harvest: use damaged bulbs quickly and store healthy bulbs in a cool, dry, dark place.
Soil and care
The right care,at the right time.
Soil pH
Slightly acidic to neutral, about 6.0 to 7.0
Watering
Water after planting, then deeply when the first few inches begin to dry. Maintain regular moisture during rooting and bulking, avoiding standing water. Gradually reduce watering as the foliage yellows and stop before harvesting to encourage dry skins and better preservation. Water in the morning at ground level so that the leaves remain dry. Adjust the frequency according to rain, wind, soil texture, and containers.
Soil type
Loose, fertile soil, enriched with mature compost and perfectly drained. A light to medium texture promotes regular bulbs. Avoid compacted, saturated, freshly manured or continually wet soils, which increase the risk of rot and make harvesting difficult. A raised bed is suitable for heavy soils. A level surface ensures uniform moisture, while a very thin mulch limits splashing without burying growing necks.
Fertilization
Adapt fertilization to your soil's richness and the crop's needs. A soil analysis helps determine useful inputs before planting. Respect the dosage indicated on your fertilizer's packaging and measure the quantity before applying it. Take into account compost and other inputs already applied to avoid feeding the same plant twice. Distribute the product according to its instructions for use; avoid concentrated contact with roots or storage organs. A larger application does not guarantee a better harvest.
Seasonal care
Position each tip upwards 2.5 cm (0.98 in) deep, keeping the neck close to the surface, then space the plants 10 cm (4 in) apart so the clumps can grow. Choose full sun and fertile, loose soil, enriched with mature compost and perfectly drained. Water after planting, then deeply when the surface begins to dry. Weed without deep cultivation, as the roots remain shallow. When the leaves yellow and fall over, reduce watering to prepare drier, easier-to-store bulbs. Harvest in late summer during a dry period. Lift the clumps with a fork placed at a distance, gently separate the bulbs, and spread them under a warm, well-ventilated shelter. Wait until the necks are closed and the skins dry before cutting the leaves. Then sort the harvest: use damaged specimens quickly and store healthy bulbs in a cool, dry, dark place. Serve them raw, marinated, sautéed, or roasted depending on their size. To maintain the health of the vegetable garden, remove debris and practice a multi-year rotation before growing shallots, onions, garlic, leeks, or chives again in the same spot. Regularly observe growth and soil moisture throughout the season. Remove diseased waste and clean your tools before working on another planting. At harvest, handle edible parts with care to limit injuries that can accelerate their degradation.
Container growing
A garden,within reach.
Container growing requires planning for the necessary root volume and the plant's final height. Choose a stable pot with drainage holes and a suitable growing medium. Leave enough space to respect the recommended depth and spacing, rather than crowding plants to immediately fill the pot. Place the container in the indicated exposure and regularly check the moisture level, especially in hot or windy weather. A pot is more exposed to temperature variations than planting directly in the ground. Therefore, from the outset, plan a wintering location compatible with the plant's needs and your region's climate. Position each tip upwards at 2.5 cm (0.98 in) deep, keeping the crown close to the surface, then space the plants 10 cm (4 in) apart so the clumps can grow. Choose full sun and fertile, loose soil, enriched with mature compost and perfectly drained. Water after planting, then deeply when the surface begins to dry. Weed without deep cultivation, as the roots remain superficial. When the leaves yellow and droop, reduce watering to prepare drier, easier-to-store bulbs.

Bloom and dimensions
Its place,in your garden.
Bloom period
Onions grown for harvest can bolt under certain growing conditions. Look for the appearance of a central stem and separate affected plants from those intended for long-term storage. Flowering is not the goal of this vegetable crop: prioritize monitoring the foliage and bulb development. Harvest and use the edible parts according to the type of onion, then carefully sort your harvest before cooking or storing it.

Garden associations
In goodcompany.
Companion plants
Install neighboring crops at a sufficient distance so as not to hinder maintenance or block the light necessary for this planting. Compare their mature height and water needs before sharing the same space. Keep paths clear for watering and harvesting without damaging the leaves. Companion planting in the vegetable garden should primarily facilitate care and efficient use of space; it does not guarantee protection against diseases or pests. Clearly separate different varieties with labels to easily locate each at harvest time and track your results season after season.
Recipe idea
From the gardento your plate.
Edible parts
Bulbs and young leaves harvested; exclude bulbs sold for planting
Caramelized onions in a pan. Use healthy and well-cleaned onions from your harvest. Remove the dry skin and damaged parts, then slice the bulbs into similar-sized pieces. Heat a little oil or butter in a fairly large pan and add the onions with a pinch of salt. Cook gently, stirring regularly, without trying to brown them too quickly. If they start to stick, add a small amount of water and gently scrape the bottom with a spoon. Continue until the slices are tender and lightly golden. Season with pepper to taste and, if desired, add thyme at the end of cooking. Serve these onions with vegetables, in a savory tart, or as a topping for a hot sandwich. The cooking time depends on the thickness of the slices and the quantity in the pan. Prepare this recipe with bulbs harvested from the garden after cultivation, not with sets intended for planting.
Frequently asked questions
Your questions,answered.
How to plant the 'Multiplicateur' Shallot successfully?
Position each point upward 2.5 cm (0.98 in) deep, keeping the crown near the surface, then space plants 10 cm (4 in) apart so clumps can grow. Choose full sun and fertile, loose soil, enriched with mature compost and perfectly drained. Water after planting, then deeply when the surface begins to dry. Weed without deep cultivation, as roots remain shallow. When leaves yellow and droop, reduce watering to prepare drier, easier-to-store bulbs. Keep a durable label to easily find this planting during its dormancy.
What kind of light should I provide for Multiplier Shallots?
The recommended exposure is full sun. Observe the light in your chosen spot both morning and afternoon, as the shade from trees or buildings changes throughout the day. Also consider neighboring plants: their foliage can obscure a young plant as it grows. For container plants, place the pot where you can move it if conditions become too hot or too shady. Proper exposure must go hand in hand with suitable soil and watering. If you are moving a plant started indoors outdoors, acclimate it gradually to garden conditions to avoid too abrupt a transition for young leaves.
How to adjust watering?
Water according to the actual soil moisture, taking into account rain, heat, and wind. Check below the surface before deciding on adding more water: soil that is dry on the surface can still be moist at root level. Direct the water to the base and allow it to penetrate, without keeping the plant in saturated soil. Containers generally require more frequent checks because they dry out faster. Make sure their drainage holes remain clear and empty any saucers that hold water. Also, adapt care to the plant's cycle: active growth and a dormant period do not require the same water input.
What to plan for a container garden?
Container growing requires you to consider the necessary volume for the roots and the plant's final height. Choose a stable pot with drainage holes and a suitable planting medium. Leave enough space to respect the recommended depth and spacing, rather than crowding plants to immediately fill the pot. Place the container in the indicated exposure and regularly check the moisture, especially in hot or windy weather. A pot is more exposed to temperature variations than ground planting. Therefore, plan for a wintering location from the start that is compatible with the plant's needs and your region's climate.
What care should be provided after the growing season?
Harvest in late summer during a dry spell. Lift the clumps with a fork inserted at a distance, gently separate the bulbs, and spread them out in a warm, well-ventilated shelter. Wait until the necks are closed and the skins dry before cutting the leaves. Then sort the harvest: use injured specimens quickly and store healthy bulbs in a cool, dry, dark place. Serve them raw, marinated, sautéed, or roasted depending on their size. To maintain the health of your vegetable garden, remove debris and practice crop rotation for several years before growing shallots, onions, garlic, leeks, or chives again in the same spot.
Wildlife and pets
Life,around your plants.
Reported toxicity
Yes
For planting your bulbs
The right extras.Right here.
Bulb planters and planting tools
Shop the collection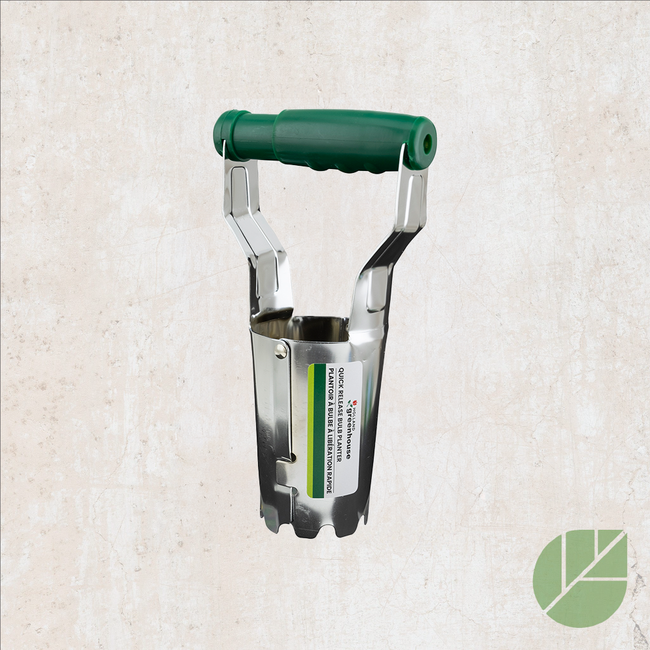
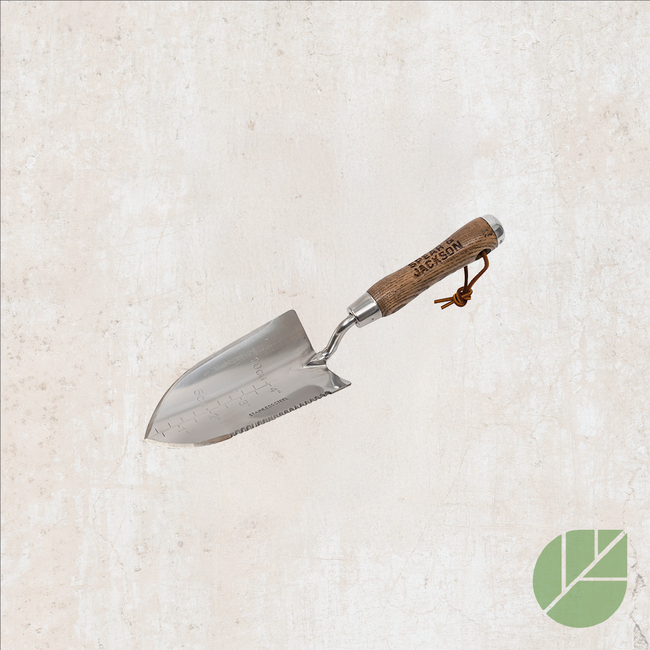
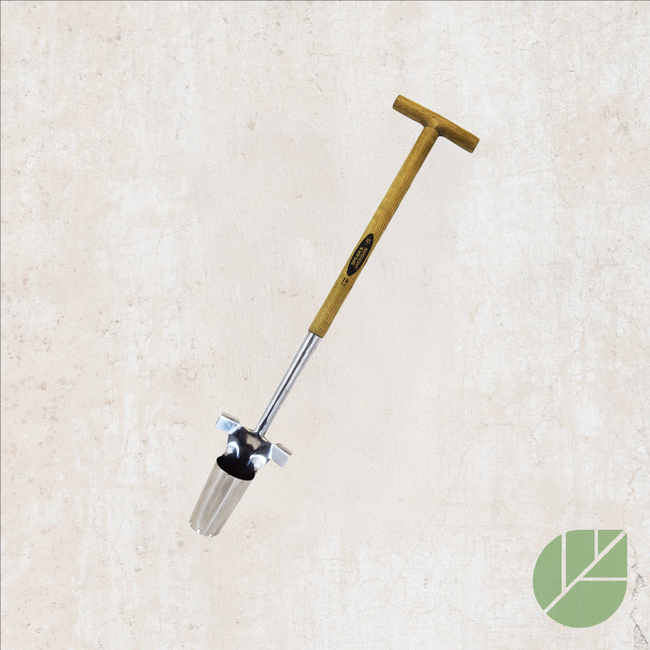
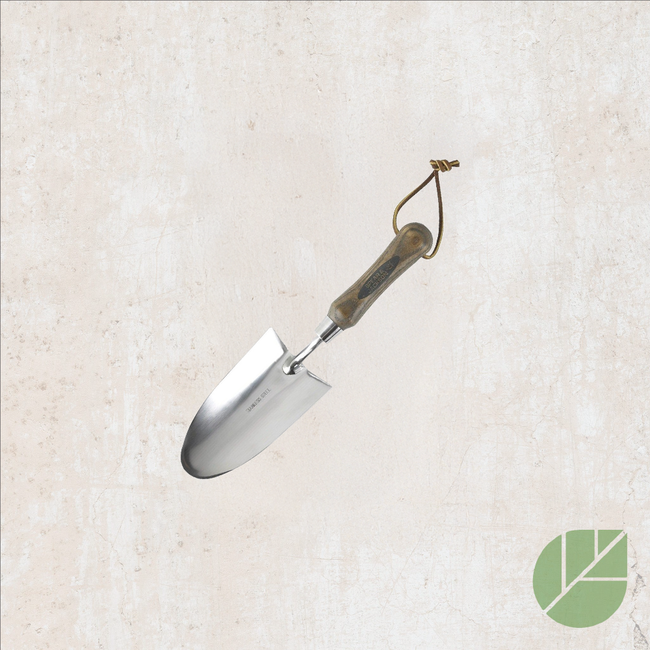
Soils and amendments for bulbs
Shop the collection