Sale
Sold out

Organic garden cress seed for a terrestrial leafy annual
Brassicaceae
Organic leafy green and microgreen seeds
Organic garden cress
Lepidium sativum
Product code : BIOVO-0036
Organic garden cress is a cool-season annual that quickly produces bright green young leaves with peppery flavour. This species, Lepidium sativum, grows in moist, well-drained soil or potting mix and should not be confused with aquatic watercress. Seed may be sown densely for microgreens or spaced farther apart for larger leaves. Repeated sowings every two weeks extend harvest through spring, autumn, or indoor production under bright light. Cut with clean scissors, rinse with potable water, and refrigerate promptly. Fresh leaves enliven salads, sandwiches, soups, eggs, and potatoes. Clean containers and moderate airflow are especially important when seedlings are grown closely together indoors.
- Exposure
- Full sun to partial shade
- Life cycle
- Cool-season annual
Discover the plant
Common nameGarden cress; peppergrass
FamilyBrassicaceae
GenusLepidium
Speciessativum
TypeOrganic garden cress seed for a terrestrial leafy annual
Botanical nameLepidium sativum
Organic garden cress (Lepidium sativum) is a cool-season annual grown for tender young leaves with peppery flavour. Unlike true watercress, Nasturtium officinale, it grows in potting mix or moist garden soil rather than running water. Seed germinates quickly and forms bright green seedlings, followed by upright clumps with increasingly divided leaves. Harvested young, it suits microgreens and small salads. An uncut mature plant may reach approximately 20 to 40 cm (8 to 16 in) before producing small whitish flowers. Its quick cycle makes garden cress useful for repeated indoor sowings and short open spaces in a spring or autumn vegetable bed.
Direct-sow in spring as soon as soil can be worked, then repeat sowings every two weeks to stagger harvests. Indoors, use a clean container, potting mix intended for edible crops, and bright light. Cover seed approximately 6 mm (1/4 in), keep the medium evenly moist, and prevent standing water. Garden cress prefers cool conditions, full sun or sun to partial shade, and loose, fertile, well-drained soil. Light shade slows drying during warm weather. Keep fertilizer modest in crops harvested very young. Good airflow and clean watering practices help reduce problems in dense sowings, especially when trays remain indoors.
Cut young shoots with clean scissors at the desired size before flower stalks reduce tenderness. Rinse them with potable water, drain, and refrigerate promptly. Their peppery flavour enlivens salads, sandwiches, eggs, potatoes, and soups, although delicate leaves are best added after cooking. A shallow container near the kitchen makes repeated sowing and harvest convenient. Do not confuse this product with aquatic watercress. Remove bolting plants or leave a few to flower only when observing the complete life cycle or providing small blossoms for visiting insects. Wash containers between batches and discard seedlings showing mould, decay, or unusual odour.

Sowing guide
It all startswith a seed.
Sowing depth
Approximately 6 mm (1/4 in)
Spacing / density
Sow densely for microgreens or space 2.5 to 5 cm (1 to 2 in) apart
Germination temperature
Approximately 15 to 22 °C (59 to 72 °F)
Germination time
Approximately 2 to 7 days depending on conditions
Sowing period
Indoors year-round; outdoors in spring and autumn
Propagation
Direct sowing and successive sowings
Growing method
Growing cress from seed. Sow garden cress directly into prepared soil in spring or into a clean container filled with potting mix intended for edible crops. Cover seed approximately 6 mm (1/4 in), firm lightly, and moisten with potable water. Keep the medium evenly moist but never waterlogged until the usually rapid emergence. Place seedlings in bright light and provide moderate airflow. For microgreens, sow densely and harvest young; for larger plants, space approximately 2.5 to 5 cm (1 to 2 in) apart. Outdoors, choose cool weather and provide light shade when heat speeds drying. Sow small quantities every two weeks to stagger cuttings. Water at soil level or gently enough to avoid flattening seedlings. Cut with clean scissors before flower stalks develop. Remove debris, wash the container between batches, and restart with fresh mix if mould, unusual odour, or decay appears. Refrigerate the rinsed and drained harvest promptly and label stored greens with the harvest date. Label every batch with its sowing date and observe moisture, light, airflow, and seedling health each day before harvesting any shoots intended for eating. Keep a simple record of emergence and harvest dates, and sanitize reusable trays carefully before preparing the next edible crop.
Soil and care
The right care,at the right time.
Soil pH
Approximately 6.0 to 7.5
Care level
Easy
Watering
Keep soil or potting mix evenly moist during germination and production of young leaves. Water gently with potable water so seed is not displaced and seedlings are not flattened. Always allow excess water to drain and empty saucers because saturated conditions encourage decay. Check small containers daily. Adjust frequency to heat, light, drainage, and actual sowing density rather than following a rigid schedule, and reduce splashing on edible foliage.
Soil type
Loose, fertile, moist, well-drained soil, ideally loam amended with mature compost. Garden cress benefits from even moisture, but roots should not remain in standing water. In containers, use clean potting mix intended for edible crops. Avoid compact, contaminated medium or mix reused after disease. Light shade and a fine clean mulch can slow drying as temperatures rise while preserving airflow around the crop.
Fertilization
Incorporate a small amount of mature compost before outdoor sowing. In fresh vegetable potting mix, crops harvested very young generally need little additional fertilizer. For extended cutting, apply a balanced fertilizer at low strength only when needed and according to label directions. Avoid excess nitrogen and never fertilize dry medium. Replace the potting mix between batches when its structure or cleanliness deteriorates rather than compensating with repeated feeding.
Moisture
Even soil moisture with good airflow; avoid saturation and prolonged condensation
Seasonal care
Seasonal care for cress. In early spring, prepare a short row in loose soil or fill a clean container with vegetable potting mix. Sow as soon as soil can be worked, then repeat every two weeks. Maintain even moisture during emergence. Through spring, harvest shoots before flower stalks form and remove debris promptly. As days warm, shelter containers from intense afternoon sun and check water daily. During summer, continue mainly indoors or in a cool bright location because heat speeds bolting. Discard batches showing mould, decay, or unusual odour. In late summer, resume outdoor sowing for an autumn harvest. Before hard frost, gather usable leaves and bring clean containers indoors. In winter, sow under bright light with good airflow and no standing water. After each cutting, wash scissors, rinse leaves with potable water, and refrigerate promptly. Between cycles, wash trays and replace potting mix. Record sowing, emergence, and cutting dates so timing can be adjusted to actual conditions in the home or garden. Avoid reusing diseased medium and keep harvested greens separated from unwashed produce. Across the seasons, favour small closely monitored batches because they dry, emerge, and bolt at different rates as light and temperature change. Keep simple notes so future sowing intervals match the actual conditions. Inspect every batch before cutting, sanitize reusable containers carefully, and discard questionable seedlings instead of mixing them with healthy ready-to-eat greens.
Container growing
A garden,within reach.
Recommended pot size
Clean tray or container at least 15 to 20 cm (6 to 8 in) wide
Growing cress in containers. Choose a clean container at least 15 to 20 cm (6 to 8 in) wide with drainage holes. A shallow tray suits microgreens, while a deeper pot allows plants to develop more leaves. Fill with potting mix intended for edible crops, level the surface, and sow densely or space seed according to the desired harvest stage. Cover approximately 6 mm (1/4 in), moisten gently, and place in bright light. Keep the mix moist without leaving water in the saucer. Rotate the container if light comes from one side. Light shade is useful when sun heats the pot quickly. Cut with clean scissors, rinse with potable water, and refrigerate. Sow a fresh tray every two weeks to replace one that bolts. After the last cutting, remove roots and debris, wash the container, and use fresh mix. Do not eat a batch showing mould, decay, or abnormal odour. Keep trays away from pets and household cleaning products. Check drainage, cleanliness, light, and seedling vigour every day, then adjust watering to actual drying conditions instead of following a fixed calendar. Use a dated label for each sowing, inspect the tray before every cutting, and keep harvested foliage separate from unwashed produce.

Bloom and dimensions
Its place,in your garden.
Mature height
Approximately 20 to 40 cm (8 to 16 in) at maturity; much smaller when harvested young
Width / spread
Approximately 10 to 20 cm (4 to 8 in) per mature plant
Flower color
White to whitish
Foliage color
Bright to medium green
Foliage type
Deciduous
Growth rate
Fast
Growth habit
Upright branching annual clump at maturity
Fragrance
Subtle fragrance
Bloom period
Small white to whitish flowers appear in terminal clusters when garden cress reaches maturity. Their development generally indicates that leaves are becoming firmer and more pungent. For a tender harvest, cut or remove plants before flower stalks develop. A few plants may be allowed to flower to observe the full life cycle, but do not present the blossoms as a guaranteed attraction for any particular pollinator group. Remove unwanted seedlings if mature seed is allowed to fall.
Fruiting
After flowering, garden cress forms small seed pods called silicles. This stage belongs to plant reproduction rather than the usual leafy harvest. Plants then become taller, firmer, and less desirable as tender greens. Remove them before seed dispersal when volunteers are not wanted. To save seed, allow only healthy plants to complete their cycle and dry the harvest in a clean ventilated place. Label saved seed with the year and keep it cool and dry.
Days to maturity
First cuttings approximately 10 to 20 days after sowing
Harvest
Cut young shoots approximately 10 to 20 days after sowing, before bolting

Garden associations
In goodcompany.
Companion plants
Radishes, lettuces, spinach, and green onions can share a cool-season bed with garden cress when every crop receives enough light, water, airflow, and root space. These combinations provide varied harvests but do not guarantee pest protection or improved yield. Avoid crowding, plan successive sowings, and remove diseased debris promptly. Rotate with unrelated plant families when Brassicaceae problems occur in the bed, and preserve clear access for watering and cutting clean edible foliage. Leave a clear path for gentle watering and clean harvest without stepping on neighbouring crops.
Plants to avoid
None noted
Recipe idea
From the gardento your plate.
Edible parts
Young leaves and tender stems
Cress in the kitchen. To prepare four garden cress toasts, harvest approximately 250 mL (1 cup) of healthy young shoots. Cut with clean scissors, rinse thoroughly under potable water, drain, and dry gently. Mix 125 g (4 oz) pasteurized cream cheese with 15 mL (1 tbsp) lemon juice, a pinch of salt, and pepper. Spread over four slices of toasted bread, add the cress, and garnish with thin radish slices. Serve immediately to preserve crisp texture and peppery flavour. Keep the cheese and shoots refrigerated until assembly. Refrigerate leftovers promptly in a closed container and consume according to current guidance for dairy products and fresh vegetables. Discard any shoots that are slimy, mouldy, or unusually odorous. This recipe uses terrestrial garden cress rather than watercress gathered from a natural waterway. Wash hands and preparation surfaces before handling the ready-to-eat greens. Add the shoots only when serving, and use a clean cutting board reserved for ready-to-eat foods.
Frequently asked questions
Your questions,answered.
Is garden cress the same species as watercress?
No. This product is garden cress, Lepidium sativum, also called peppergrass. True watercress is Nasturtium officinale, a different plant adapted to aquatic or semi-aquatic conditions. Sow garden cress in clean, moist, well-drained soil or potting mix rather than running water. Its quick seedlings can be cut young as microgreens or allowed to produce larger peppery leaves in a tray, container, or vegetable bed. Keep the medium evenly moist, but let excess water drain and provide bright light with moderate airflow. Use clean scissors, rinse harvested shoots with potable water, and refrigerate them promptly. Discard any batch showing mould, slime, decay, or an unusual odour.
When can garden cress be harvested?
First cuttings may begin approximately 10 to 20 days after sowing, depending on temperature, light, moisture, and the desired stage. For garden cress microgreens, cut when the young leaves are well opened. For larger foliage, wait several more days, but harvest before flower stalks form to retain tender texture. Use clean scissors and cut only healthy shoots. Rinse them with potable water, drain well, and refrigerate promptly. Small sowings repeated every one to two weeks provide a steadier harvest than one large batch. Discard seedlings that show mould, decay, slime, or an unusual odour. Harvest shortly before use for the freshest texture.
How can garden cress stay moist without becoming waterlogged?
Use a container with drainage holes and light potting mix intended for edible crops. Moisten gently after sowing, then check the surface every day. Water as it begins to dry, using a flow gentle enough not to displace the seeds. Allow excess water to drain completely and empty the saucer. Bright light, moderate airflow, and reasonable sowing density reduce prolonged condensation. When the mix remains saturated, seedlings may rot or develop mould. Adjust watering frequency to temperature, light, container size, and actual drying rather than following a rigid calendar. Restart with a clean tray and fresh mix if disease becomes established.
Can garden cress be grown indoors year-round?
Yes, when the crop receives bright light, a clean container, potting mix intended for edible plants, and even moisture without standing water. A shallow tray is sufficient for a young harvest. Sow small quantities every one to two weeks to replace harvested or bolting batches. Rotate the container when light comes mainly from one side and maintain moderate airflow. Use potable water and clean scissors, then wash the tray between cycles. Refrigerate shoots promptly after cutting and discard any batch showing mould, slime, or unusual odour. Keep growing trays away from pets, cleaning products, and other sources of cross-contamination nearby.
How can garden cress be used in the kitchen?
Tender young leaves and stems have a peppery flavour suited to salads, sandwiches, toast, eggs, potatoes, and soups. Add them near the end of preparation to preserve their fresh texture and taste. Cut only healthy shoots with clean scissors, rinse thoroughly with potable water, drain, and refrigerate promptly. Begin with a small quantity when unfamiliar with their intensity. Garden cress can also garnish an omelette, grain bowl, or plate of roasted vegetables. Its delicate leaves are best used fresh rather than simmered for a long period. For the tenderest harvest, cut shoots approximately 10 to 20 days after sowing, before bolting, and start another small sowing instead of leaving older stems to toughen.
Wildlife and pets
Life,around your plants.
Supporting wildlife
Whitish flowers left on a few plants may receive small visiting insects, including flies and generalist bees. Their presence varies with location, season, and neighbouring plants and should not be guaranteed. The crop is normally harvested before flowering. Avoid spraying open blossoms and maintain diverse nearby flowers while keeping edible cress beds clean and accessible for harvest.
For a great start to your seeds
The right extras.Right here.
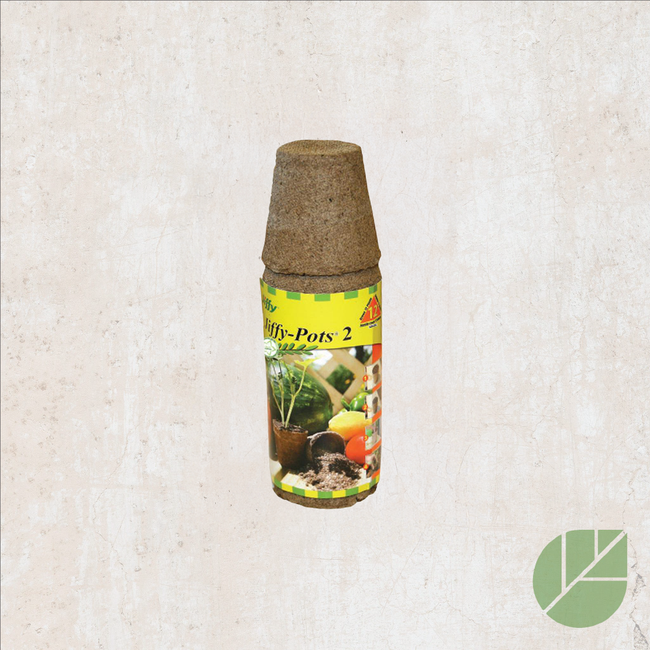
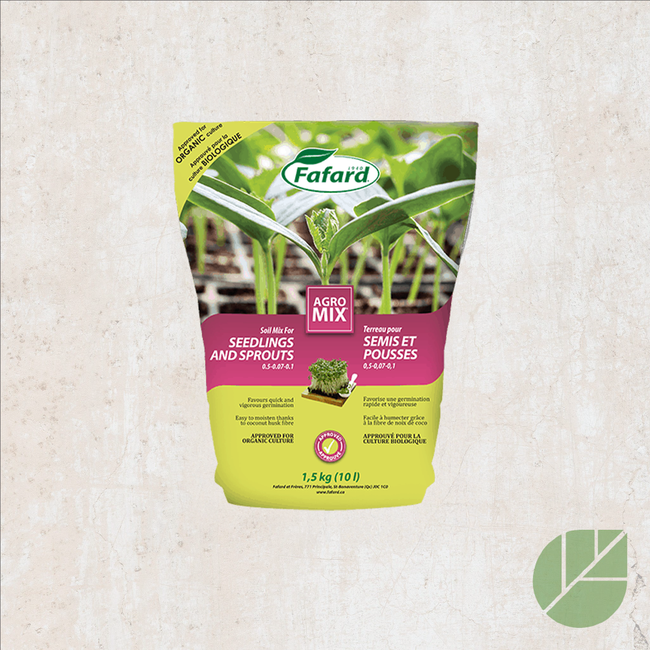
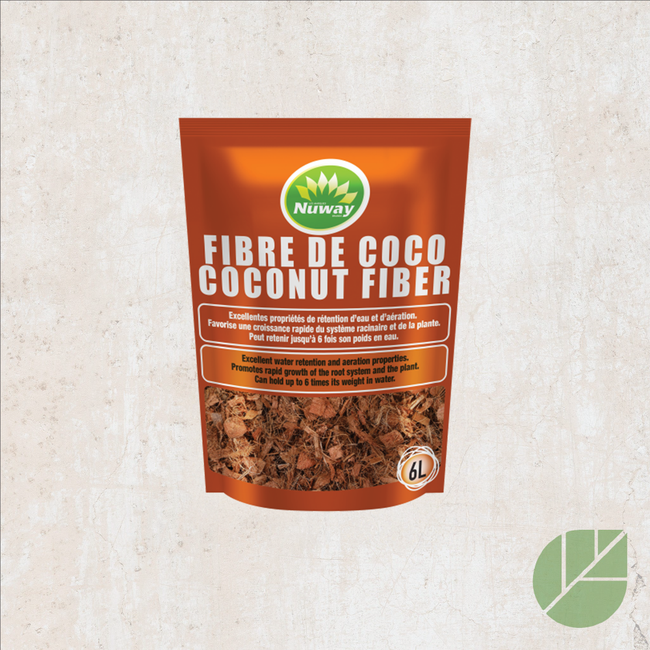
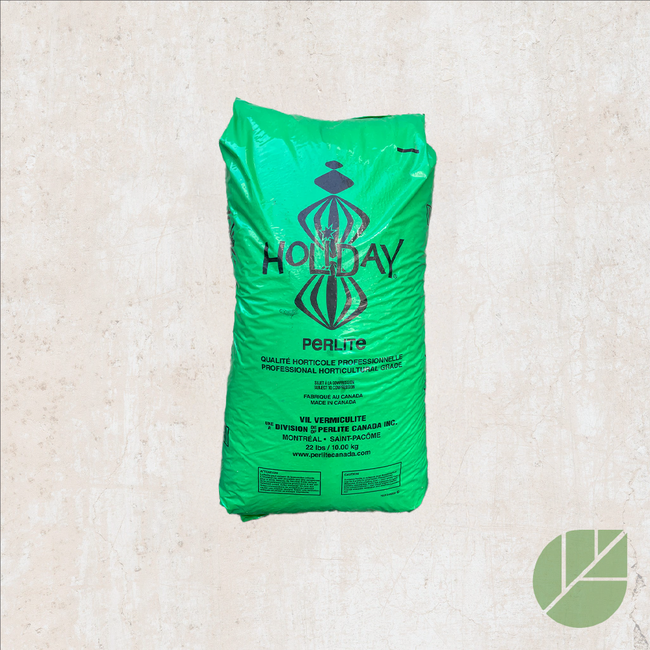
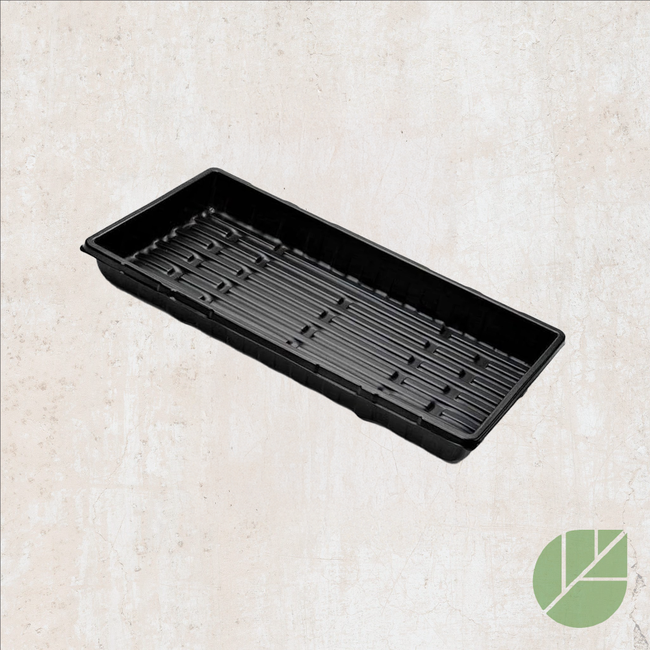
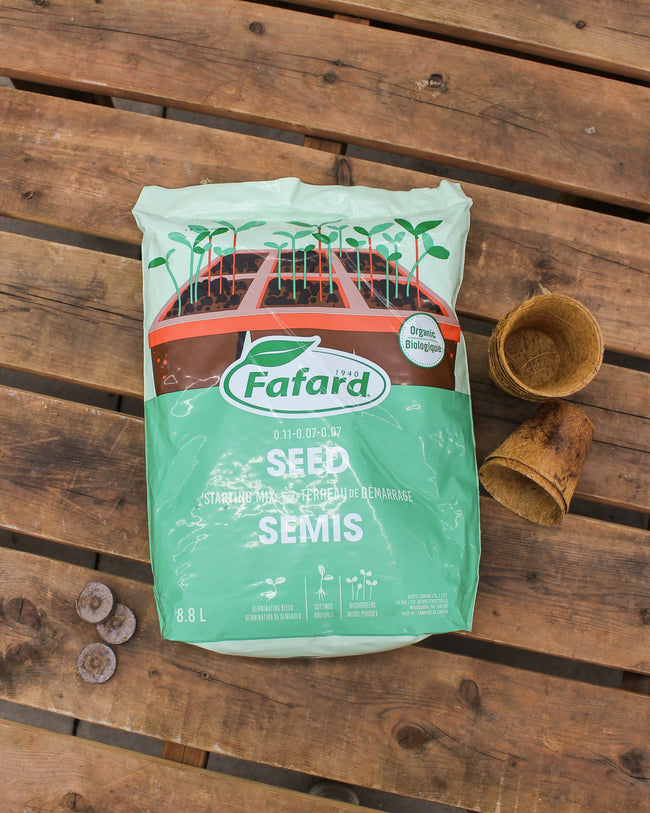
Seed Starting Soil
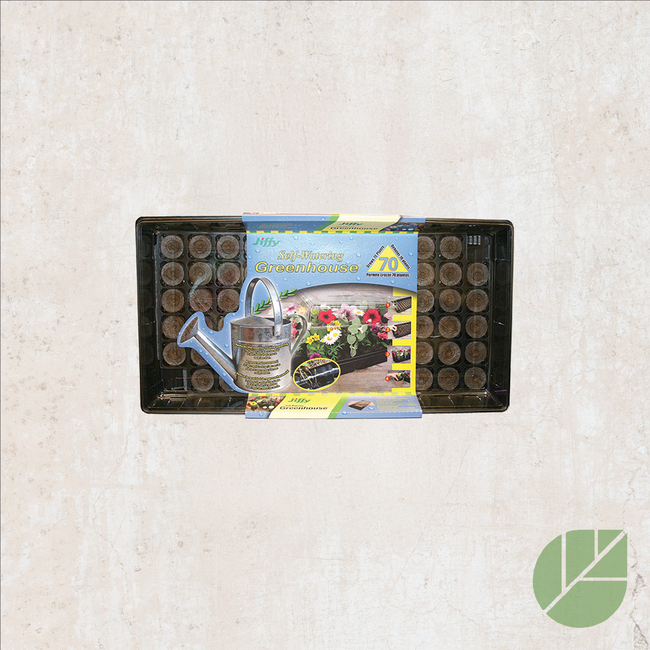
Shop the collectionSeed starting supplies
Shop the collection