Sale
Sold out

Bush green bean with slender stringless pods
Fabaceae
Organic bush-bean seeds
Organic 'Antigua' green bush bean
Phaseolus vulgaris
Product code : BIOVO-0042
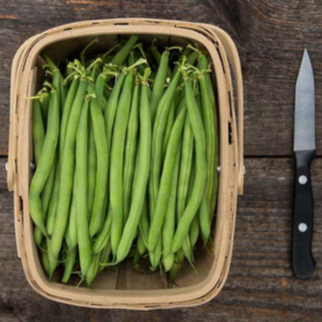
'Antigua' is an open-pollinated green bush bean whose compact upright vigorous plants produce abundant straight slender glossy-green approximately 13–15 cm pods. Slow seed development helps pods remain tender through an extended harvest window. Maturity generally ranges from 55 to 60 days. Documented resistance includes high resistance to BCMV, BCTV, and halo blight, plus intermediate resistance to anthracnose. Direct-sow in warm soil and pick every day or two to support new bloom. Pods may be steamed, sautéed, or blanched before freezing. Compact habit suits raised beds and large well-drained containers. Cook every pod before eating and chill harvested beans promptly. Harvest regularly.
- Exposure
- Full sun
- Life cycle
- Warm-season annual
Discover the plant
Common nameGreen bush bean, snap bean
FamilyFabaceae
GenusPhaseolus
Speciesvulgaris
CultivarAntigua
TypeBush green bean with slender stringless pods
Botanical namePhaseolus vulgaris
Reproducible seedsYes
Organic 'Antigua' green bush bean (Phaseolus vulgaris) is a vigorous bush variety producing straight slender smooth glossy-green pods approximately 13–15 cm long. Compact upright approximately 45–60 cm plants hold much of the crop above soil and simplify picking. Slow seed development extends the period in which pods remain crisp, tender, and stringless. They suit fresh use after cooking, stir-fries, steaming, salads, freezing after blanching, and canning from a tested recipe. Bright pod colour and upright growth make mature beans easy to spot, while the low habit fits raised beds, small gardens, and large containers.
Direct-sow one to two weeks after final frost once soil reaches at least 16–18°C, approximately 2.5–3 cm deep. Avoid indoor starting because bean roots tolerate transplanting poorly. Choose full sun and loose moderately fertile warm well-drained soil. Space seed approximately 8–10 cm apart and rows 45–60 cm apart. Maintain steady moisture during flowering and pod formation without saturating soil. Sow every two or three weeks to extend production; no trellis is normally needed. Weed shallowly to protect sensitive roots and mulch only after soil warms. A low stake ring may support heavily loaded branches without training them as climbing vines.
First harvest generally begins after approximately 55–60 days, depending on conditions and the desired stage. Pick every day or two once pods snap cleanly and before seed creates bumps. Support branches with one hand to avoid removing new blossoms. 'Antigua' has documented high resistance to bean common mosaic virus, beet curly top virus, and halo blight (Pseudomonas syringae pv. phaseolicola), plus intermediate resistance to anthracnose. These resistances do not replace rotation, spacing, or avoiding wet foliage. Remove severely affected leaves promptly, clean tools between rows, and refrigerate every harvest rather than leaving baskets in direct sun.

Sowing guide
It all startswith a seed.
Sowing depth
Approximately 2.5 to 3 cm (1 to 1 1/4 in)
Spacing / density
Approximately 8 to 10 cm (3 to 4 in) between plants and 45 to 60 cm (18 to 24 in) between rows
Germination temperature
Approximately 18 to 29 °C (64.4 to 84.2 °F)
Germination time
Approximately 6 to 12 days in suitably warm soil; avoid sowing into cold, saturated soil.
Sowing period
After all frost risk once soil is warm, from late May into mid-July depending on first-frost date Adjust these dates to your local frost dates and soil conditions; Canadian growing seasons vary by region.
Propagation
Direct sowing only after soil warms
Growing method
Growing 'Antigua' bean from seed. One to two weeks after final frost, direct-sow 2.5–3 cm deep in soil at least 16–18°C. Place seed in an evenly moist, freely drained bed rather than cold saturated ground. Match 'Antigua' to full sun and observe the actual hours of unobstructed light at the site. Avoid routine high-nitrogen fertilizer, which can produce leaves instead of timely pods. Because its habit is compact upright bush habit requiring no trellis, 'Antigua' needs enough room for routine care and neighbouring plants. Direct-sow this legume crop after frost danger when the soil is workable and warming. The crop produces the expected harvest form: straight slender round smooth glossy-green pods. Protect the developing crop from soil splash and rough handling. Rotate away from other beans and peas in the following crop plan. Space the planting approximately 8 to 10 cm (3 to 4 in) between plants and 45 to 60 cm (18 to 24 in) between rows to preserve access for watering, inspection, and harvest. Mulch after soil warms, keeping the stem bases open. Pick while pods are dry, hold the vine with the other hand, and remove overmature pods promptly. Pick the row at the intended pod stage using two hands so stems are not torn. Harvest repeatedly, cool pods promptly, remove diseased residue, and keep notes on sowing and first-pick dates before rotating the bed.
Soil and care
The right care,at the right time.
Soil pH
Approximately 6.0 to 7.0
Care level
Easy
Watering
The compact row of 'Antigua' green bush bean needs even moisture when flowers open and its straight slender round smooth glossy-green pods begin filling. Water 'Antigua' green bush bean slowly at soil level, then let the surface start drying; saturation around newly sown seed can delay establishment. Morning irrigation keeps 'Antigua' green bush bean's foliage drier and permits pod inspection without carrying moisture between plants. Check container-grown 'Antigua' green bush bean more often during bloom and harvest, emptying standing water immediately. Pick 'Antigua' green bush bean's mature pods regularly and reassess moisture after hot or windy days instead of following a rigid schedule.
Soil type
Prepare loose, well-drained soil for the compact roots and concentrated pod set of 'Antigua' green bush bean. Mix mature compost through 'Antigua' green bush bean's bed without compressing it, and avoid low ground where cool water surrounds newly sown seed. For 'Antigua' green bush bean, the supplied pH guidance is approximately 6.0 to 7.0; test first and amend only when results justify it. Give container-grown 'Antigua' green bush bean the recommended root volume and airy mix, with clear drainage and a support that does not crush roots. A level 'Antigua' green bush bean seedbed promotes even emergence and prevents later watering from pooling around individual plants.
Fertilization
'Antigua' seldom benefits from heavy nitrogen fertilizer. Let a soil test guide any corrective amendment. For 'Antigua' green bush bean, too much nitrogen delays pod development behind foliage. Never place fertilizer directly against young roots. Healthy roots let Green bush bean obtain nitrogen through nodules. Use new growth to judge whether nutrition is adequate. For 'Antigua', avoid disturbing the root zone once flowering approaches. Apply every fertilizer at its labelled rate. For 'Antigua' green bush bean, its stems should remain supported without lush growth.
Moisture
Steady moisture during flowering and pod formation without saturation
Seasonal care
Seasonal care for 'Antigua' bean. 'Antigua' green bush bean begins with season-aware timing—one to two weeks after final frost once soil reaches at least 16–18°C; repeat through midsummer—so compare that guidance with the actual spring or autumn at your site. Sow approximately 2.5 to 3 cm deep. Expect germination in 6 to 12 days at approximately 18 to 29 °C (64.4 to 84.2 °F); keep the medium evenly moist but aerated throughout that interval. Direct-sow into loose soil that has warmed or cooled to the crop's stated range, avoiding a saturated furrow that can rot seed. Keep the bush row open enough for air movement and comfortable picking. Water at soil level, with special attention during flowering and pod fill, then let the surface start drying between irrigations. 'Antigua' green bush bean container guidance: at least 30 L and 30 cm (12 in) deep for three or four plants. Set the pot where runoff can escape and light is adequate. Weed shallowly so cultivating tools do not cut the developing root system, and mulch only after the soil reaches a suitable temperature. Inspect flowers, leaf undersides, and young pods for chewing or sap-feeding insects before damage spreads. Use the supplied harvest guidance—approximately 55 to 60 days—but pick by pod size, colour, and tenderness rather than waiting for every plant to match. Harvest repeatedly with two hands so stems are not uprooted; regular picking extends the usable pod period. When production finishes, remove diseased residue and note the bed for future crop rotation.
Container growing
A garden,within reach.
Recommended pot size
At least 30 L and 30 cm (12 in) deep for three or four plants
Growing 'Antigua' bean in containers. For 'Antigua', choose a container matching this guide: at least 30 L and 30 cm (12 in) deep for three or four plants. Keep several drainage holes unobstructed. Water deeply as the surface dries. Place 'Antigua' before late-season crowding develops, keeping its mature habit in mind: compact upright bush habit requiring no trellis. Place the container where it receives the light the crop needs. At final planting, follow this layout for the row: approximately 8 to 10 cm (3 to 4 in) between plants and 45 to 60 cm (18 to 24 in) between rows. Mark positions before roots are placed. Avoid routine high-nitrogen feeding. Give the planting full sun, and keep water from collecting around the crown or container base. Inspect flowers and pods regularly. As the crop matures, use the expected harvest form—straight slender round smooth glossy-green pods—to guide support, inspection, and careful picking. Guide this legume crop stems gently and harvest the developing pods with two hands so the plant is not uprooted. Pick pods with two hands, keep the support stable, and clear spent roots after the final crop. After the final the row harvest, remove residue, clean the container, and rotate to an unrelated crop. Clean the container before its next crop and discard visibly diseased mix.
Bloom and dimensions
Its place,in your garden.
Mature height
Approximately 45 to 60 cm (18 to 24 in)
Width / spread
Approximately 30 to 45 cm (12 to 18 in)
Flower color
White
Foliage color
Green
Foliage type
Trifoliate leaves on bushy branches
Growth rate
Fast
Growth habit
Compact upright bush habit requiring no trellis
Fragrance
Mild crisp juicy tender pods
Bloom period
'Antigua' forms self-fertile flowers before its pods enlarge. Keep the root zone evenly moist during bloom. For 'Antigua' green bush bean, each retained blossom can develop into a pod. Support stems before the developing harvest adds weight. Visiting insects may supplement Green bush bean's normal self-pollination. Check moisture before blaming poor set on fertility. For 'Antigua', its flowering stems can drop blossoms during drought or heat. Good light and airflow help reproductive growth continue. Pick mature pods to help 'Antigua' green bush bean continue flowering. For Green bush bean, avoid disturbing roots while blossoms become young pods.
Fruiting
Pollinated flowers become straight glossy-green pods approximately 13–15 cm long containing white seeds. Pick while smooth and tender before beans swell. Frequent harvest supports continued flowering. To save seed, let several pods mature and dry completely on healthy plants, then store beans dry after checking germination. Label the cultivar and harvest year clearly, and keep seed separate from food pods.
Days to maturity
Approximately 55 to 60 days
Harvest
Begin in approximately 55–60 days. Harvest when pods measure approximately 13–15 cm, are glossy green, firm, smooth, and snap cleanly before seed swells. Inspect plants every day or two and support each branch with one hand while picking. Slow seed development slightly widens the quality window, but a bumpy pod rapidly becomes less delicate. Refrigerate unwashed in a perforated bag and use within five to seven days. For freezing, blanch, chill in ice water, and dry before packing.
Garden associations
In goodcompany.
Companion plants
Summer savory, carrot, cabbage, cucumber, radish, and nasturtium may share the garden when every crop retains enough space, light, and water. Place tall plants to the north so they do not shade beans. These associations do not guarantee freedom from pests. Most importantly, avoid short rotation with beans and peas. Preserve a path for picking without touching wet foliage, remove diseased leaves, and clean tools between rows. Check each crop's moisture separately and keep cucumber vines from resting directly on bean foliage.
Plants to avoid
Mainly avoid short rotation with beans and peas; absolute incompatibility with Alliums is not sufficiently confirmed
Recipe idea
From the gardento your plate.
Edible parts
Immature pods cooked; mature dry beans only after thorough cooking
'Antigua' bean in the kitchen. Lemony green beans — Trim 500 g fresh beans and bring a wide pot of water to a boil. Cook the beans until bright green and crisp-tender, usually four to six minutes depending on thickness. Drain and cool briefly. In a skillet, warm 15 mL olive oil with one minced garlic clove and 2 mL crushed coriander seed. Add the beans and toss for one minute, then remove from the heat and add 15 mL lemon juice, finely grated lemon zest, black pepper, and a small pinch of salt. Finish with chopped parsley and toasted sliced almonds or sunflower seeds. Serve warm with fish, tofu, or potatoes, or chill for a bean-and-grain salad. Do not serve the pods raw; proper cooking improves texture and suitability for eating. Wash harvested beans before trimming and discard pods that are slimy, mouldy, or badly damaged. Refrigerate cooked leftovers within two hours in a clean covered container and use a fresh utensil when incorporating them into another dish.
Frequently asked questions
Your questions,answered.
Is 'Antigua' a bush or pole bean?
It is a compact upright bush bean generally 45–60 cm tall. It does not produce the long twining vines of a pole bean and therefore needs no trellis. In a windy site or container, one small stake ring may keep loaded branches from bending without training the plant as a climber. Leave enough space for leaves to dry after rain and pods to remain accessible. Harvest while supporting branches with one hand and chill pods promptly. A bush habit remains compact but still benefits from a clear path that simplifies base watering and airflow. Inspect any support after strong wind and retie it loosely.
When should 'Antigua' pods be harvested?
Pick at approximately 13–15 cm when pods are glossy green, smooth, and snappy while seed remains barely visible. The cultivar develops seed slowly, preserving tender texture longer, but still inspect every day or two. A bumpy or soft pod has passed the best snap-bean stage. Remove it to restart flowering or let it dry completely when seed saving is desired. Pick in the morning after dew dries, keep the basket shaded, and use slightly marked pods first. Always cook beans before serving and discard every slimy or mouldy portion. Frequent harvest also helps reveal insect damage before it spreads. Refrigerate every picking promptly.
What does 'Antigua's disease package mean?
Published varietal codes indicate high resistance to bean common mosaic virus (BCMV), beet curly top virus (BCTV), and halo blight caused by Pseudomonas syringae pv. phaseolicola (Psp), plus intermediate resistance to anthracnose (Colletotrichum lindemuthianum, Cl). High or intermediate resistance does not mean immunity. Rotate crops, avoid wet foliage, and remove heavily affected plants. Clean tools before moving from a diseased row to a healthy one, keep plants airy, and avoid handling foliage after rain. Continue monitoring every succession because pathogens outside the listed resistance package may still appear. Remove infected residue rather than composting it. Record symptoms and dates for comparison next season.
Can 'Antigua' be canned?
Yes, but only from a reliable tested recipe using the pressure-canning method required for low-acid vegetables. 'Antigua' colour, size, and tenderness suit jars, but these traits do not make boiling-water canning safe. Follow the recipe's piece size, quantity, pressure, altitude, and time exactly. For a simpler option, blanch and freeze young pods instead. Label every jar or frozen portion with its date and use the oldest products first. Discard every slimy, mouldy, or abnormal-smelling pod before preparation. Keep work surfaces and utensils clean throughout processing. Never improvise pressure, processing time, jar size, or altitude adjustments. When directions differ, follow the current tested source exactly and discard any container showing leakage, swelling, or unusual odour.
Can 'Antigua' seed be saved?
Yes. The variety is published as open-pollinated. Select several healthy plants, let some pods mature beyond edible stage until brown, dry, and brittle, then harvest before shattering. Finish drying under cover, shell, and keep only firm intact seed. Common bean is largely self-pollinating, but low cross-pollination remains possible; separate other varieties when fidelity matters. Never use virus-infected or severely diseased plants for seed. Place thoroughly dry seed in an envelope labelled with the cultivar and year, then store it in a cool place protected from moisture. A small germination test before the next sowing helps verify viability. Label each envelope clearly.
Wildlife and pets
Life,around your plants.
Supporting wildlife
Antigua bush beans normally set pods through self-pollination, although insects may visit the flowers. Their principal role here is food production, not a long flowering display for pollinators. Place a separate strip of flowering annuals beside the bean bed if supporting a wider range of beneficial insects is part of the garden plan.
For a great start to your seeds
The right extras.Right here.
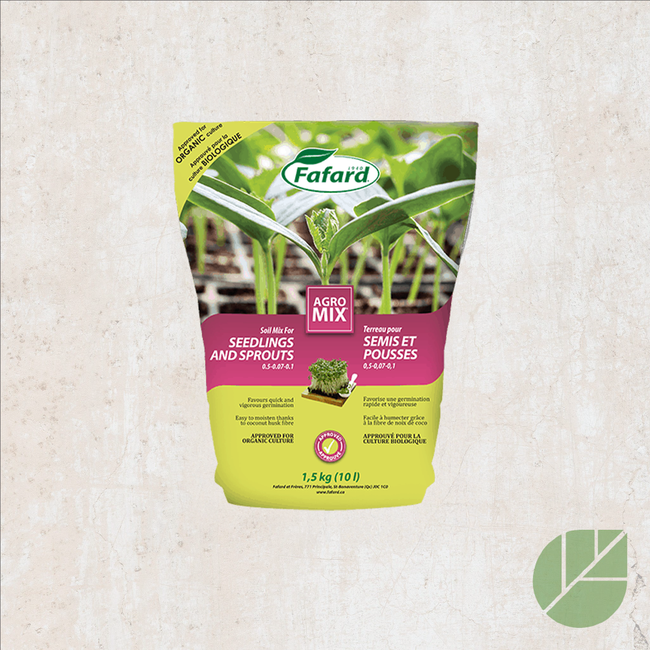
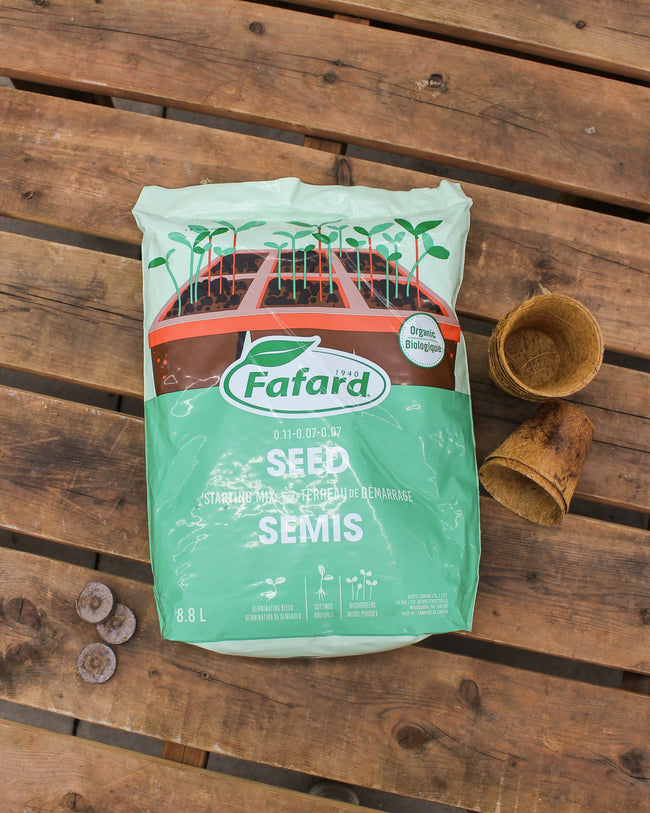
Seed Starting Soil
Shop the collectionSeed starting supplies
Shop the collection